How to Draw an Airplane in Pencil: Step-by-Step Drawing Algorithm for Children and Beginners
As a child, many boys dream of becoming pilots. But adults also look at the sky with delight. Aircraft, hovering among the clouds, attracts the eyes of all. A desire to learn how to draw the bird of steel emerges. A master class with consecutive steps will tell you how to draw easily and simply from a simple variant of an airplane to a military, passenger, and paper airplane.
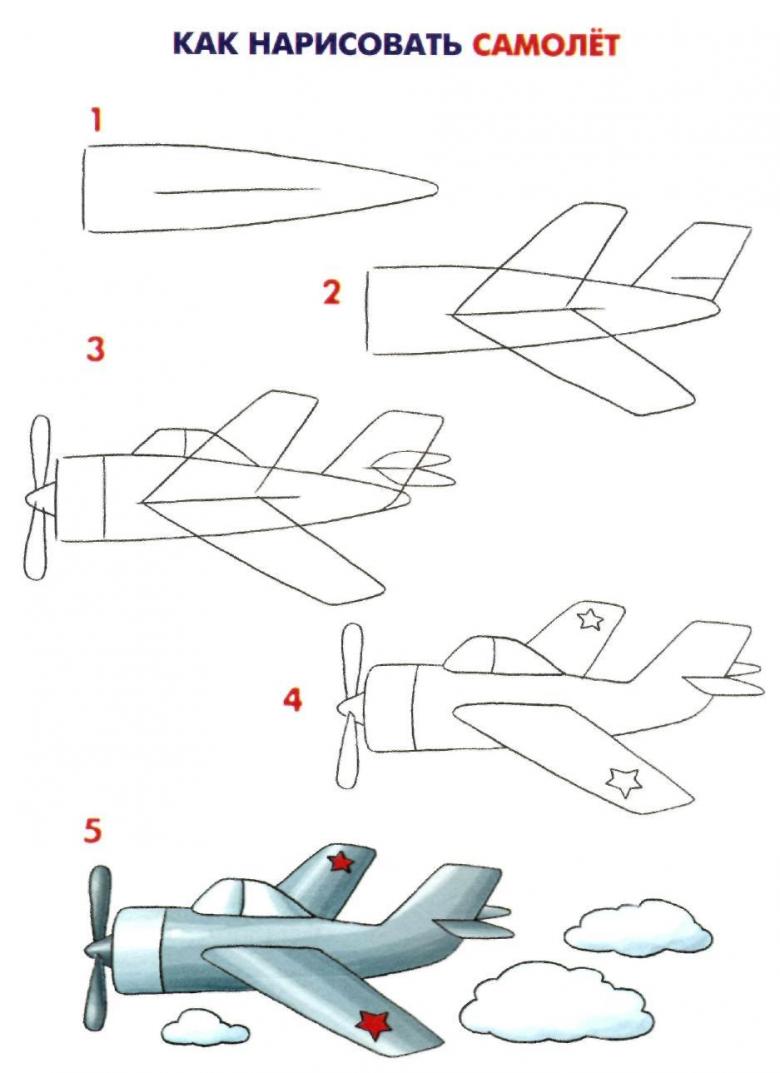
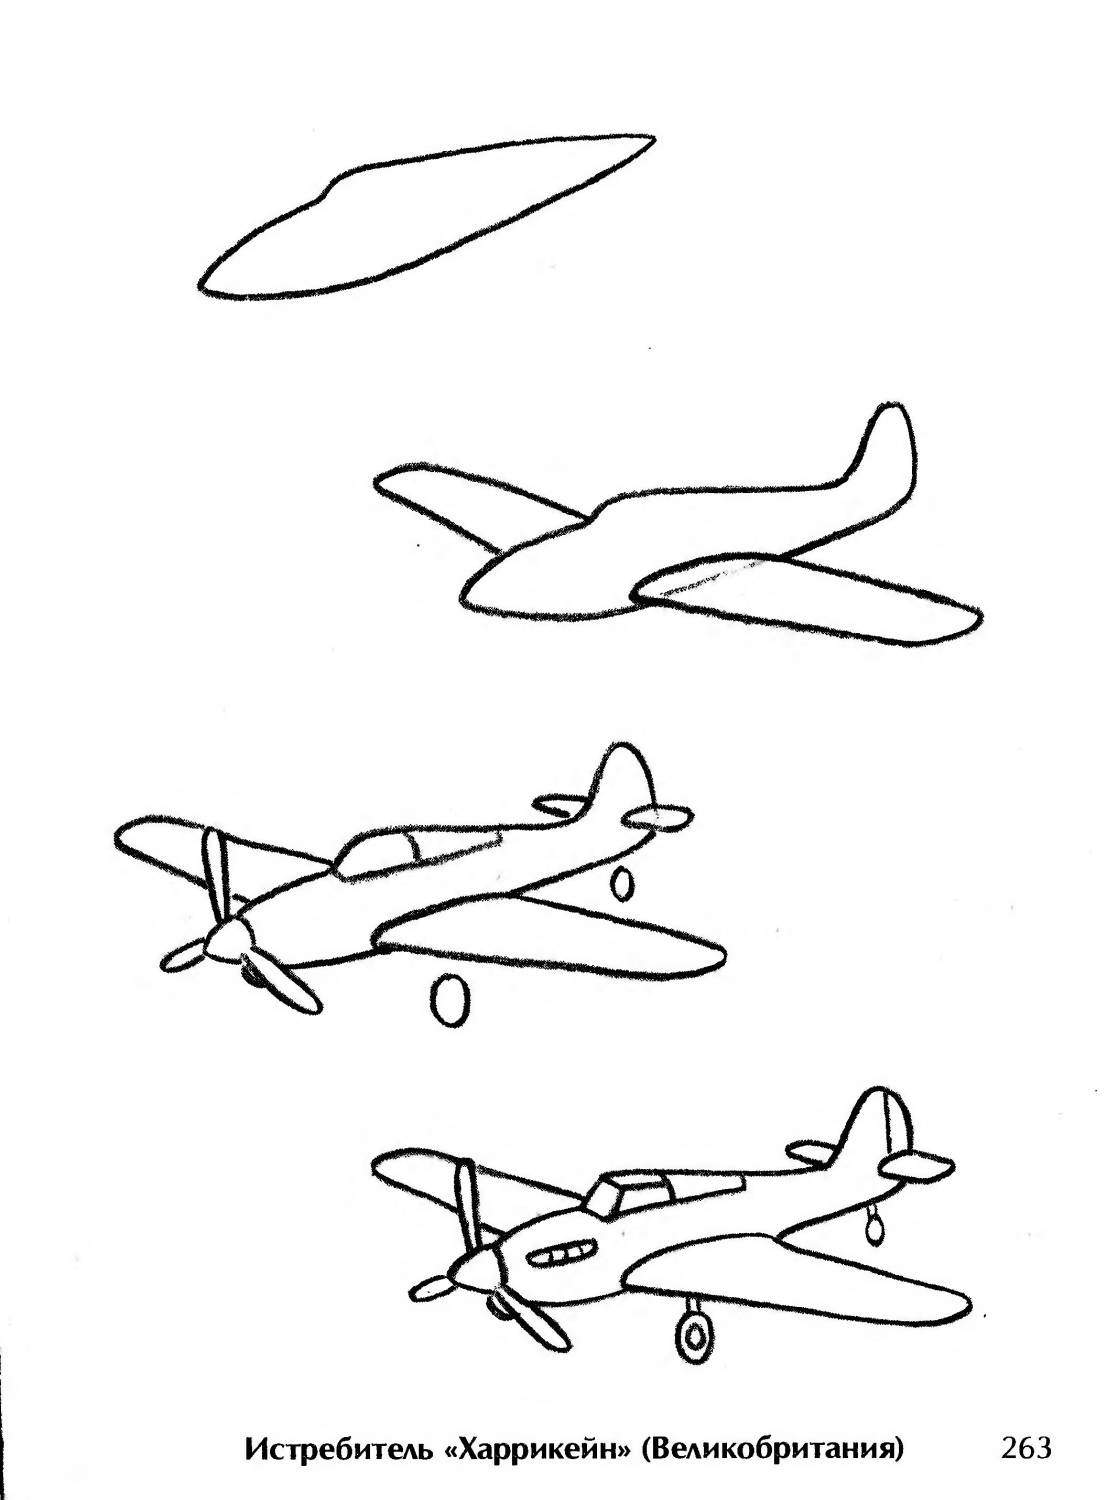
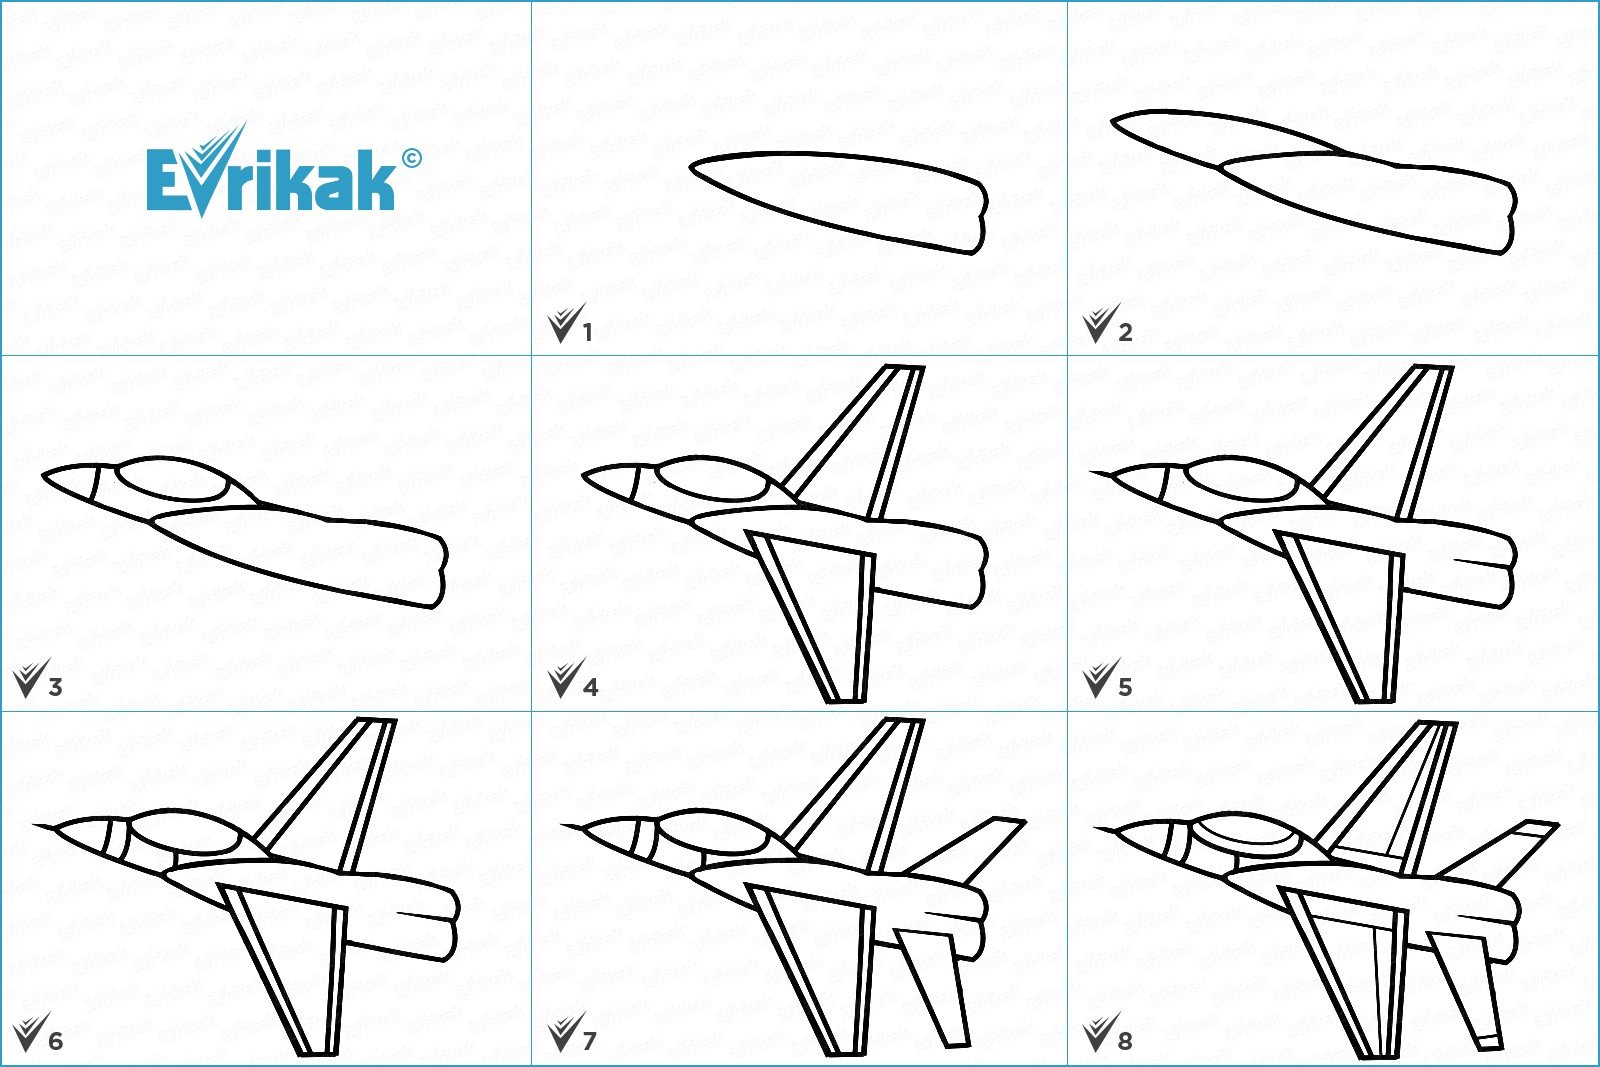
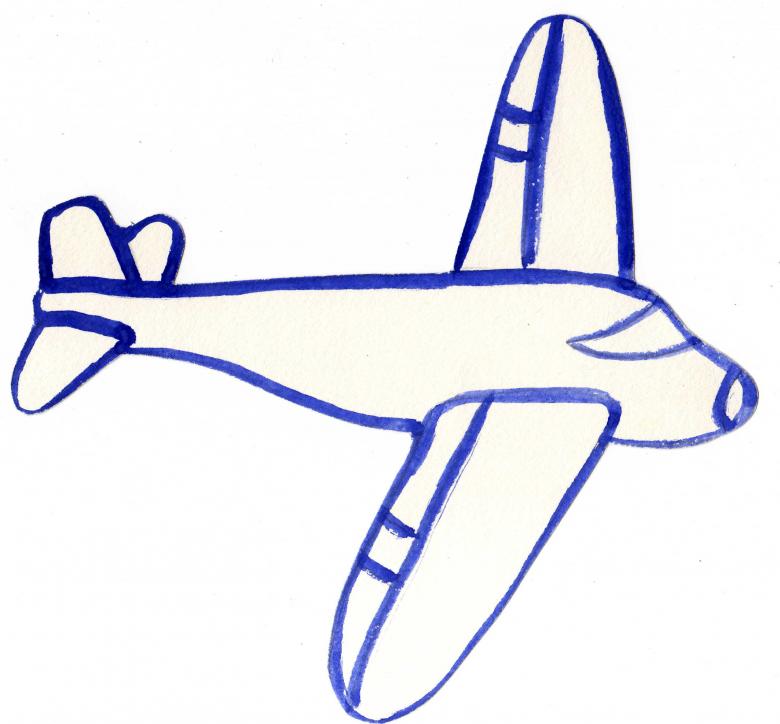
Toy airplane
For children to figure out how to draw an airplane step by step, you should start with a template, which consists of separate images of its main constituent elements. Sketch lines are drawn without pressure on the pencil, as many are wiped out at the final stage. The airplane is broken down into large parts. The model is drawn from the side.
- The hull of the airplane is drawn first. It is shaped like a bullet or carrot.
- The broad part of the hull is the face of the airplane. Closer to this edge, the cockpit is added on top. On the narrowed part of the tail is drawn.
- The wings are added on the sides. The wing in the foreground is longer than the second, which can be seen from behind the cockpit.
- To highlight the engine compartment of the aircraft, a line is drawn on the hull.
- A propeller or propeller is added to the nose of the airplane.
- Two elements are added to the tail.
- Auxiliary lines are wiped out.
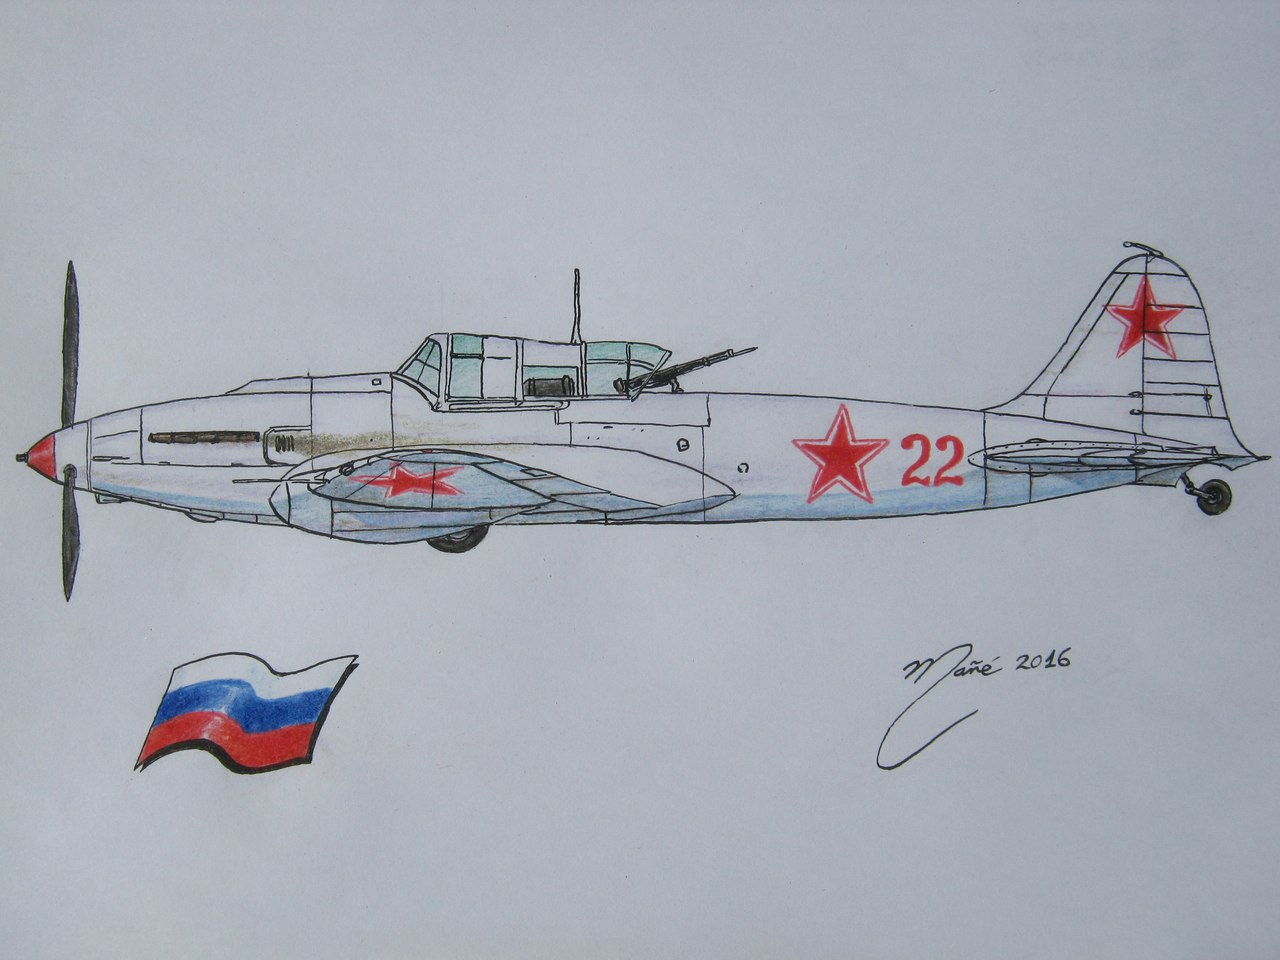
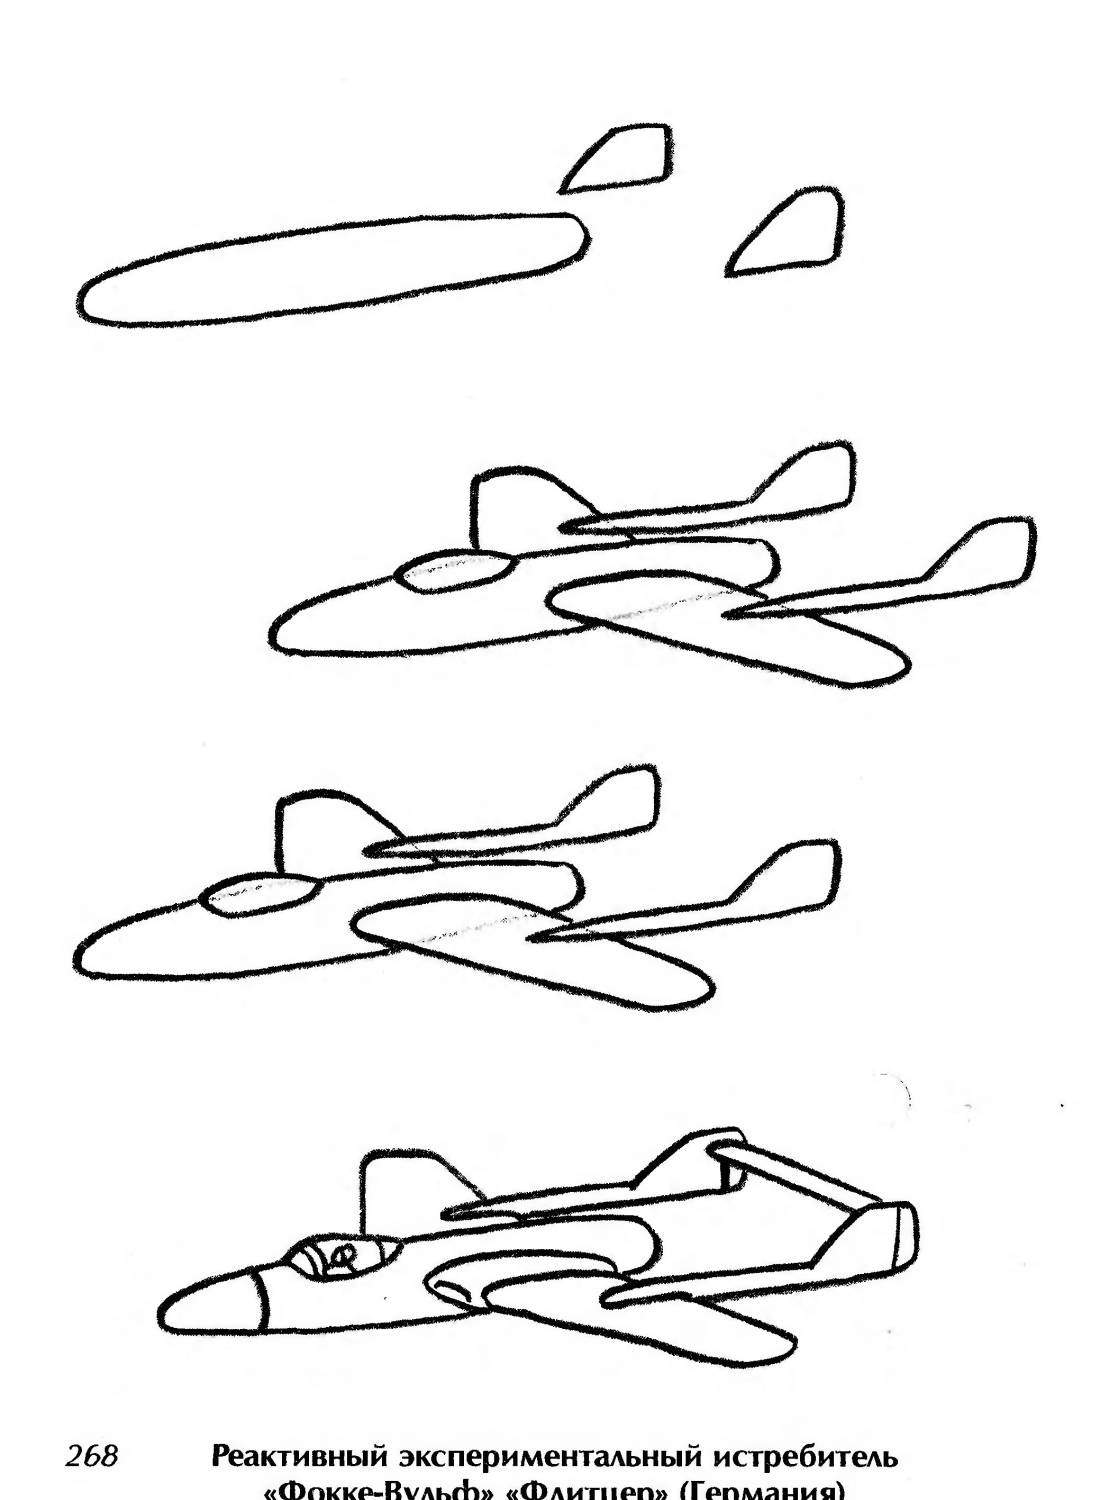
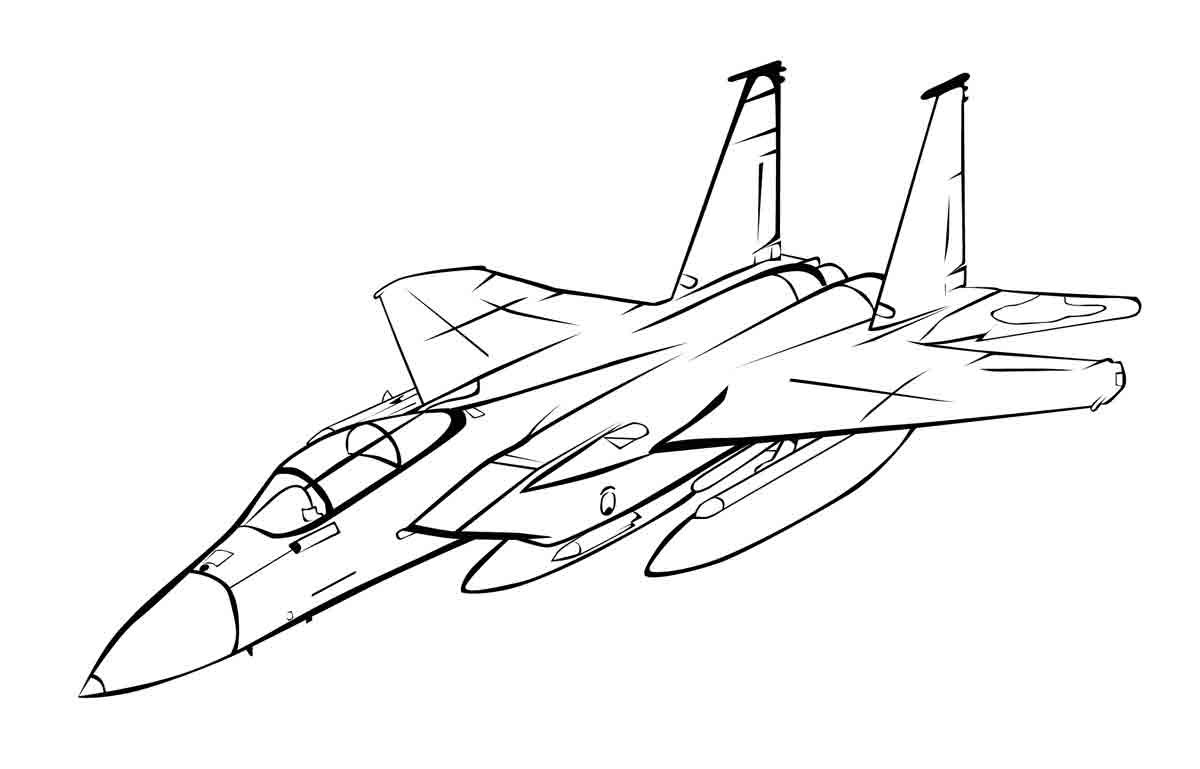
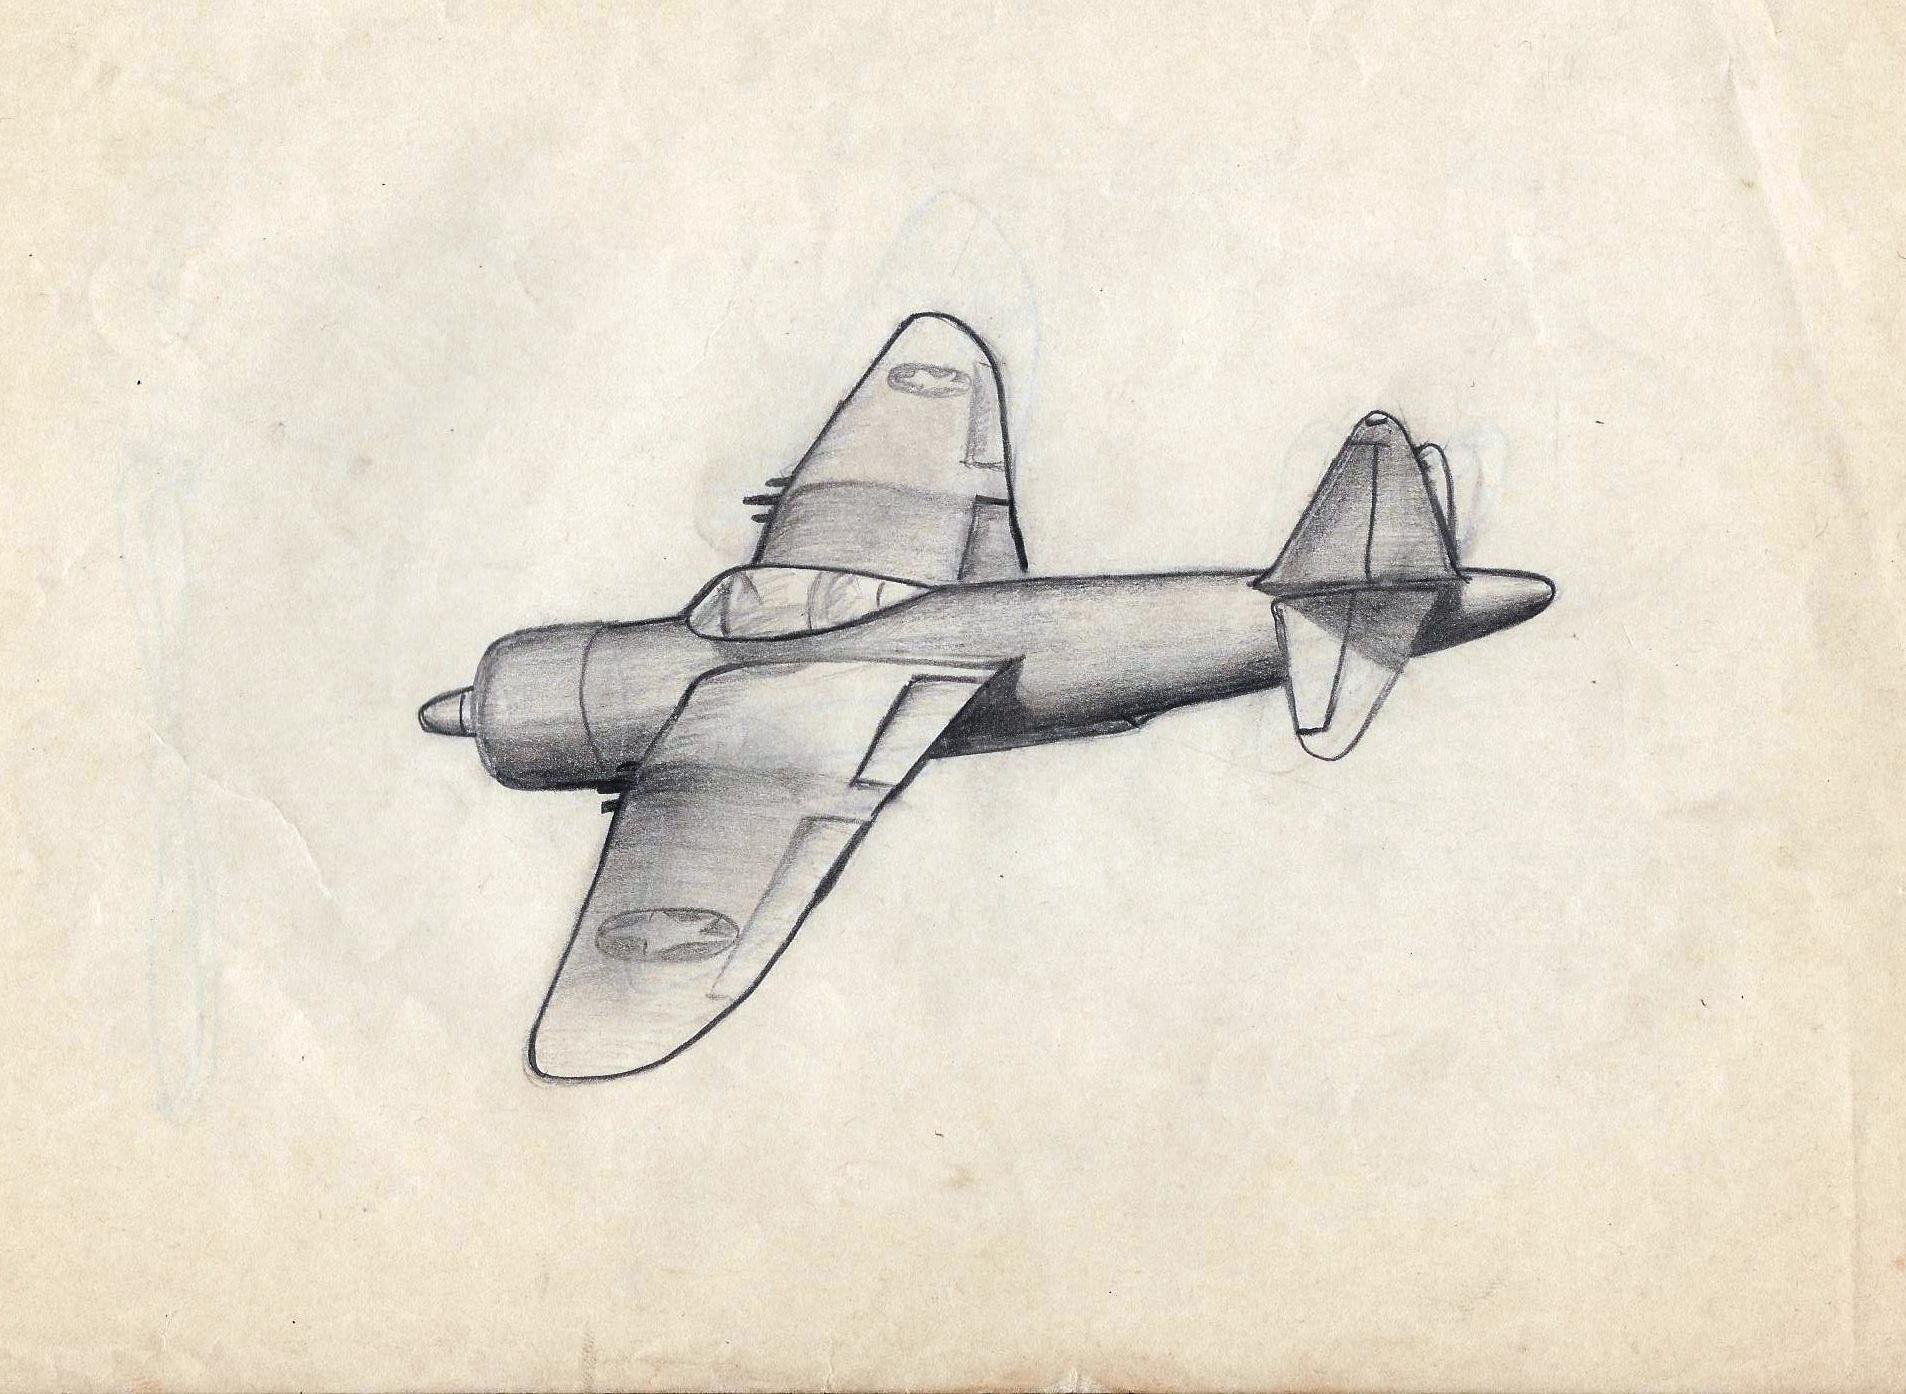
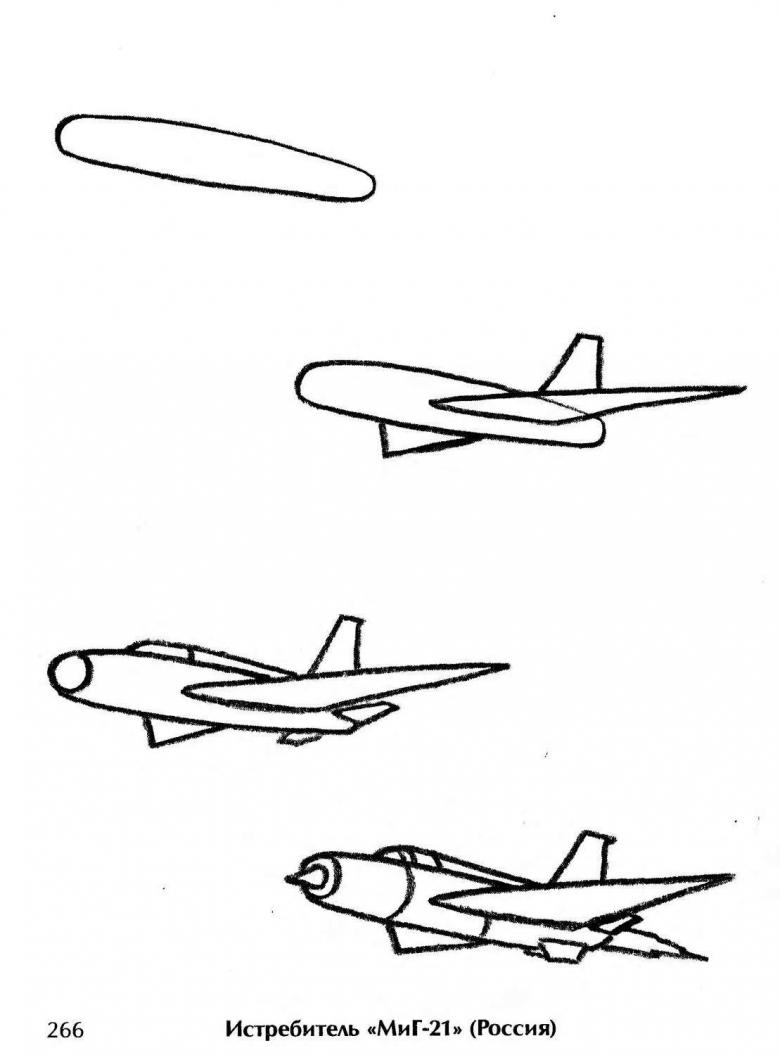
Jet aircraft
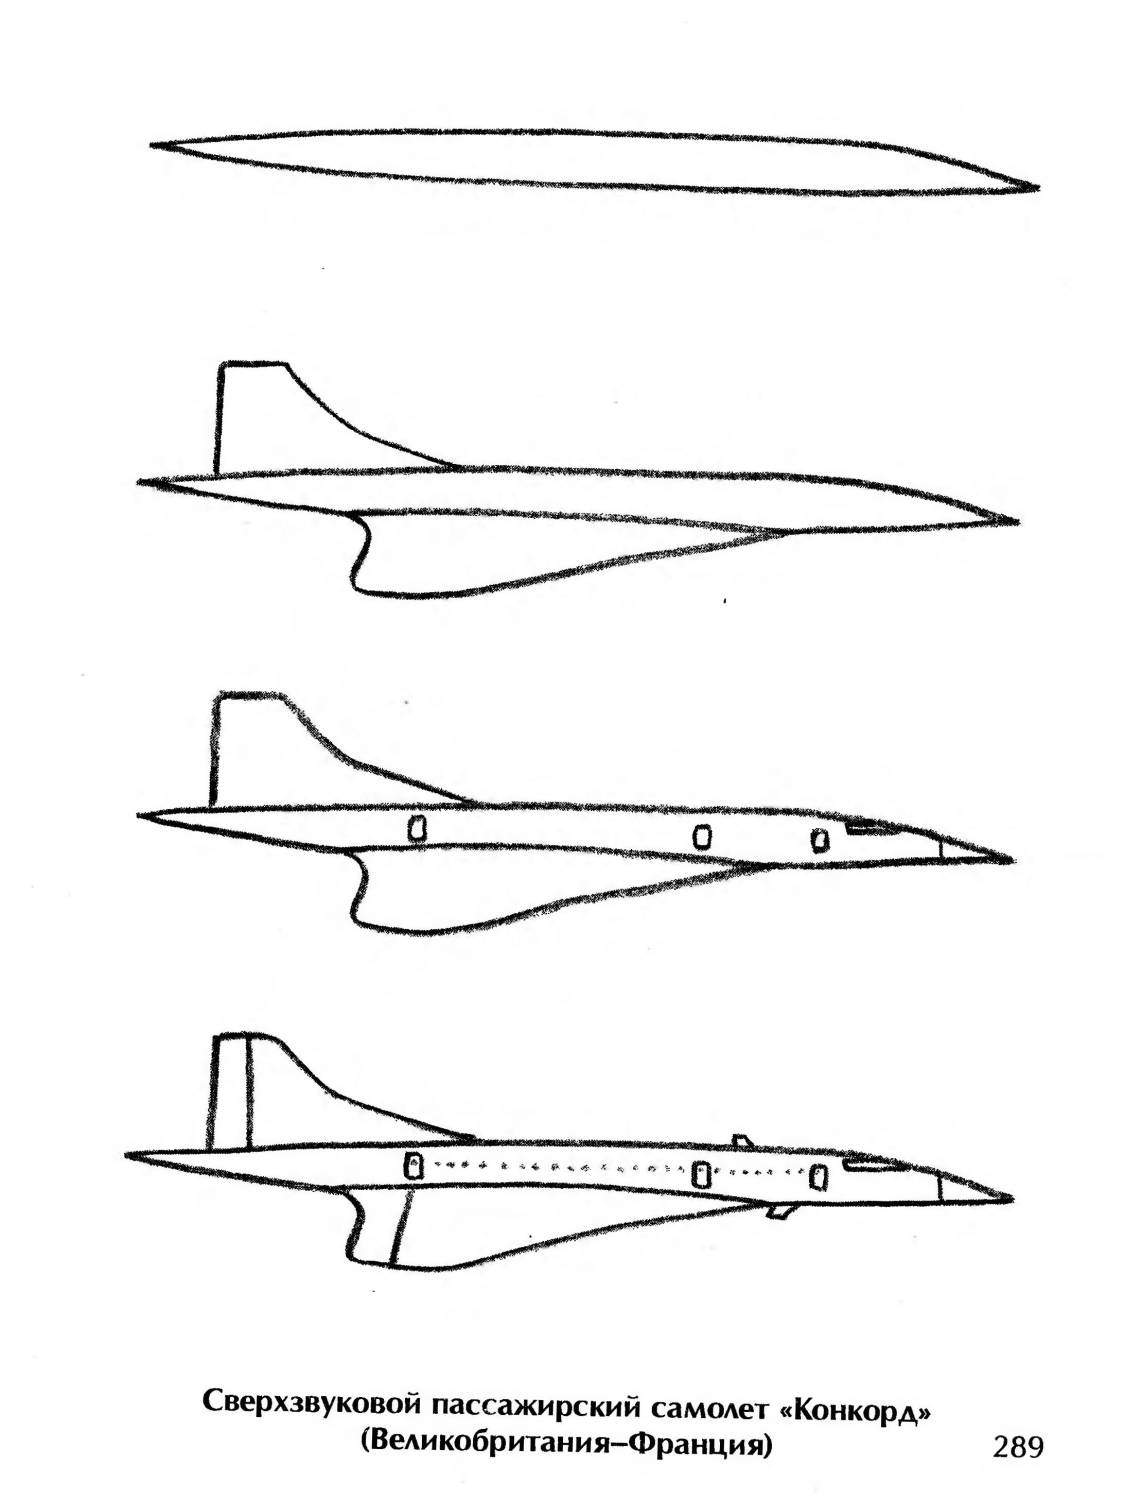
Drawing a military plane is more difficult. It is necessary to convey individual details to make it clear what kind of model it is.

So before drawing a military aircraft, its features are studied. For example, the cockpit of a jet fighter is designed for one seat. The machine runs on one or two engines. The plane can carry military weapons. The speed of flight exceeds the speed of sound. Military models participated in the battles of World War I.
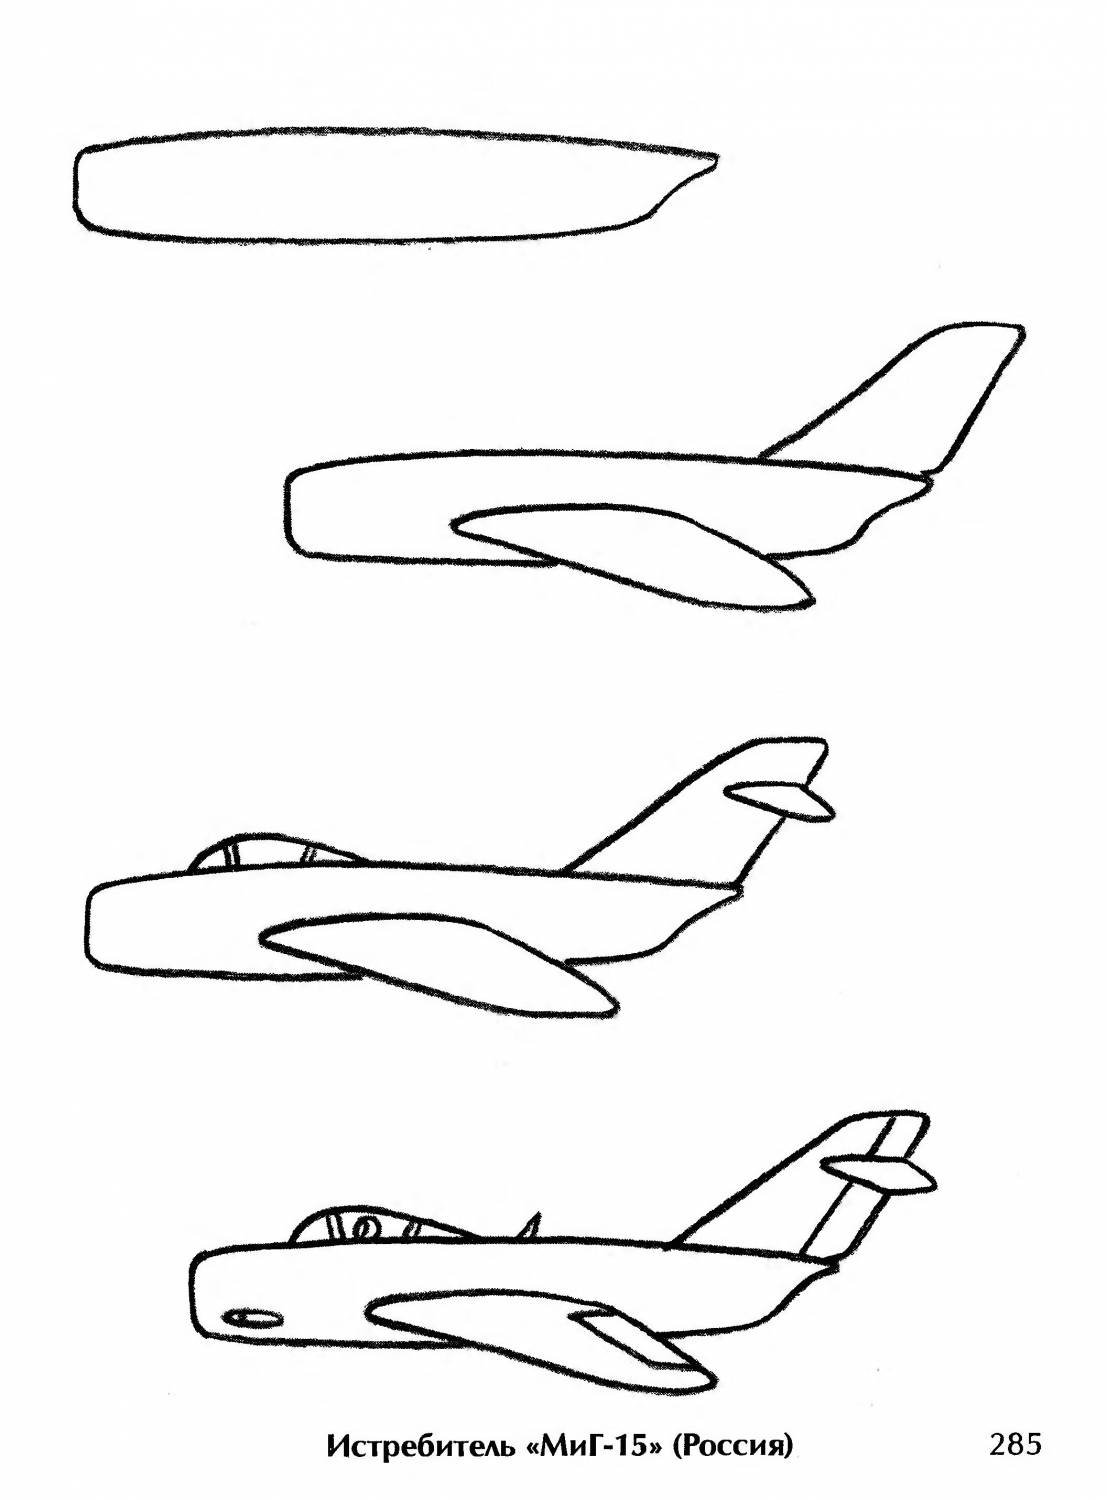
The hull template is drawn
The tentative hull shape is elongated. The nose part is sharp and the tail is positioned with a blunt edge. The image of the plane will be performed from the side, so the template will always be oblong. Further it is supplemented with details: wings, wheels, engines.
- The cockpit is depicted as a convexity from above closer to the pointed part of the airplane.
- Carrier and rear wings are finished to the hull template. The main contour lines are drawn bolder.
- A second wing is added to the background.
- The outline of the tail stabilizer is drawn.
- The cockpit consists of two sections, so it is divided by a line in half.
- The nose part of the hull is designed with a small arc and a line that extends beyond it.
- To the load-bearing wing in the foreplane, the flap is finished with an oblique line.
- On the tail stabilizer, lines are drawn for flap design.
- On the blunt part of the hull, three lines are drawn. They mark the place of the engine compartment of the aircraft.
- On the two wings, lines are drawn to simulate the rear flaps.
- As in the figure below the cockpit, an exhaust pipe is added.
- Aircraft carried on board missiles. They are depicted as thin arrows on the end of each wing.
- Under the hull of the airplane are added fuel tanks.
Remains to paint a military aircraft and complete drawing of the ilot in the cockpit.
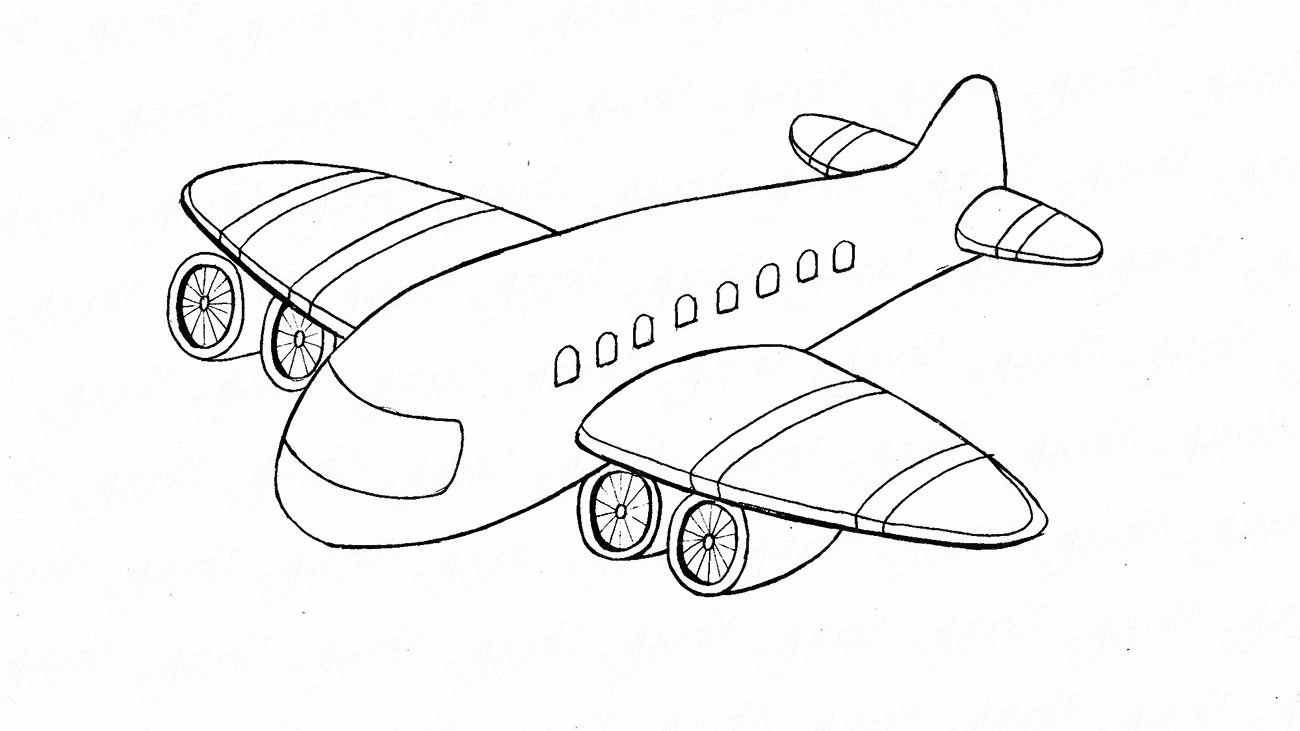
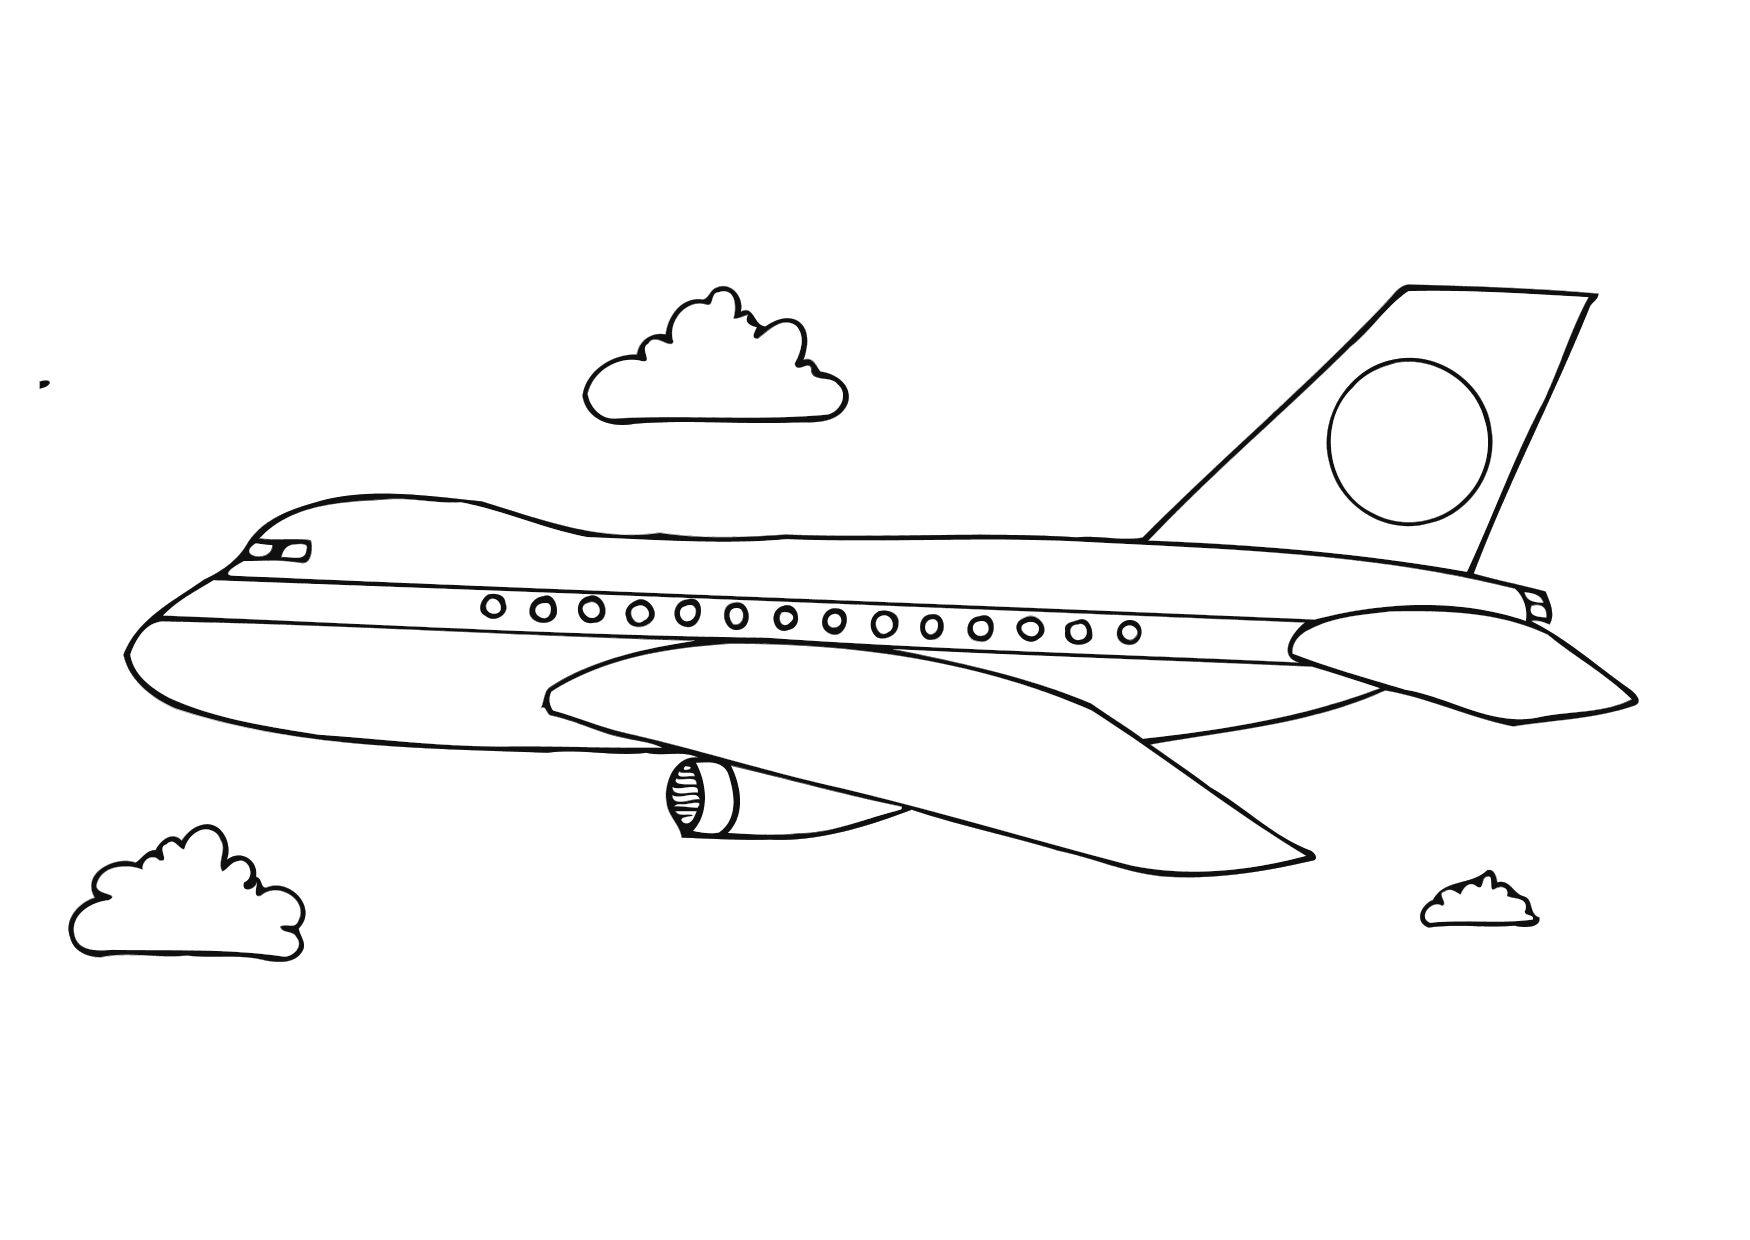
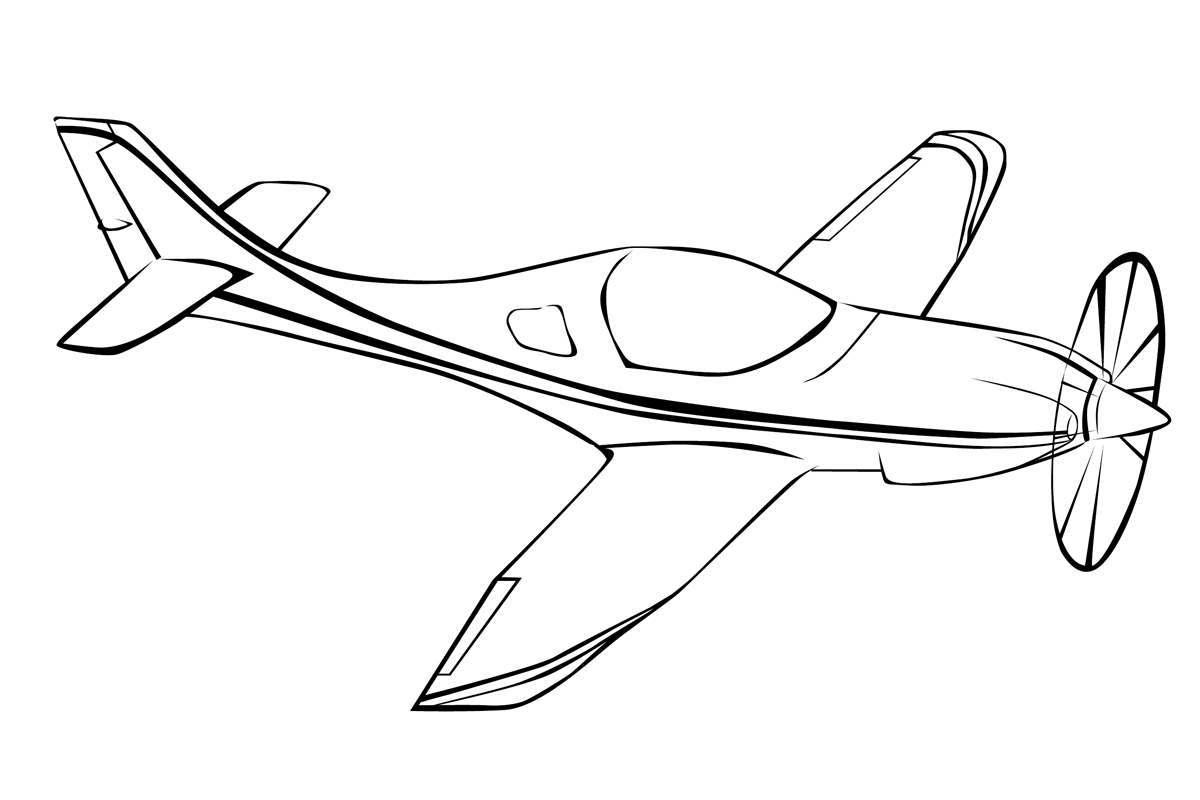
Passenger airplane
In the peaceful sky remains the master of the passenger plane. He likes to draw not only boys but also girls who dream of becoming stewardesses. Step-by-step instructions will help you figure out how to draw a passenger plane. It doesn't look like a fighter jet at all, so the steps will be different.
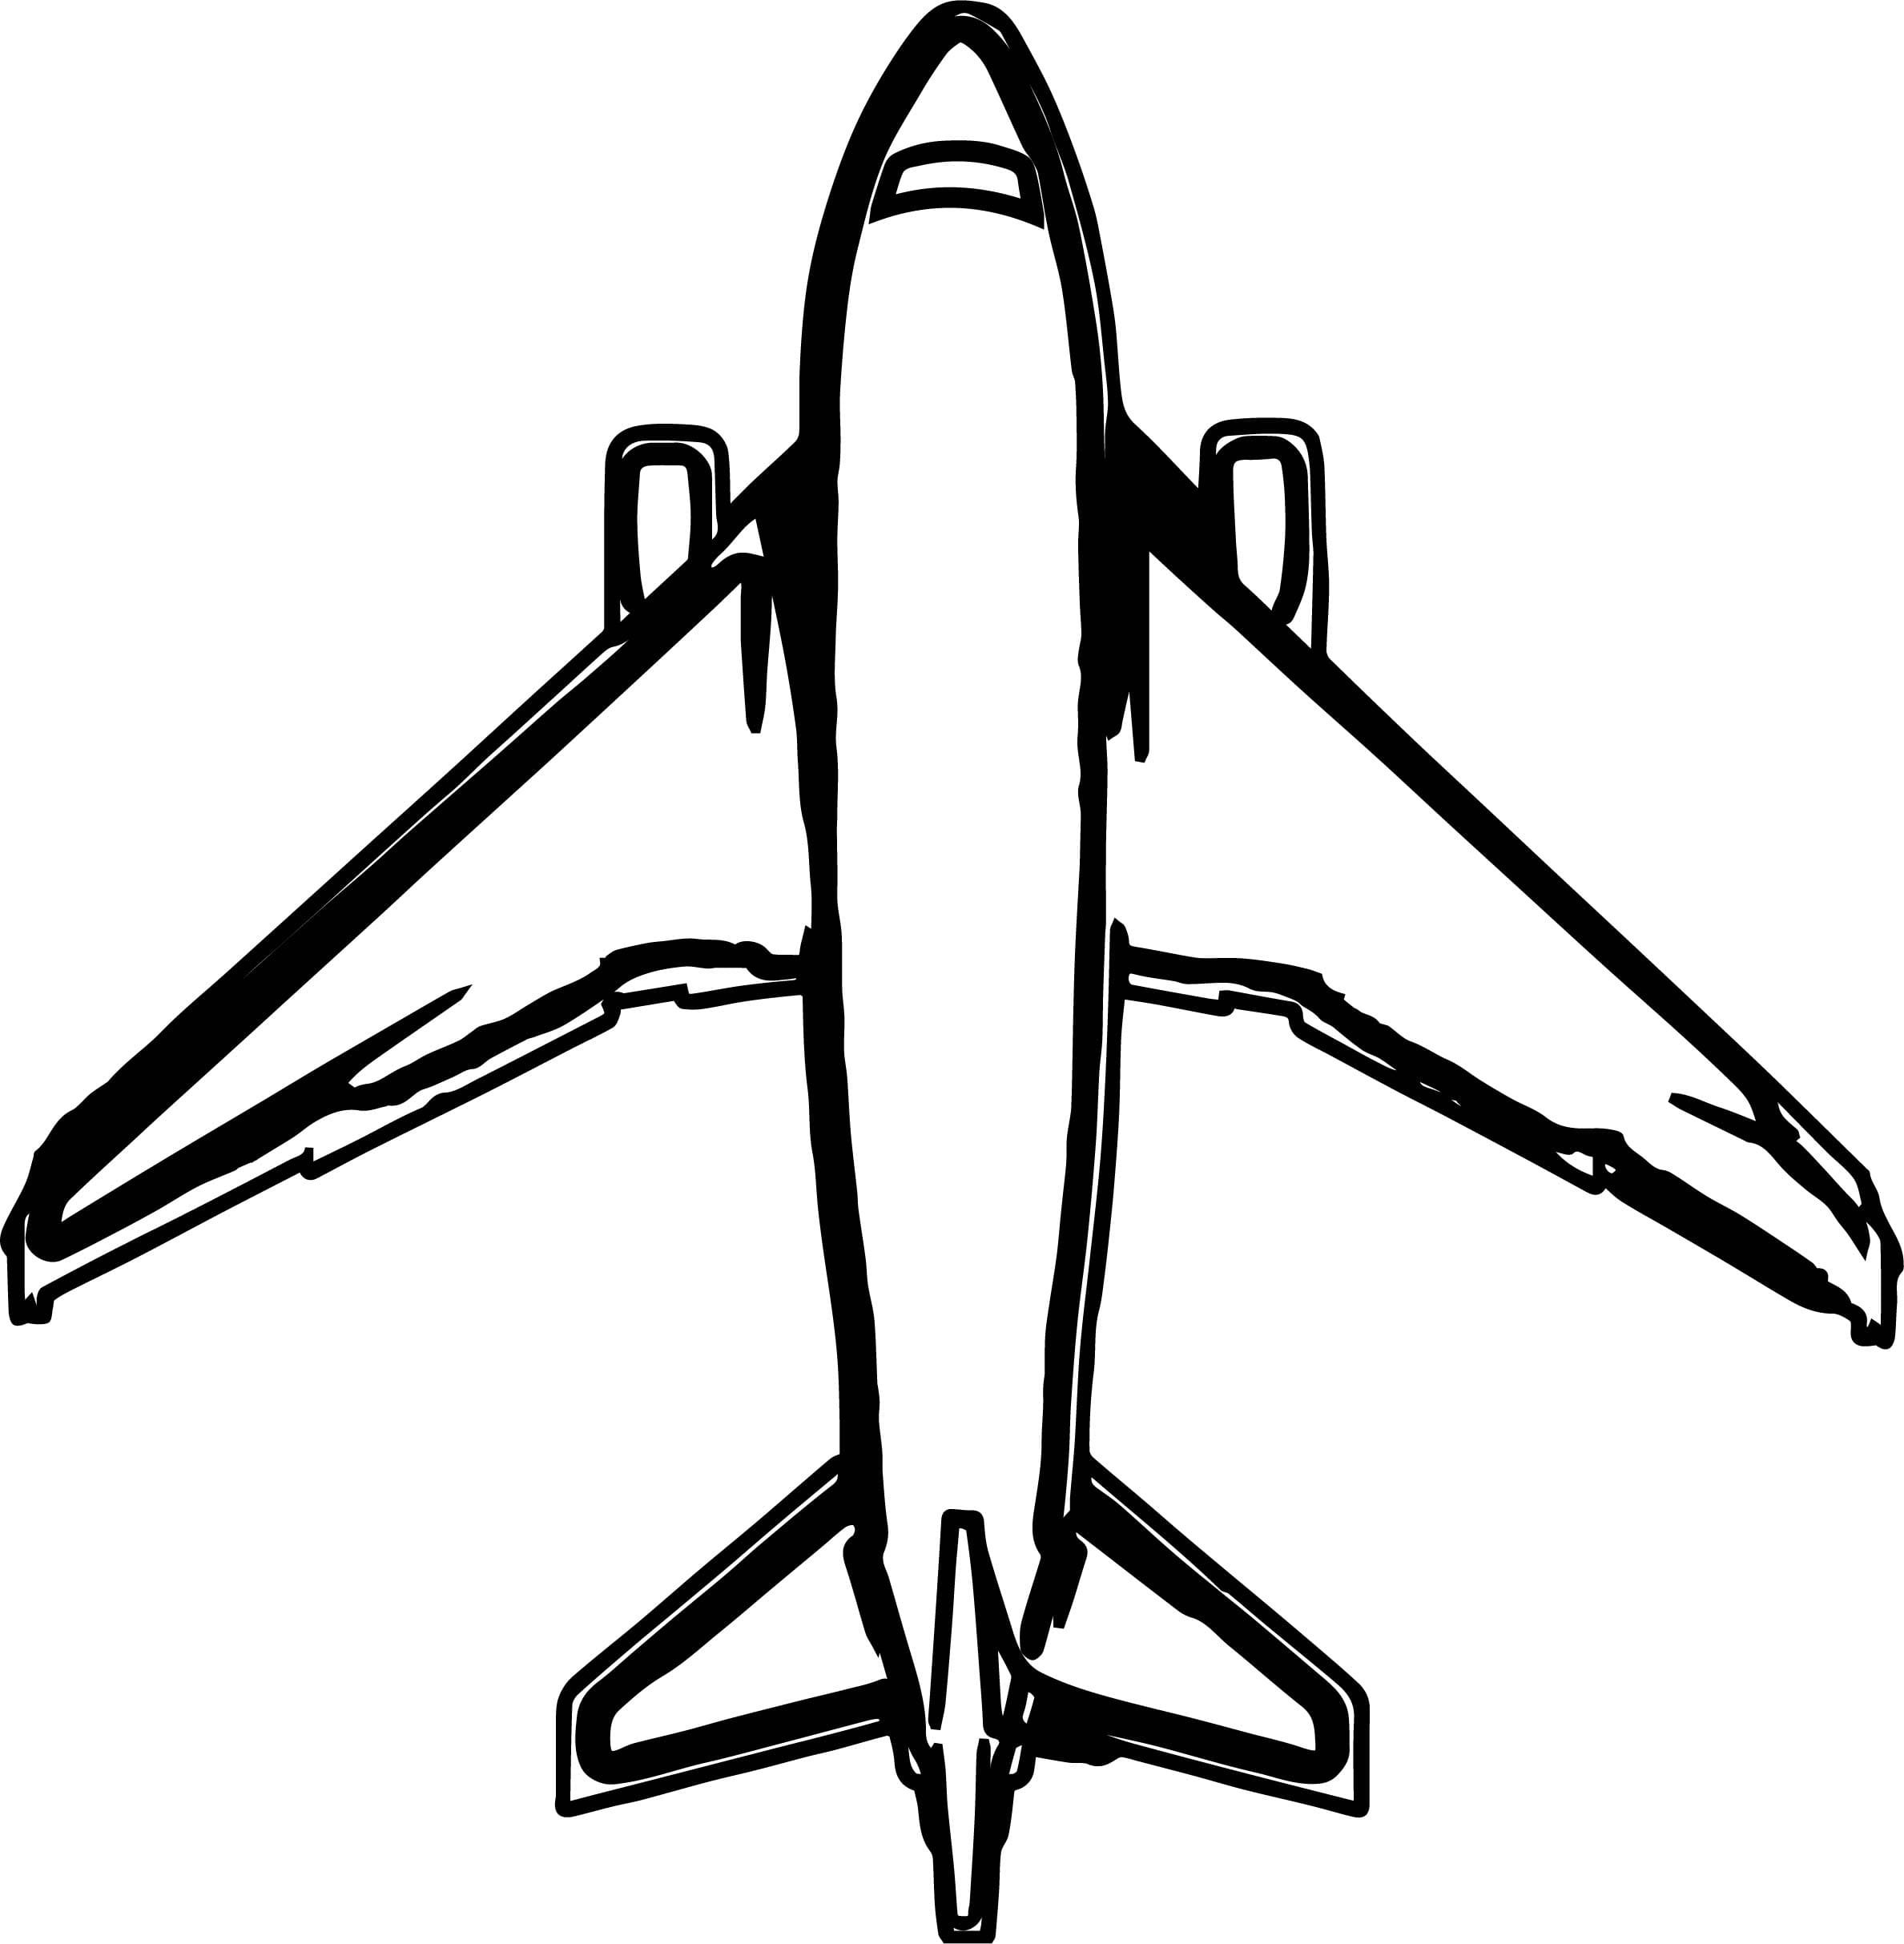
- The body of the passenger plane is drawn as a long cylinder with a slight slope.
- On the left side of the cylinder is added to the nose part.
- On the right side the tail and stabilizer wings are completed.
- Carrying wings are drawn with long straight lines. The wing in the foreground is long and narrow, and the second wing is drawn wide and small.
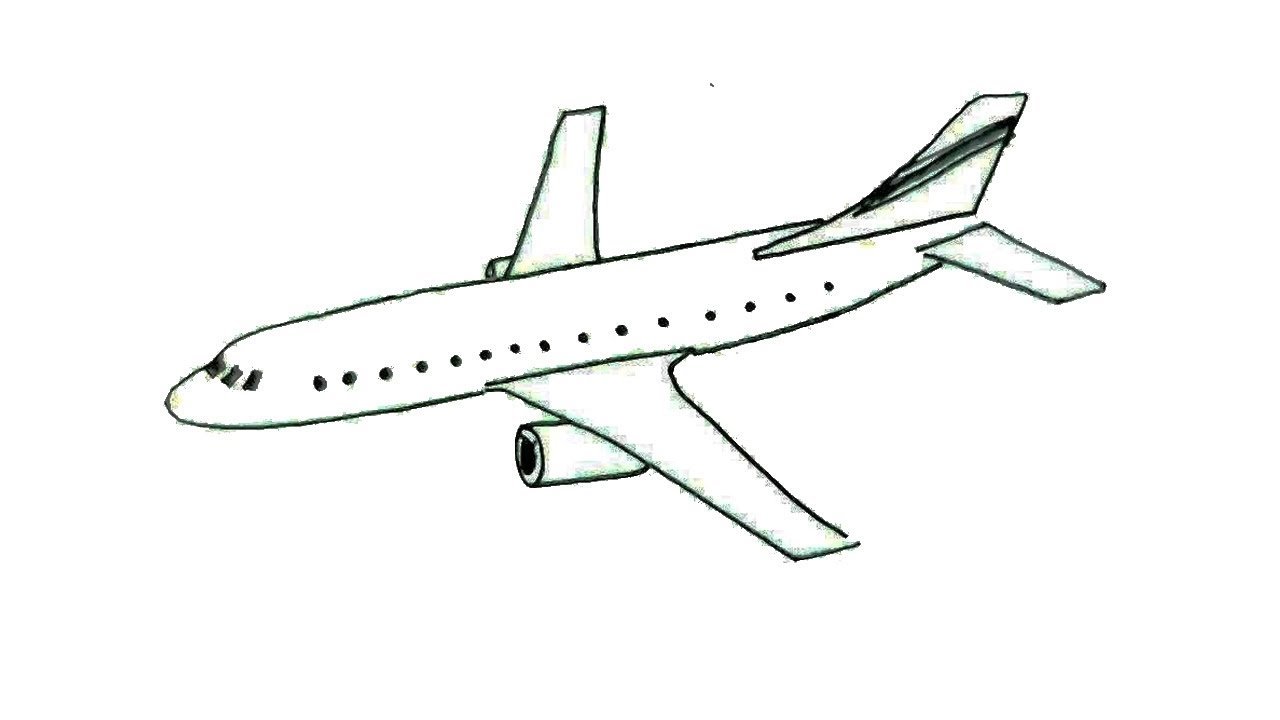
- The contours of the windshield are drawn in the nose.
- The turbine engine is depicted under the fore wing.
- All conventional lines are wiped out. The contour lines are drawn bolder.
- Small details are added on the cockpit glass and turbine engine.
- Completes the drawing of the passenger plane sketching doors and windows on the fuselage.
The drawing of a passenger airplane is ready.
There are two ways to draw a military or passenger airplane on paper. In the first case, draws immediately outline of the lines, which is gradually worked through and added shapes, details. In the second case, a sheet of paper is applied to a three-dimensional template. This can be a cylinder, oval, rectangle or triangle. The second option helps to fix the important details and not to miss the small ones.

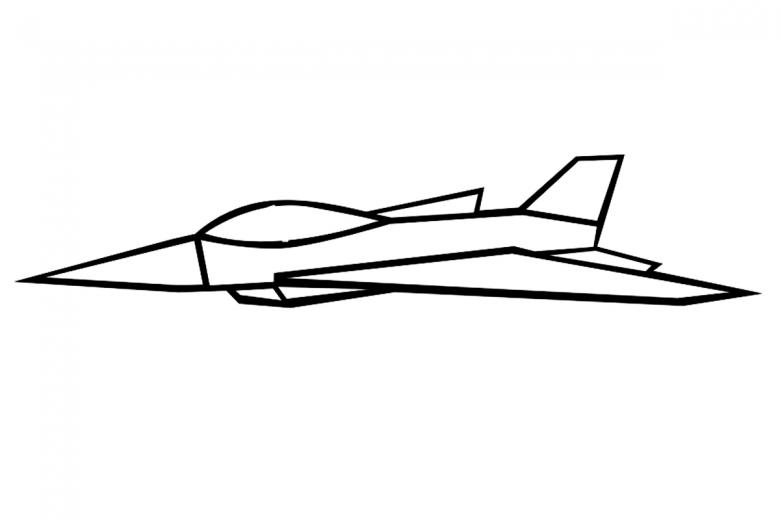
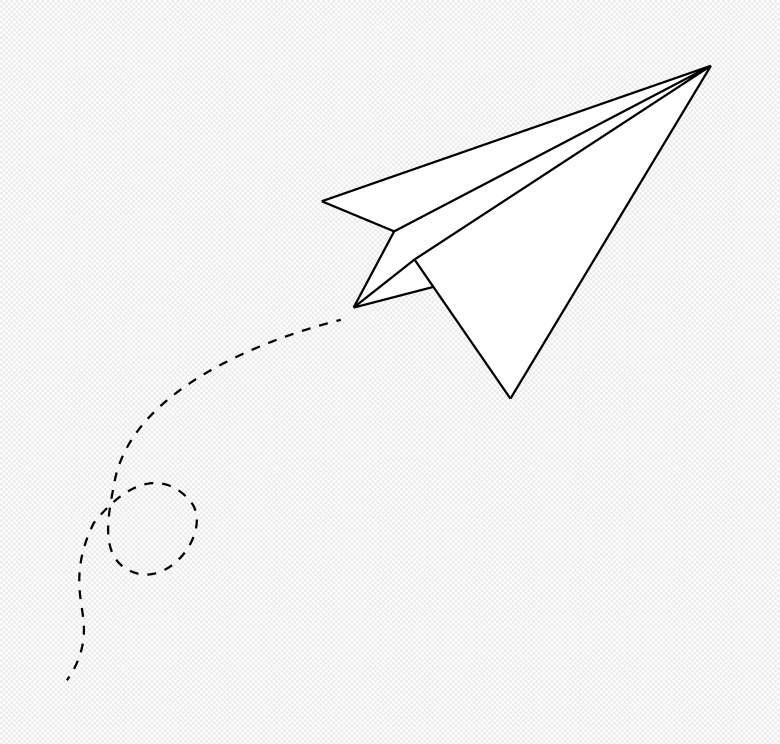
Paper airplane
Children's acquaintance with the aircraft begins with the modeling of a paper airplane. But it is not difficult to draw such a model. Strict lines and play with shadows are the basis of the lesson how to draw a paper airplane.
- Draw the first triangle with a slight slope. Its blunt apex looks up.
- The second smaller triangle is drawn on top. The two figures share a common apex.
- At the level of the top under the base line of the first triangle drops a small segment. Its end connects to the top of the left corner. So builds the bottom of the airplane.
- From the right bottom apex of the second triangle is dropped another segment parallel to the first.
- Pencil shadows are applied to the area between the triangles and the bottom of the airplane.
Drawing is ready.
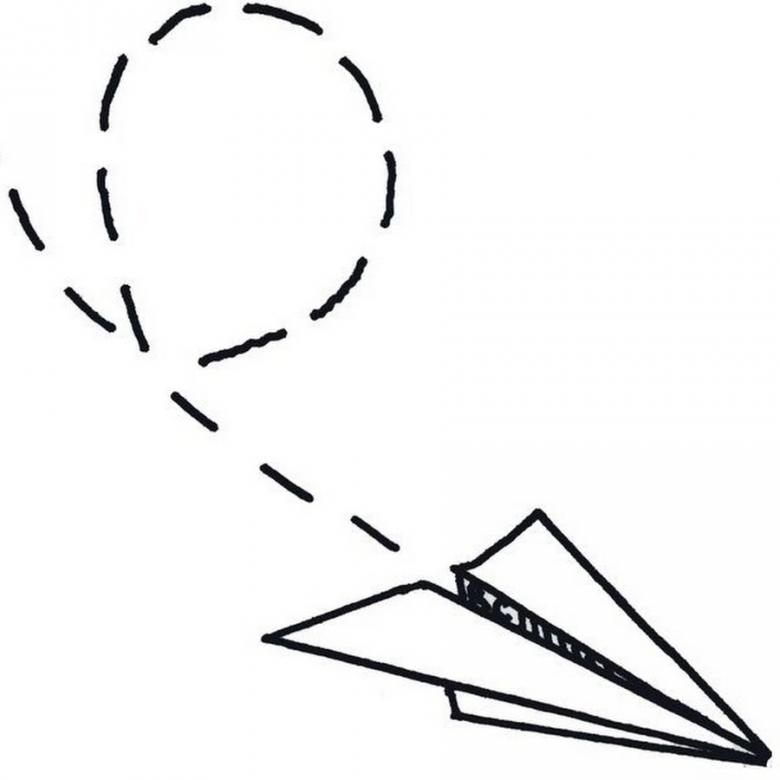
The basis of drawing uses the technique of drawing at an angle, when you can use any scale, sharp angles and triangles are taken as templates. Shadows on individual elements help to show the plane in a certain angle.

Algorithm of drawing an airplane
Whatever model of an airplane is drawn, there is a general scheme that helps the novice artist to cope with the task.
- Contour lines are drawn with a pencil without using force. Some of them will be rubbed out.
- Details of the plane are finished drawing gradually and connected to the body in a single whole with smooth lines.
- The underside of the machine is worked out. At this step, engines are added, elements under the tail.
- Wings are depicted from the perspective of their visibility.
- The smallest details are added. Lines of the tail and windows are drawn.
- The image of the plane is colored and the background is drawn.
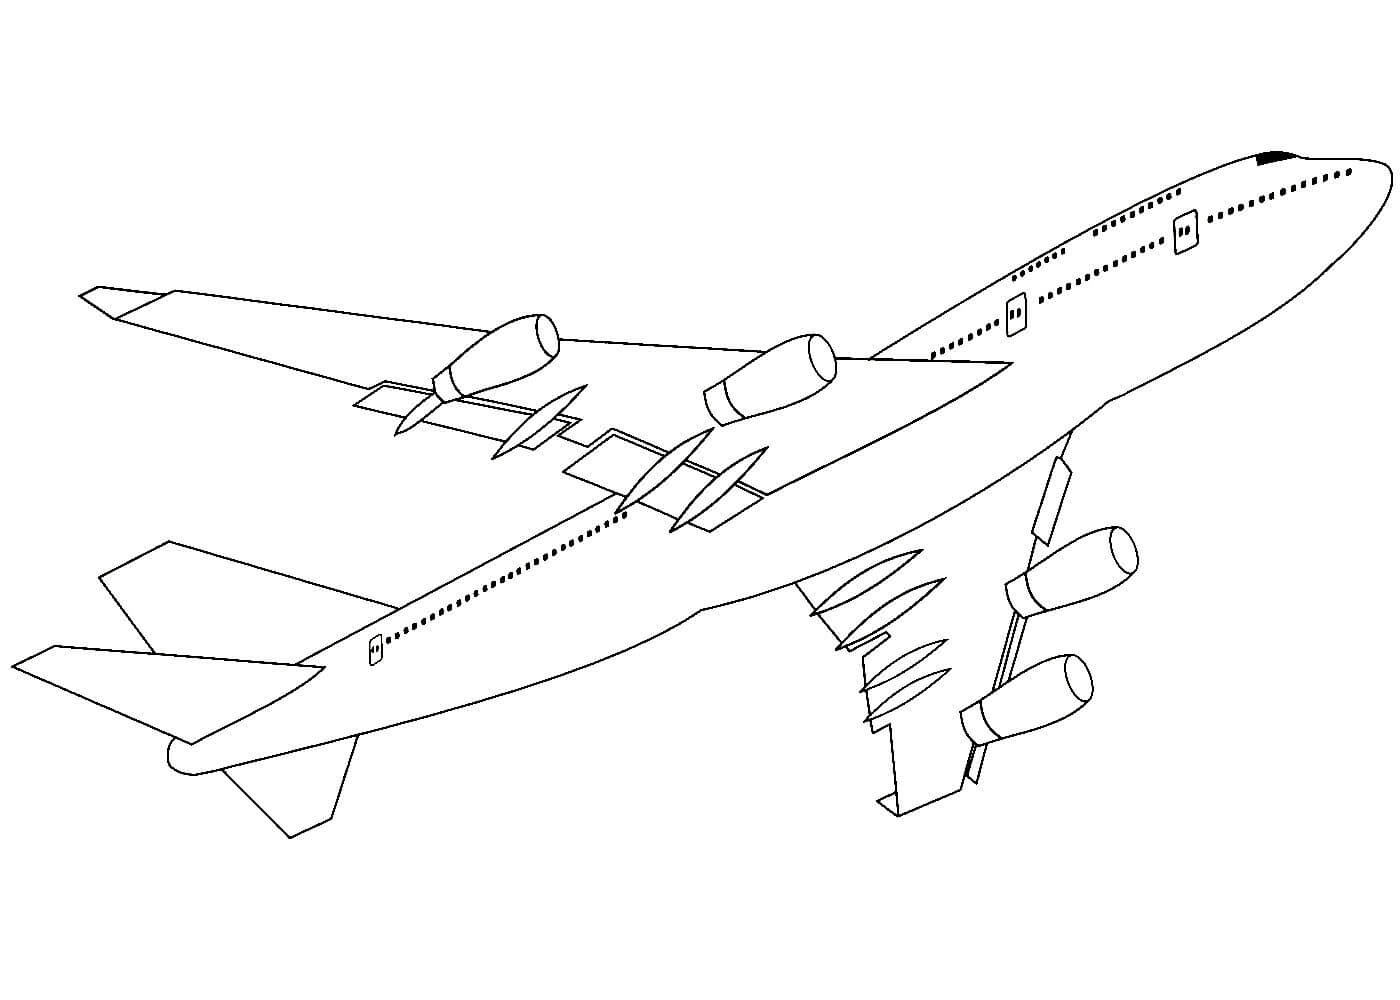
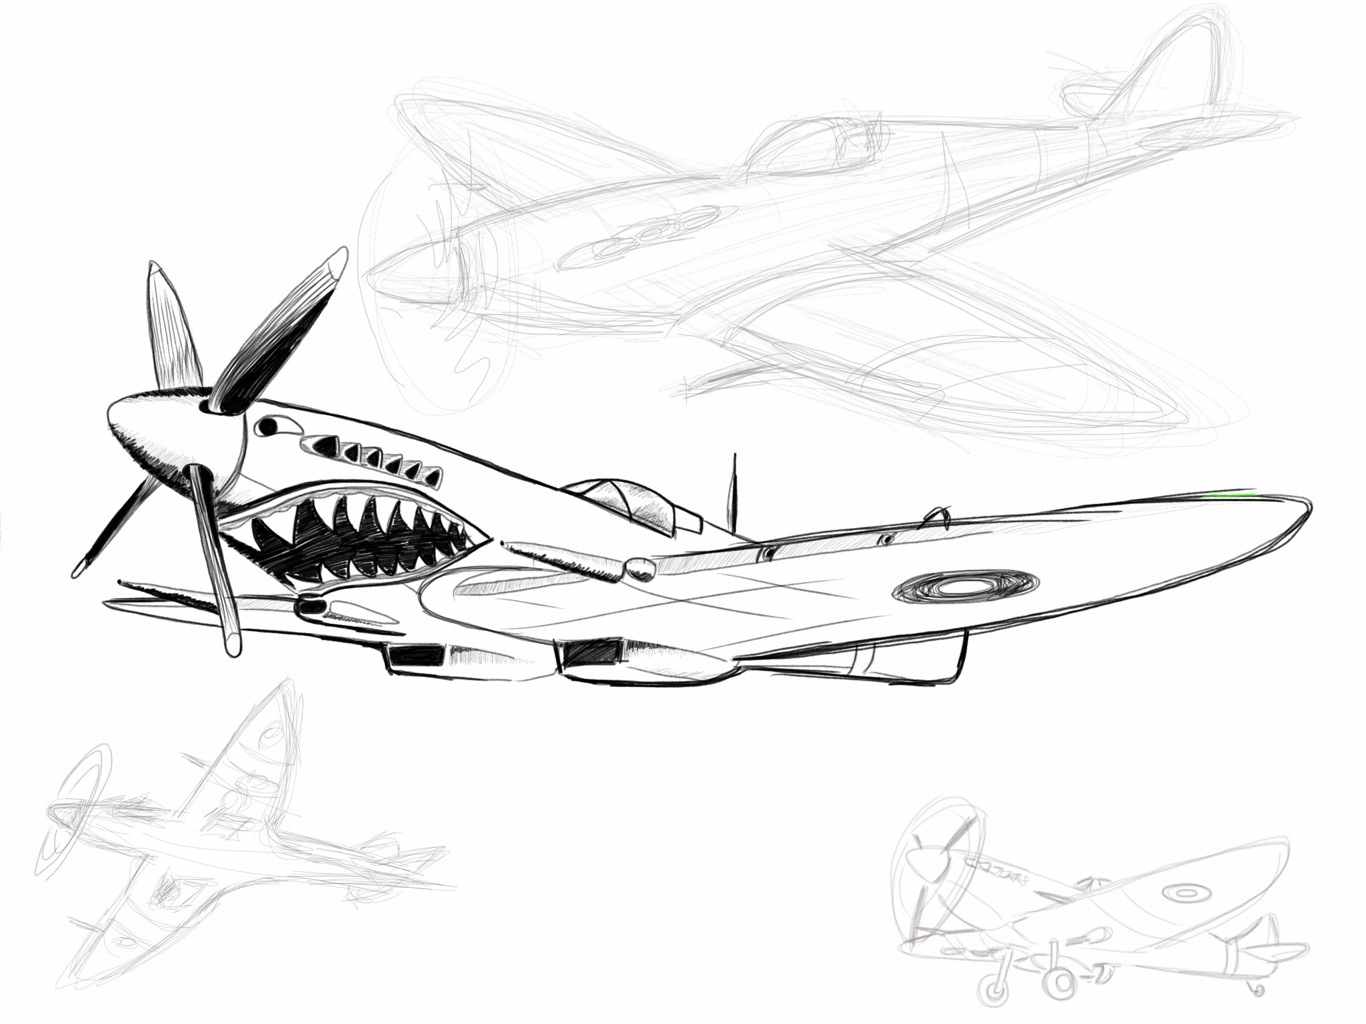
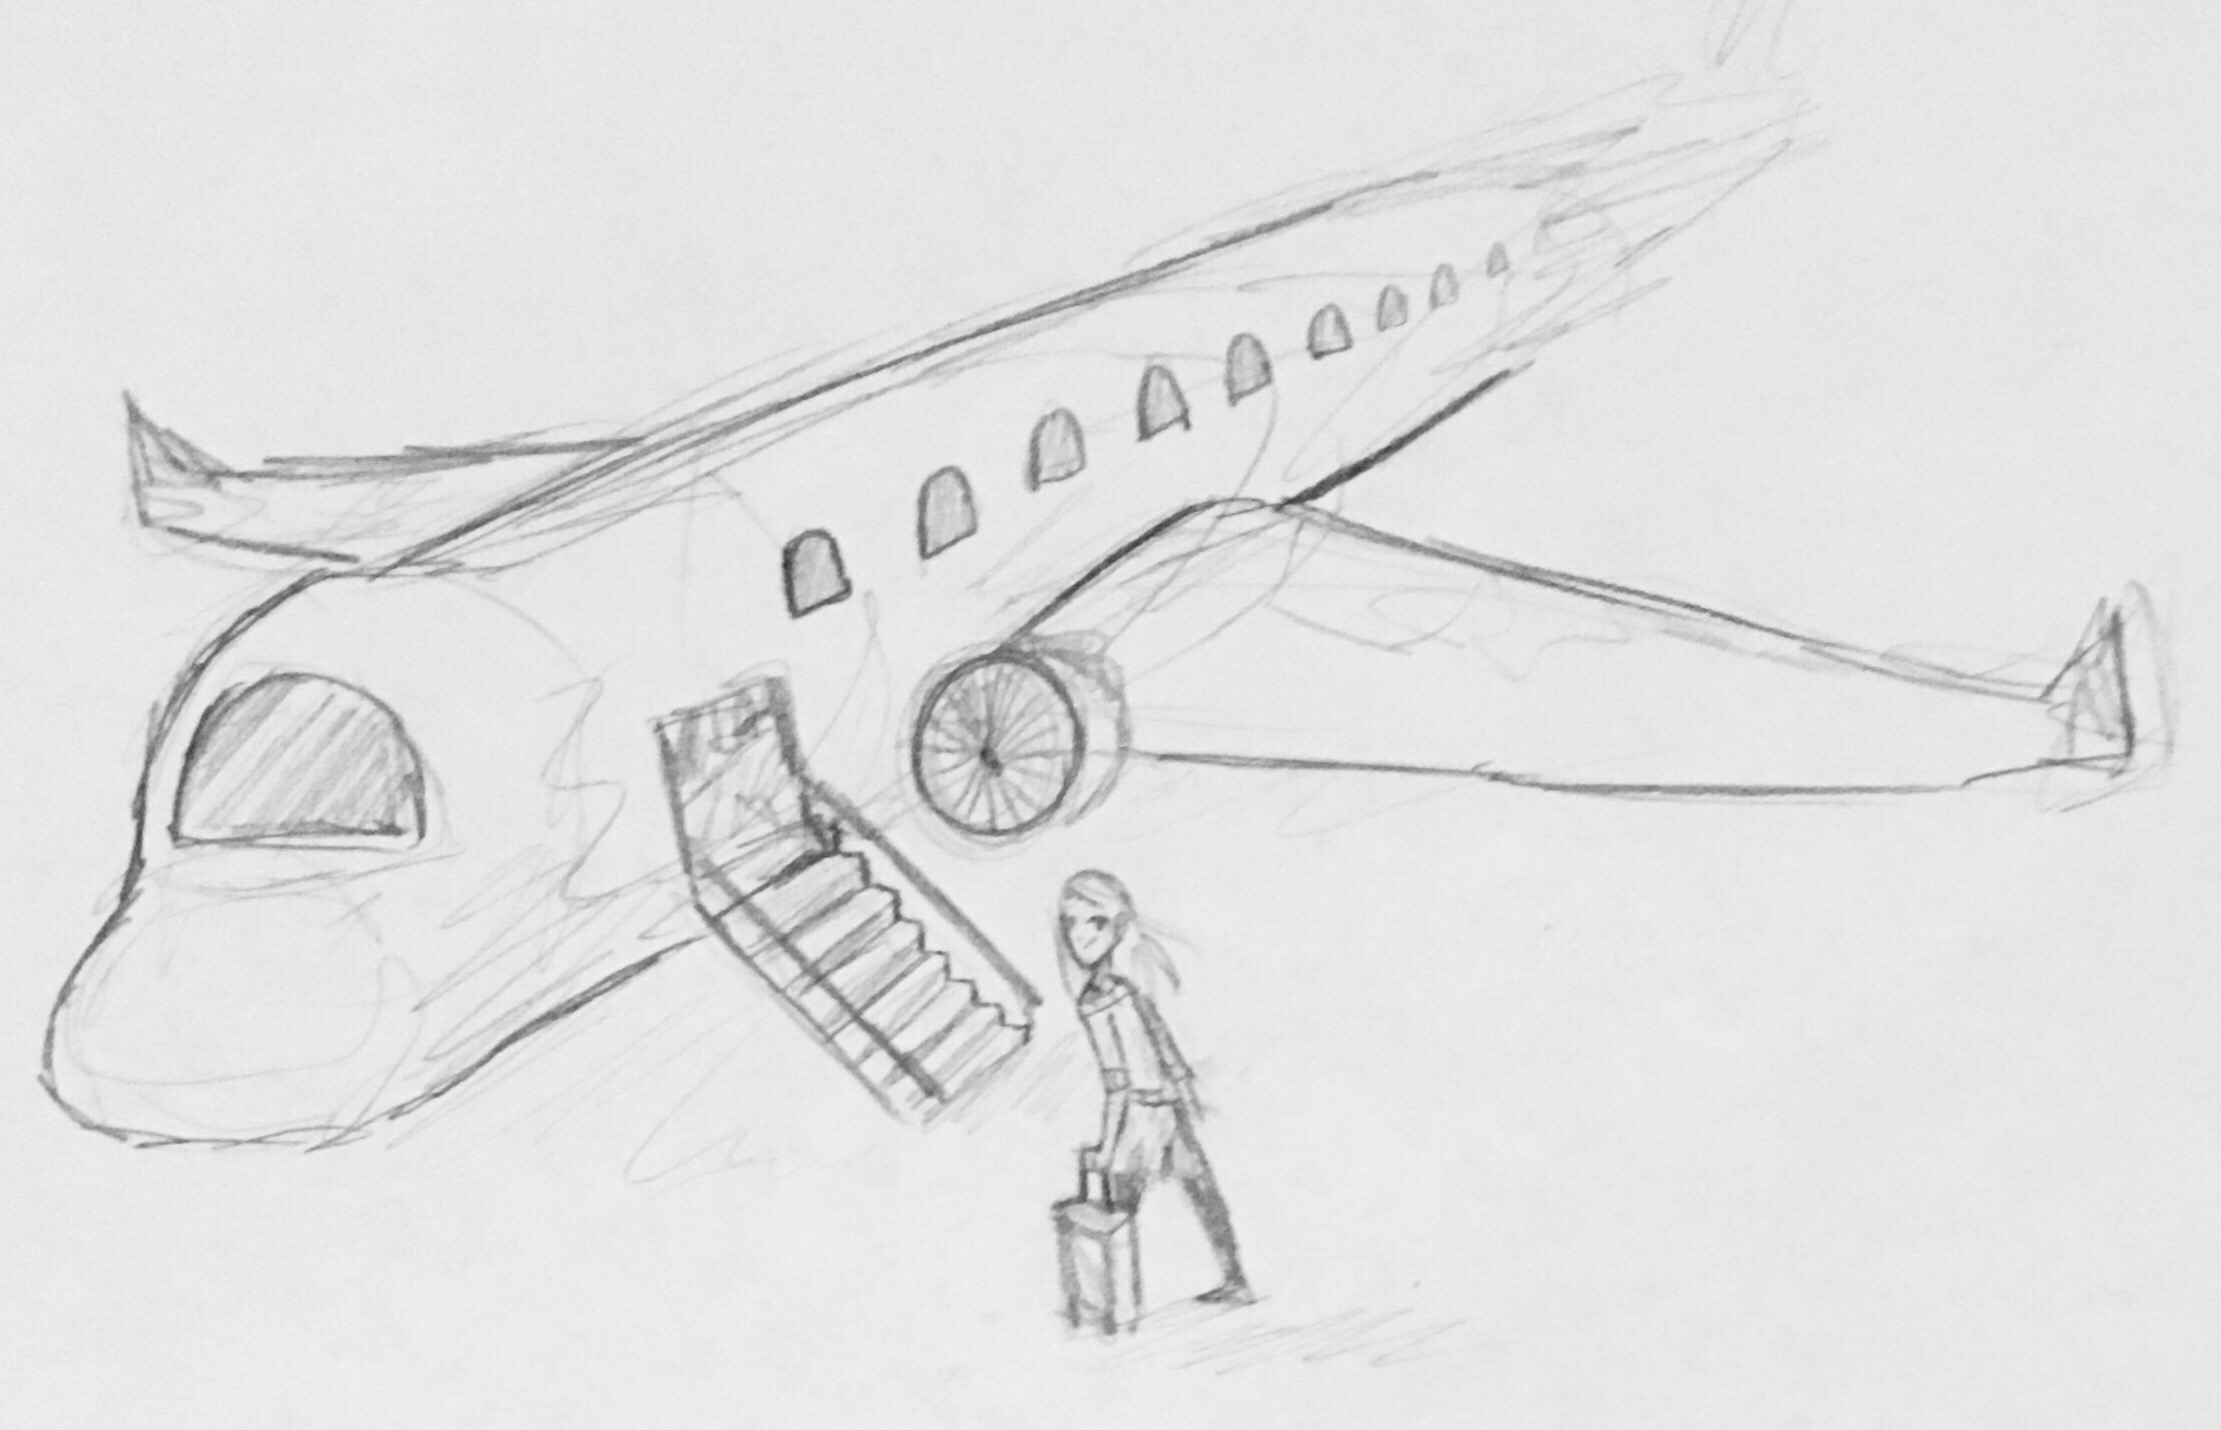
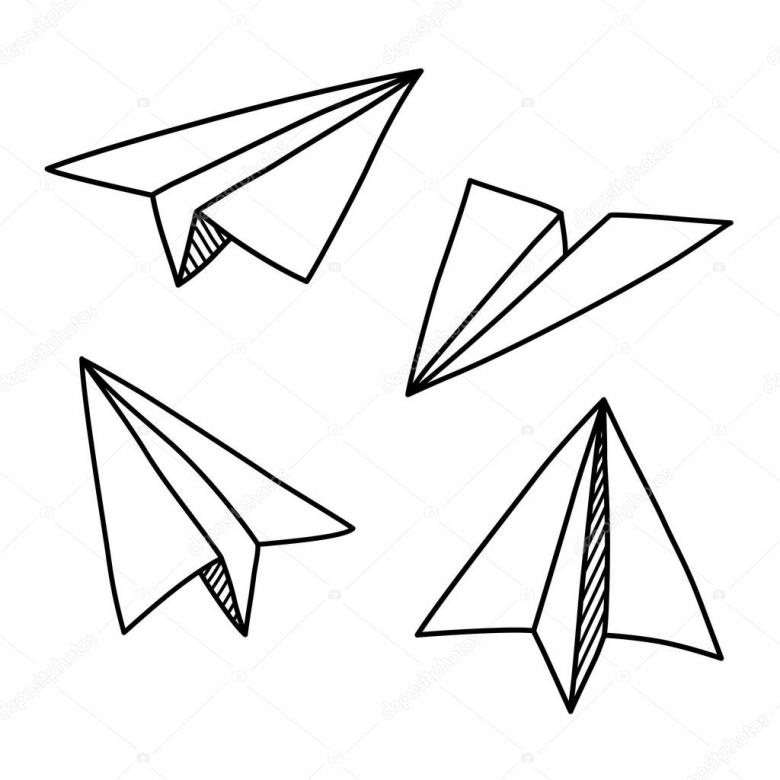
Pictures of airplanes for sketching in pencil