How to Draw a Pine Tree in Pencil: Simple Drawings for Beginners and Children
A pine tree is attractive because of its majestic article. It has powerful and strong roots. Thanks to them, the pine tree is held on the slopes of mountains and on the sands. It is one of the oldest plants. No wonder there is a desire to figure out how to easily draw a pine tree.
Characteristics of the pine tree
To make the image of the tree was closer to reality, it is necessary in advance in the head to lay out all its characteristic features. For beginners, the question of how to draw a pine step by step should begin with a "portrait" description of the pine.
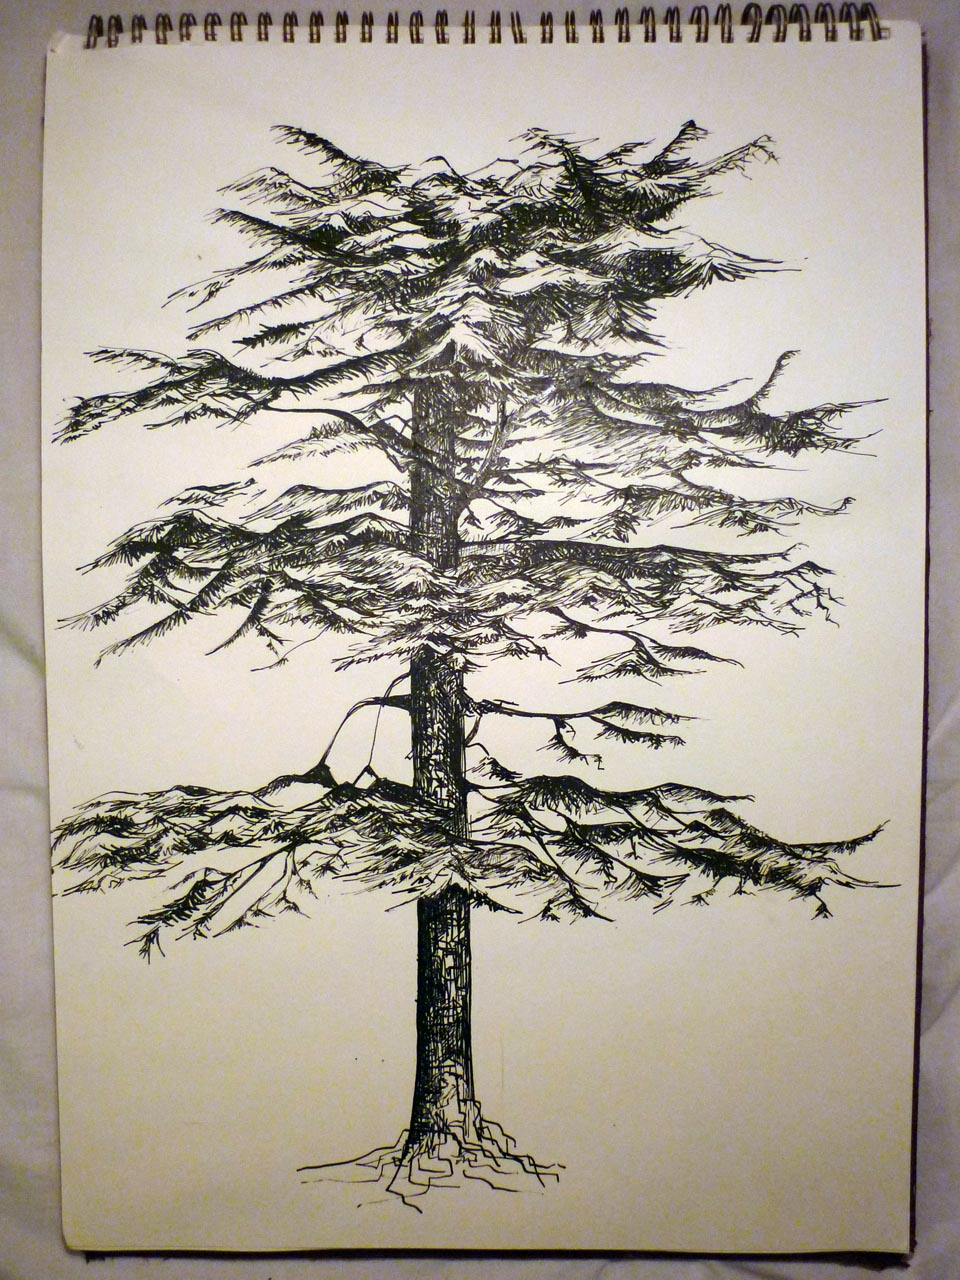
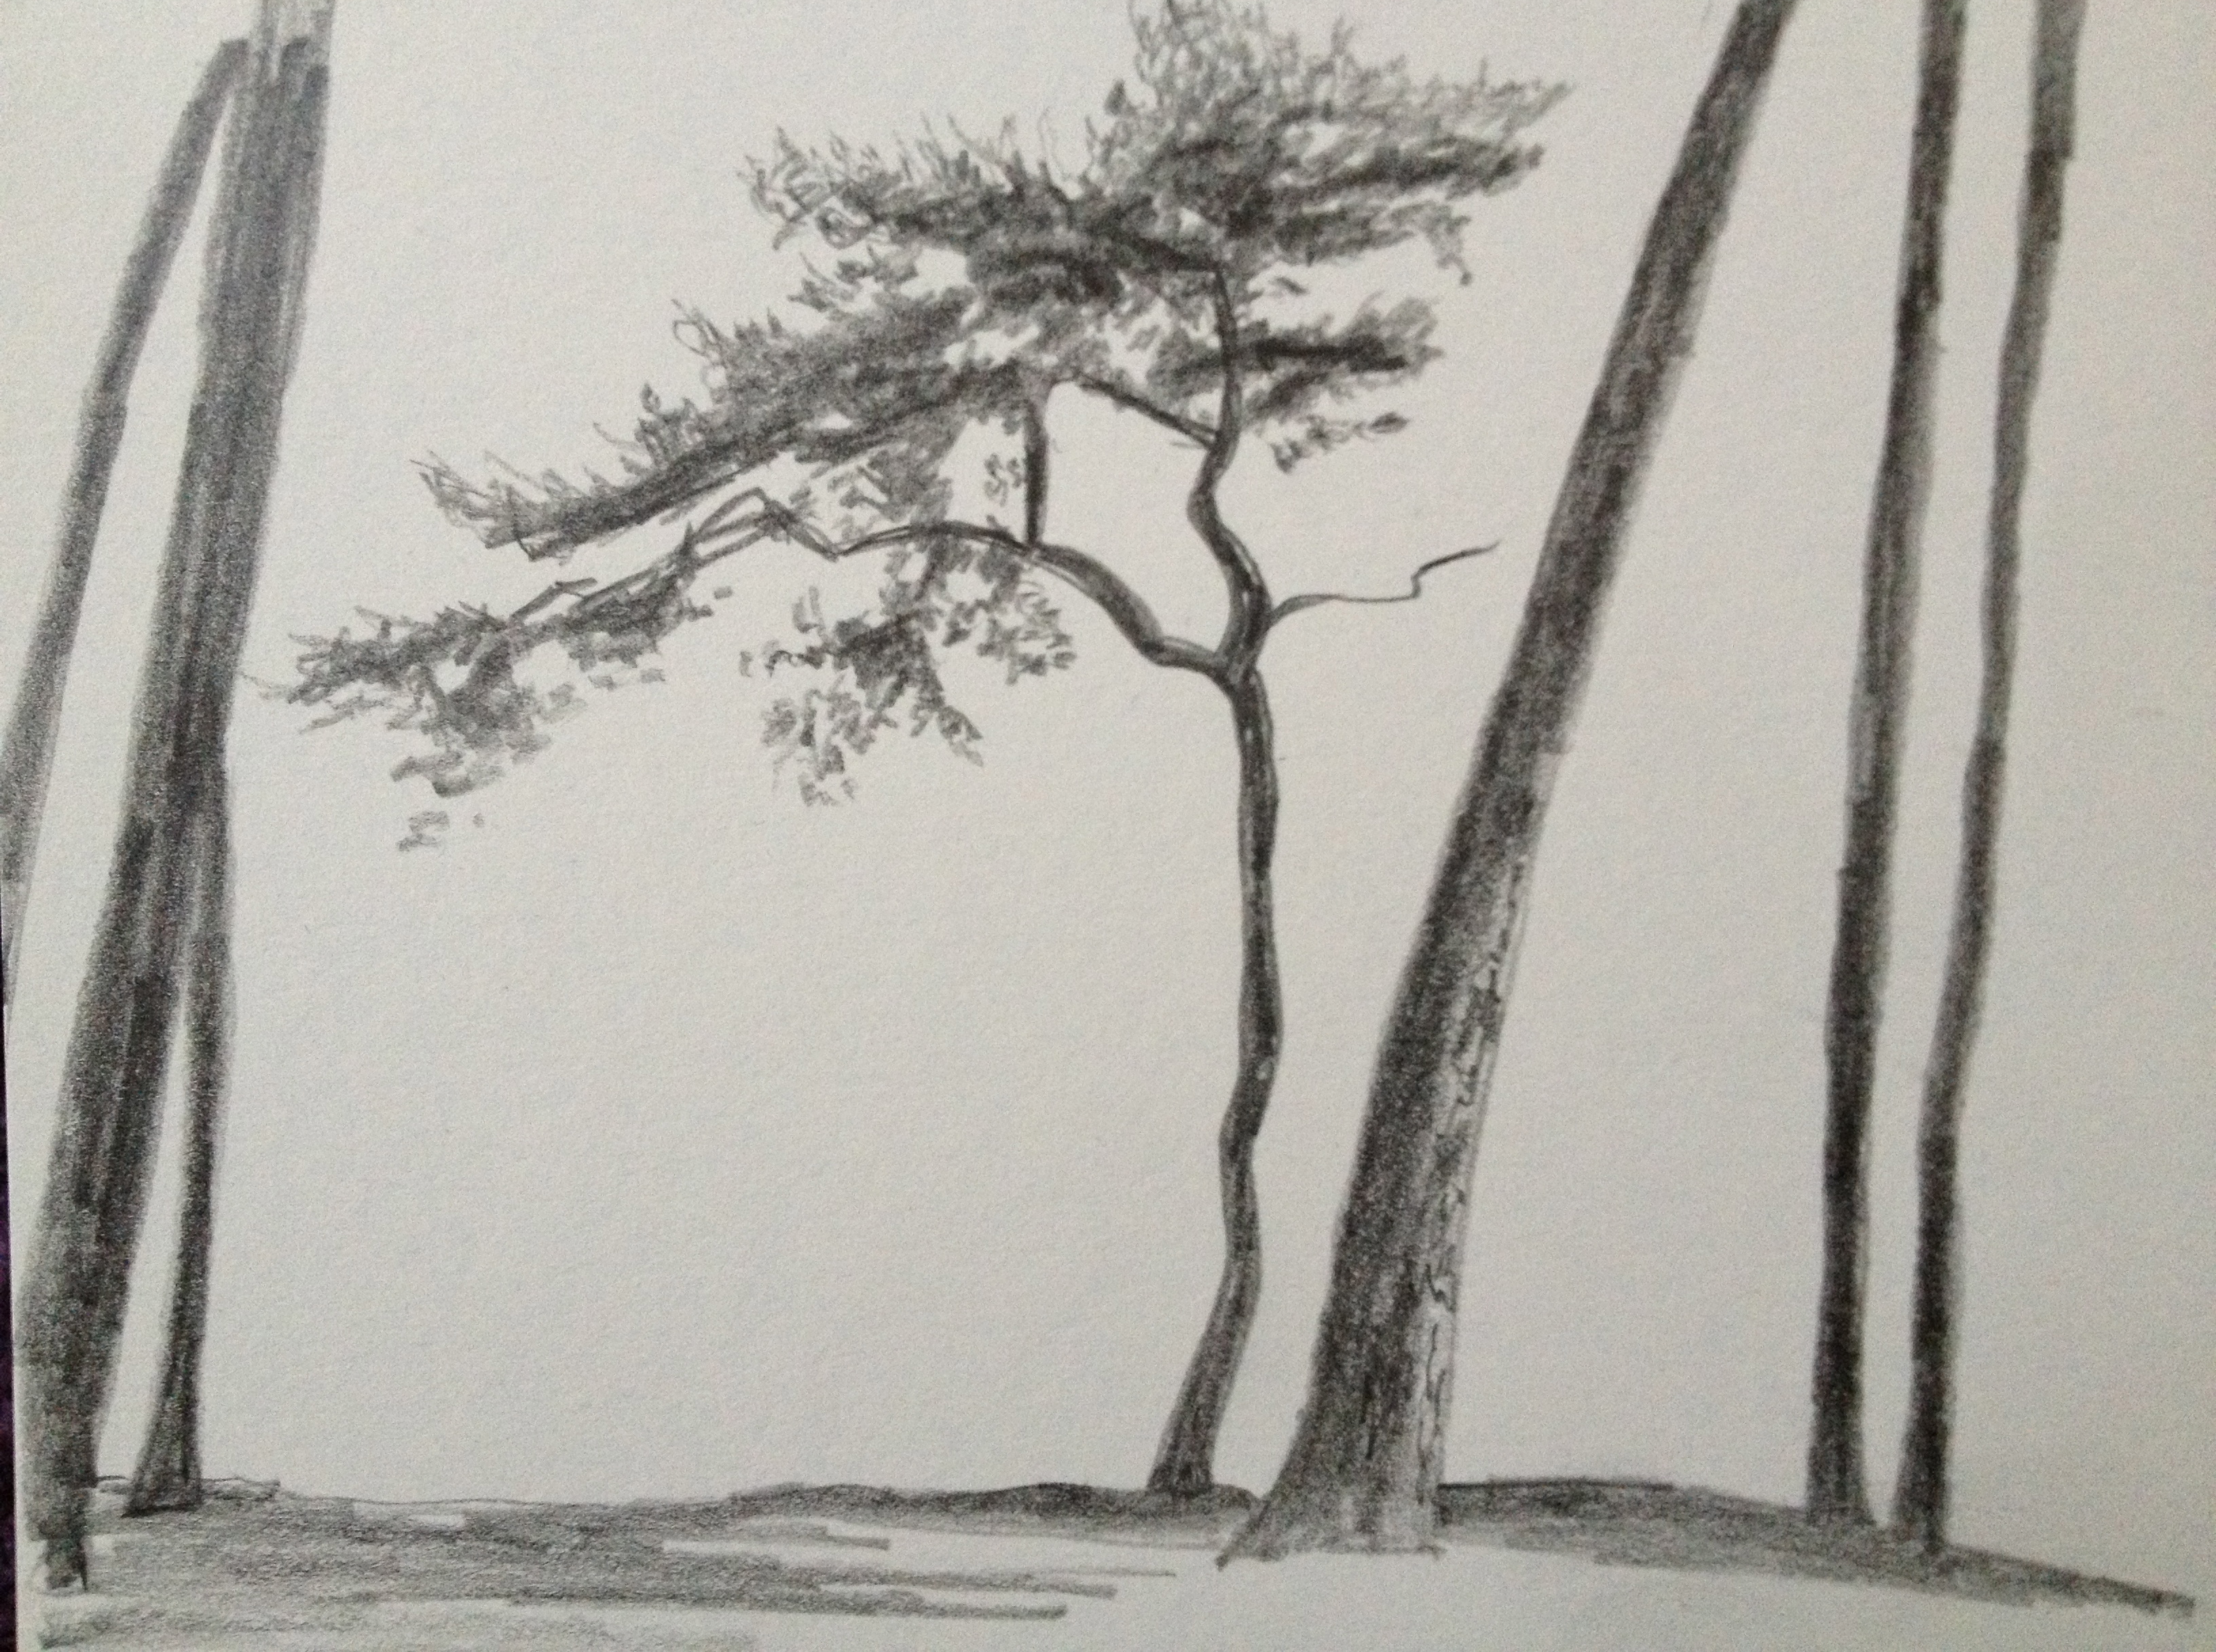
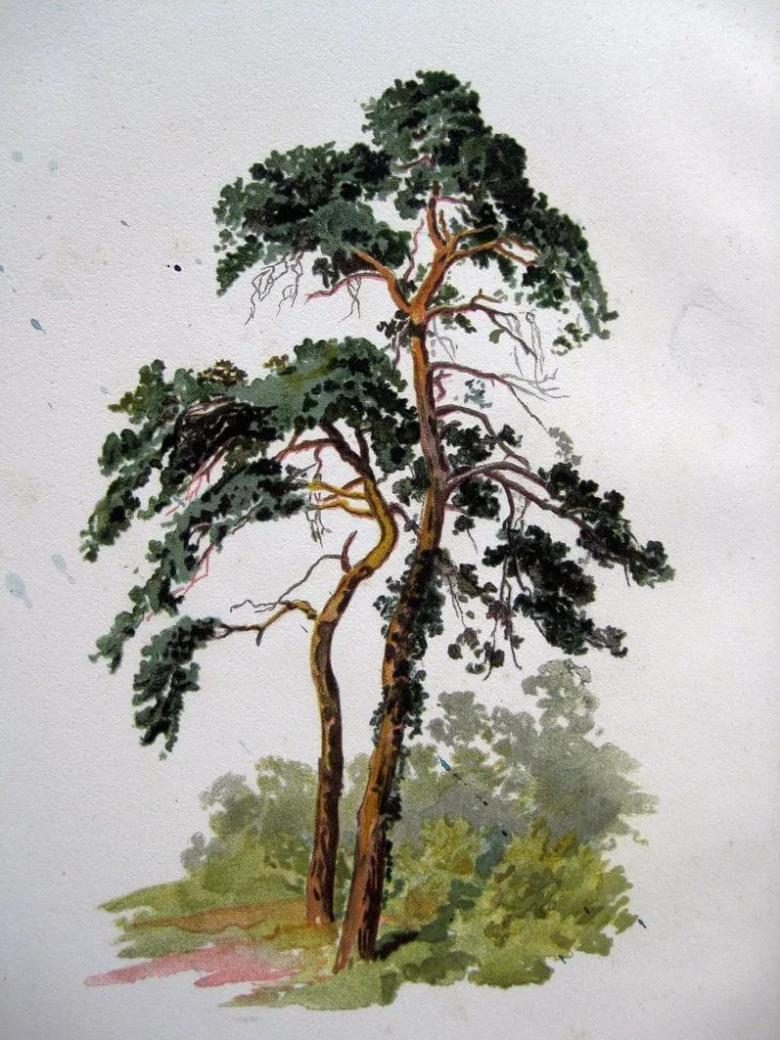
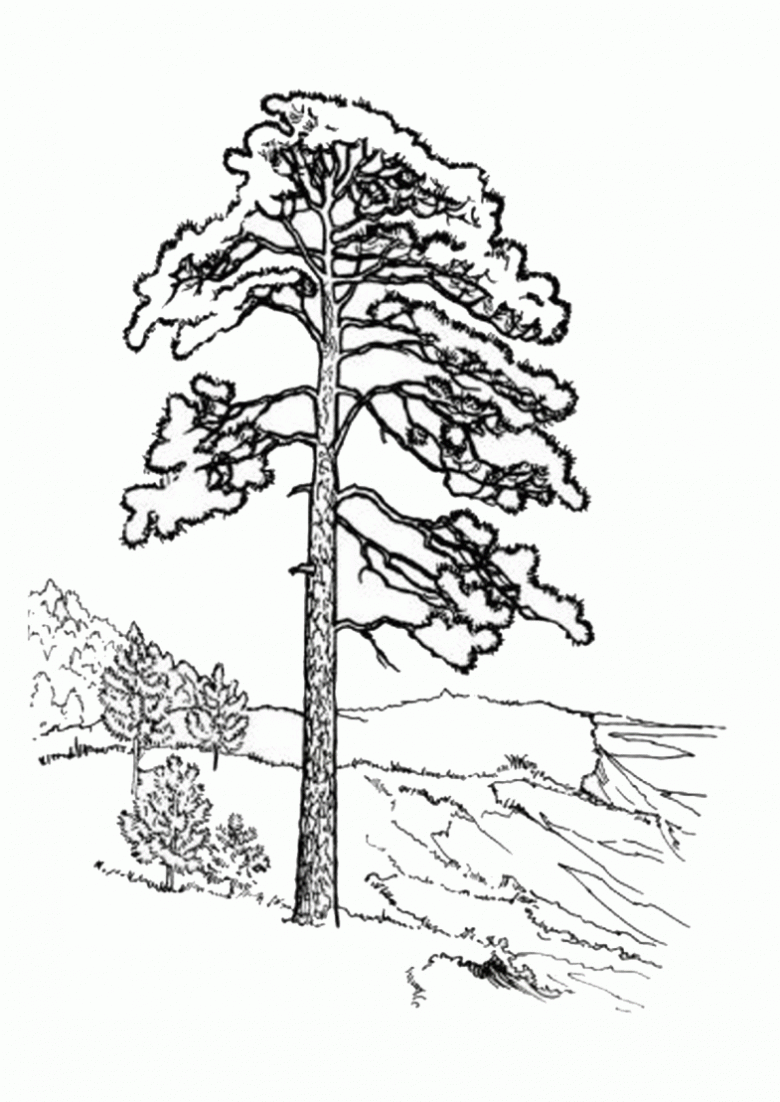
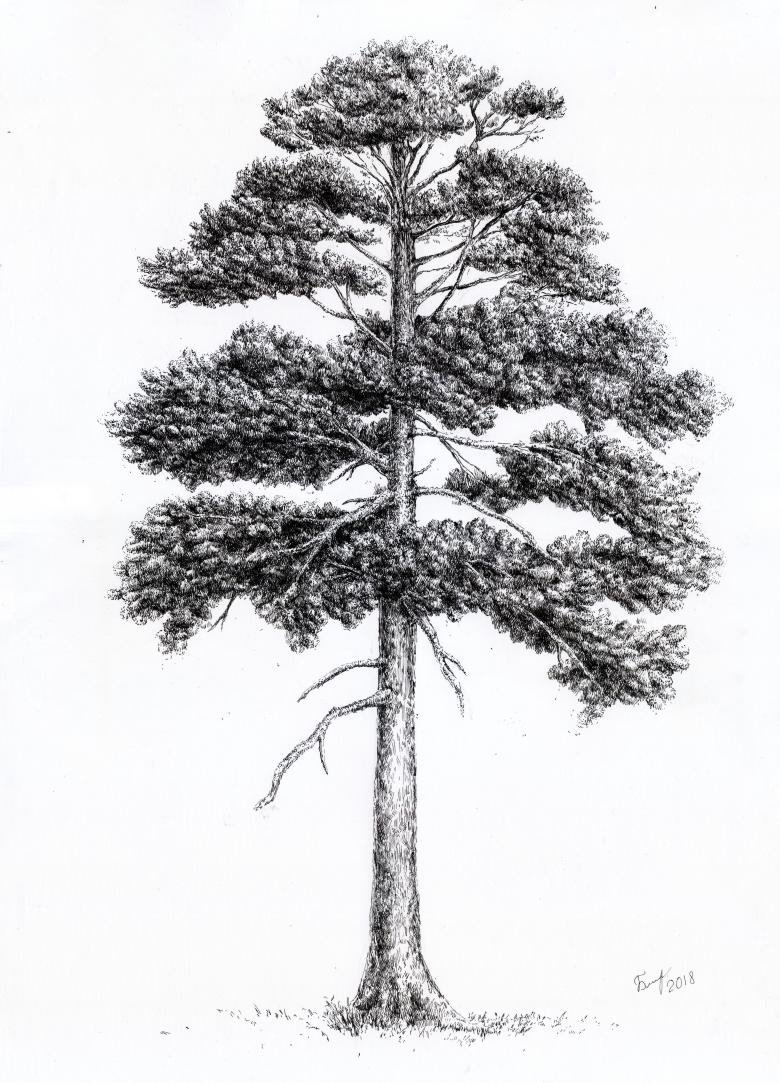
- A pine has a straight and tall trunk that curves toward the top. In the picture it is shown as thin.
- The color of the crown varies from the top to the base: from red at the top to gray-brown closer to the ground.
- The bark has a scaly texture in the middle of the trunk with constant flaking and with a thickened coarsened layer at the base. Short strokes are used to convey the texture, and are applied chaotically.
- The crown shape is cone-shaped in a young tree, and rounded in an adult.
- A pine growing in the field has a dense crown. And the forest tree has almost no branches.
- Winding and gnarly branches diverge from the trunk to the sides. From the large branch branches come off small branches, which also divide. Large branches grow perpendicular to the trunk. The lower branches are often drawn naked, without needles.
- Pine needles are long, forming a fluffy crown.
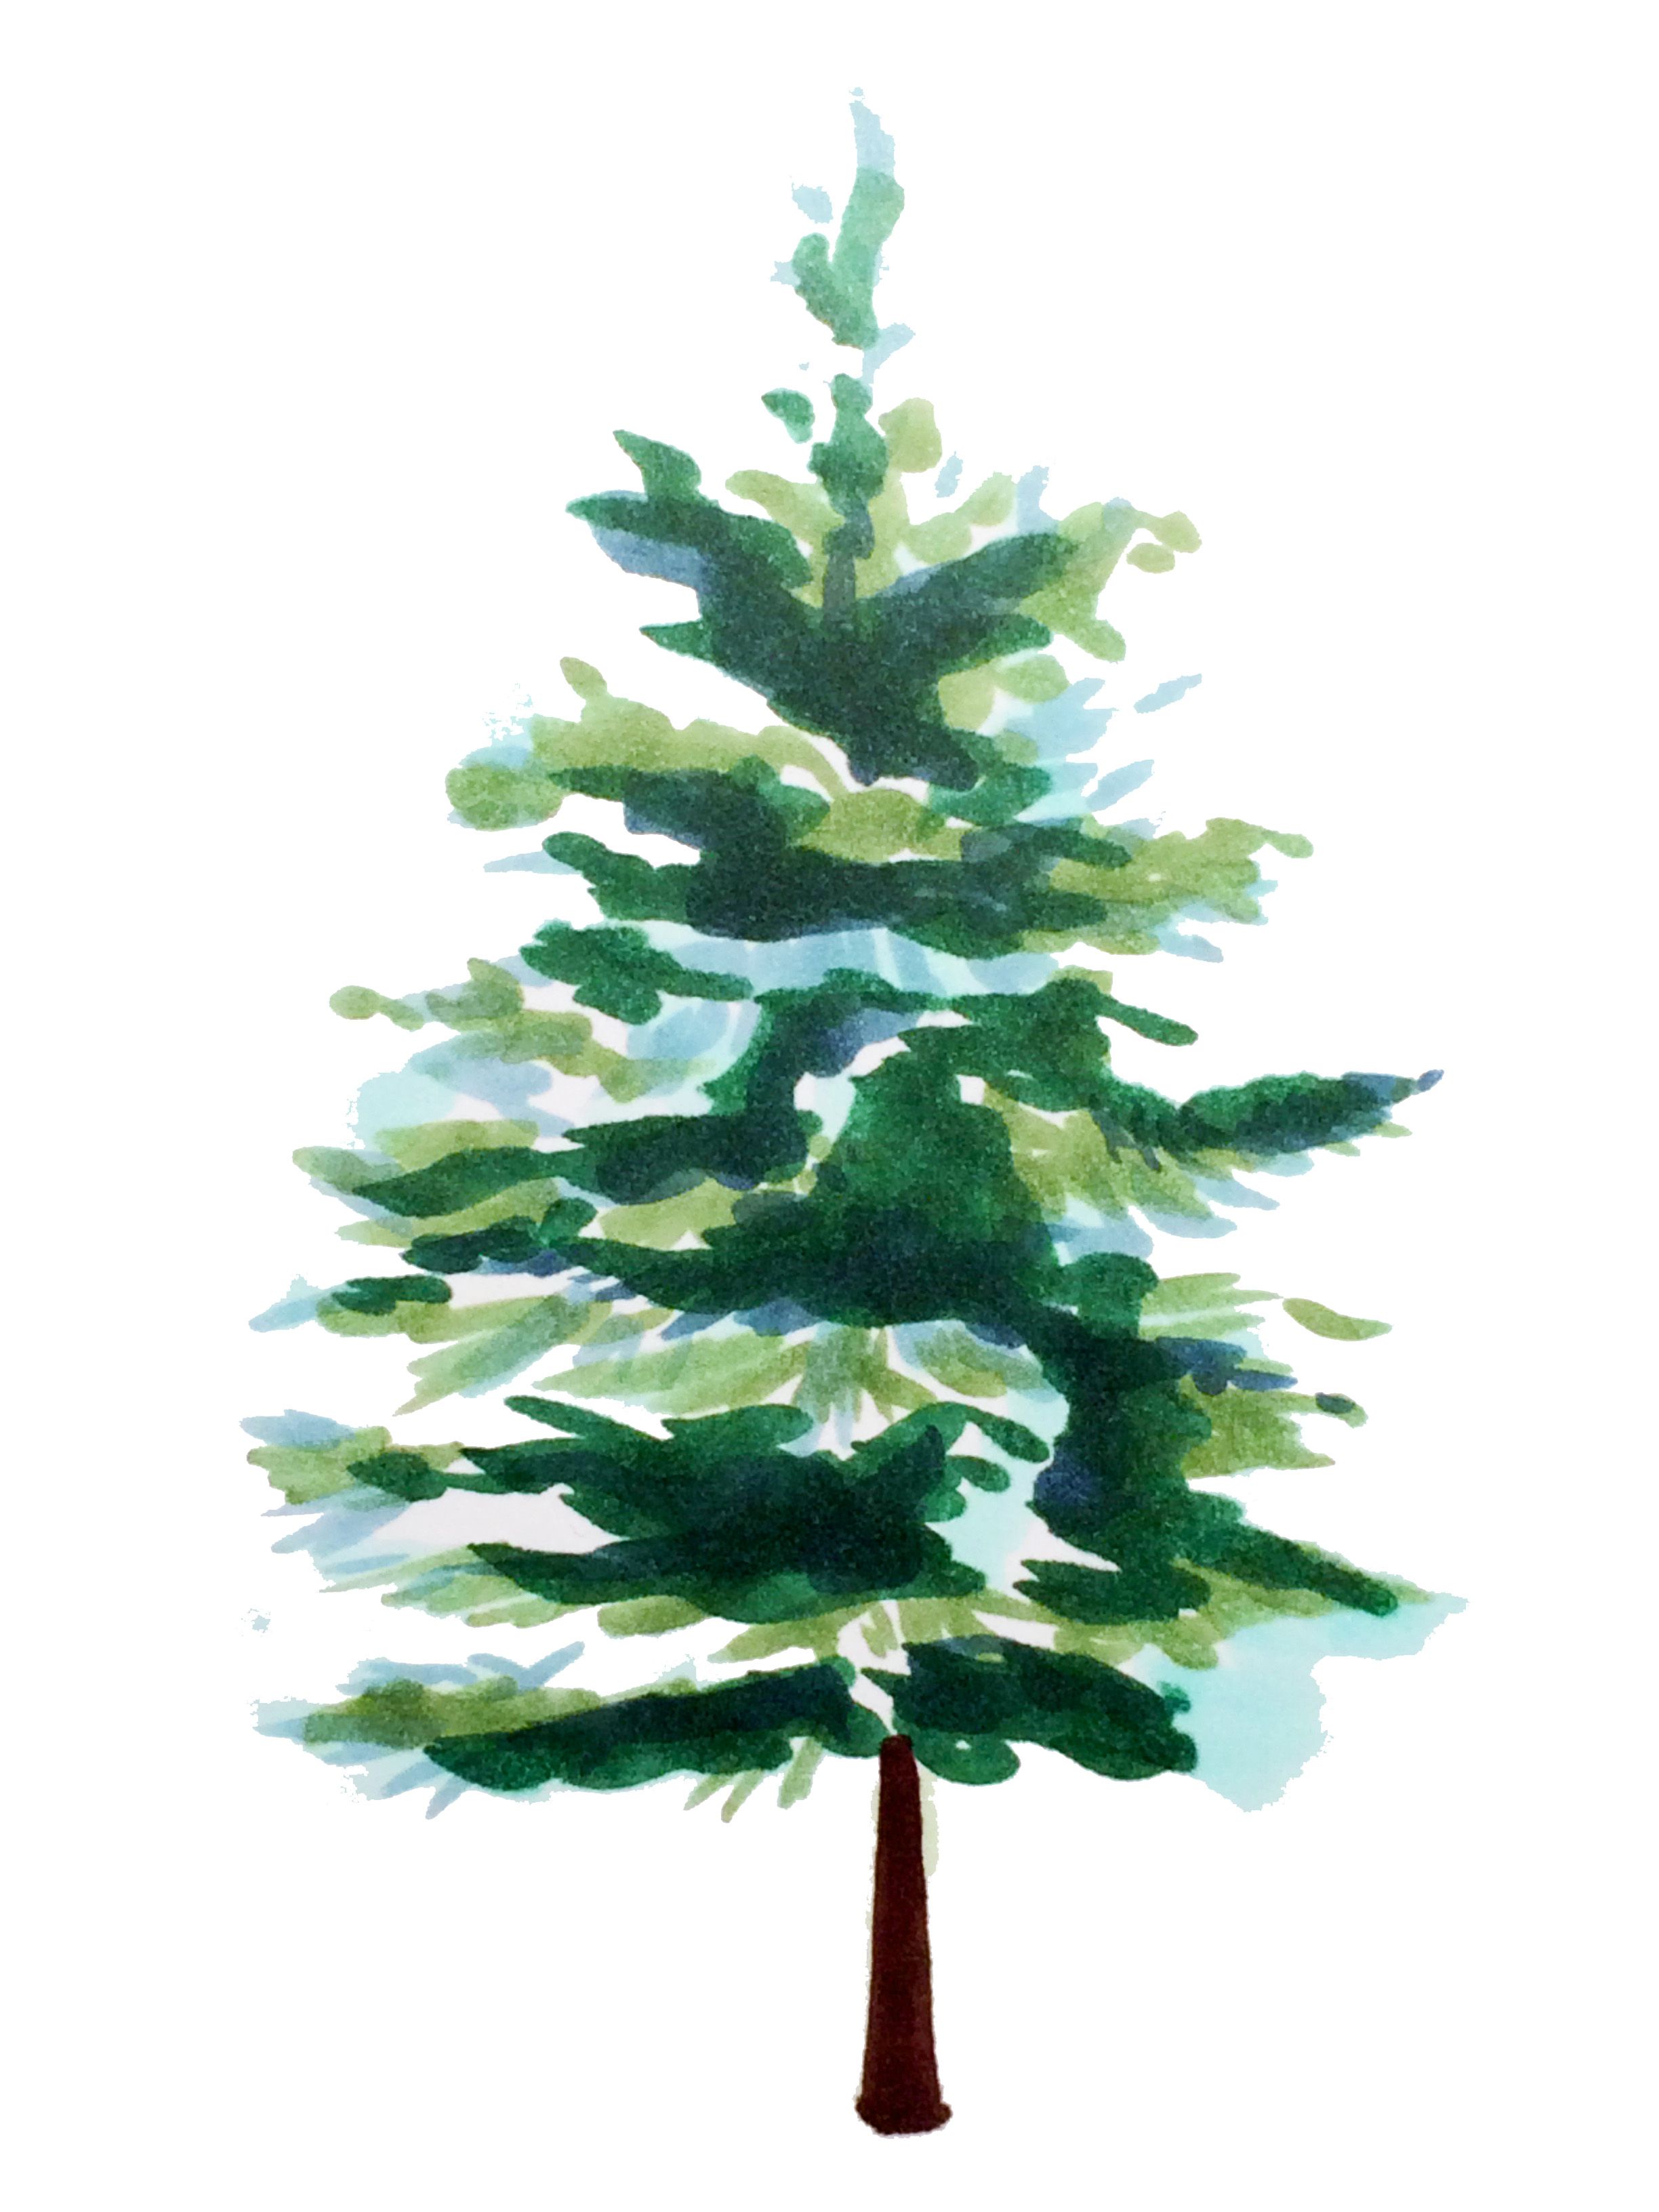
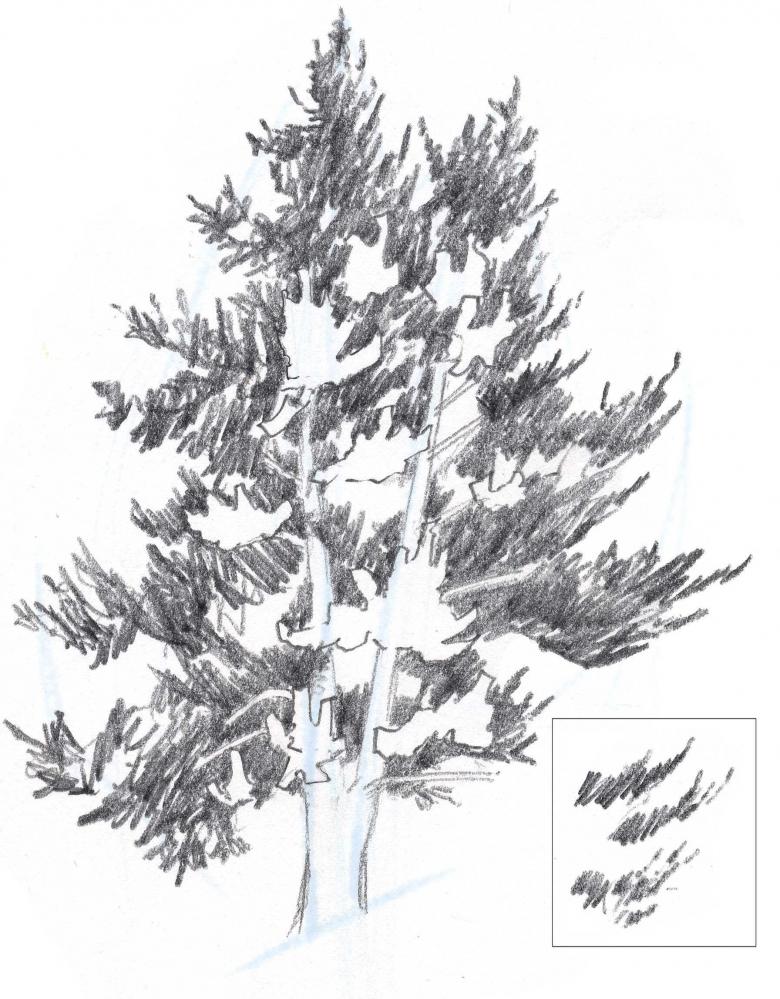
A simple step-by-step drawing for beginners
Pine belongs to the conifers. But you should not try to depict every needle in the drawing. An outline of a pine tree is drawn on a sheet of paper, as it looks from afar.
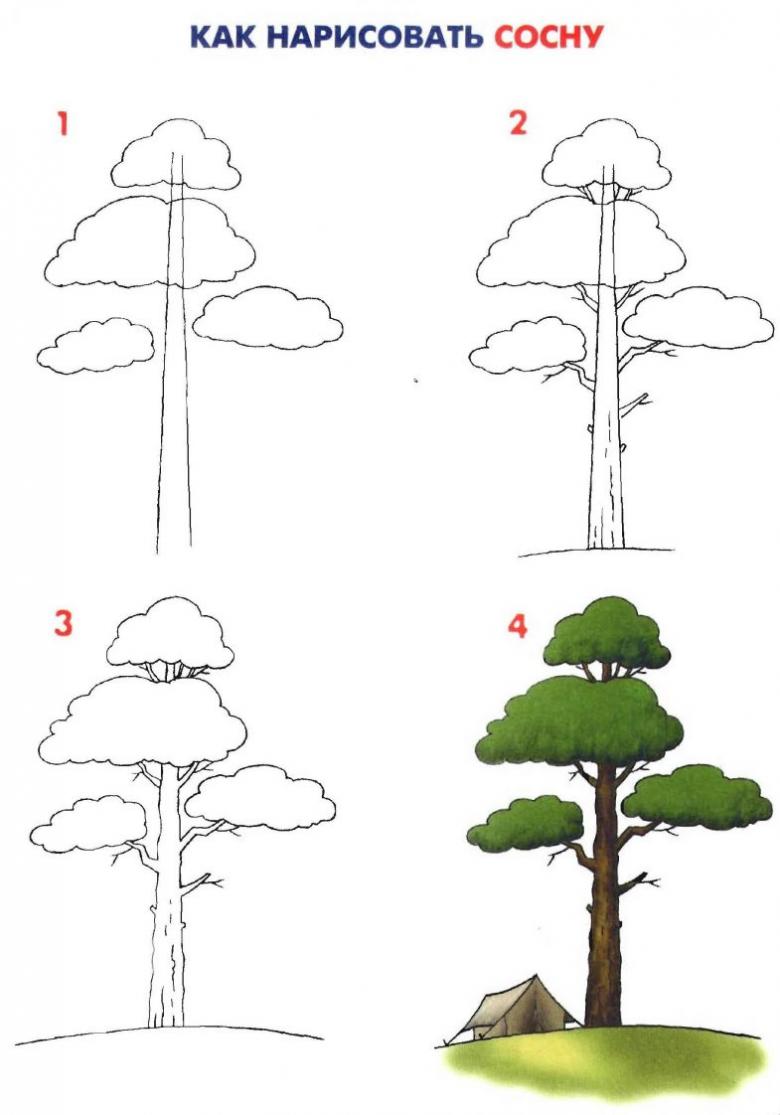
The familiar image of a pine tree
- The trunk is drawn expanding downward and tapered upward.
- The crown, smeared in the borders.
- The place of the crown is marked with circles.
- Fluffy needles form green clouds, as each of them individually is not visible from afar. Their boundaries are drawn.
- The outline of the clouds is made wavy, which adds fluffiness to the crown.
- Thin branches are drawn from the trunk to the crown.
- Shadows along the trunk will add volume to it and make the image of the pine realistic.
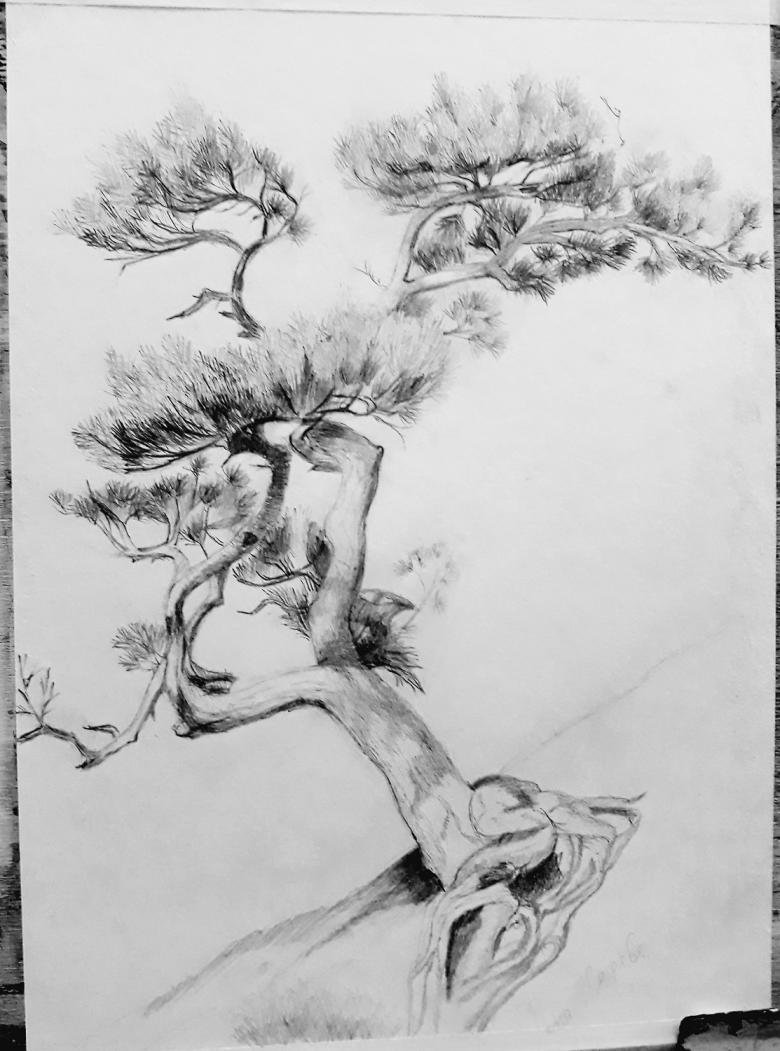
Asymmetrical image of a pine tree
The sunny side of a pine tree in a real landscape is more branched with strong and powerful branches. Symmetry of branches is lost.
Conditional lines are drawn.
- Sloping vertical line symbolizes the trunk. As a template crown dorisovyvayutsya triangle. Its direction and indicates the direction of the developed solar side of the tree.
- Next to the conditional line of the trunk are drawn already basic, forming its outline.
- Inside the triangle, large pine branches with a bend are drawn.
- The triangle is completely filled with branches. They form the main part of the crown.
- On the opposite side is drawn is not as strong branches. Their number is also less. One or two knots without needle cover on this side will add truth to the drawing.
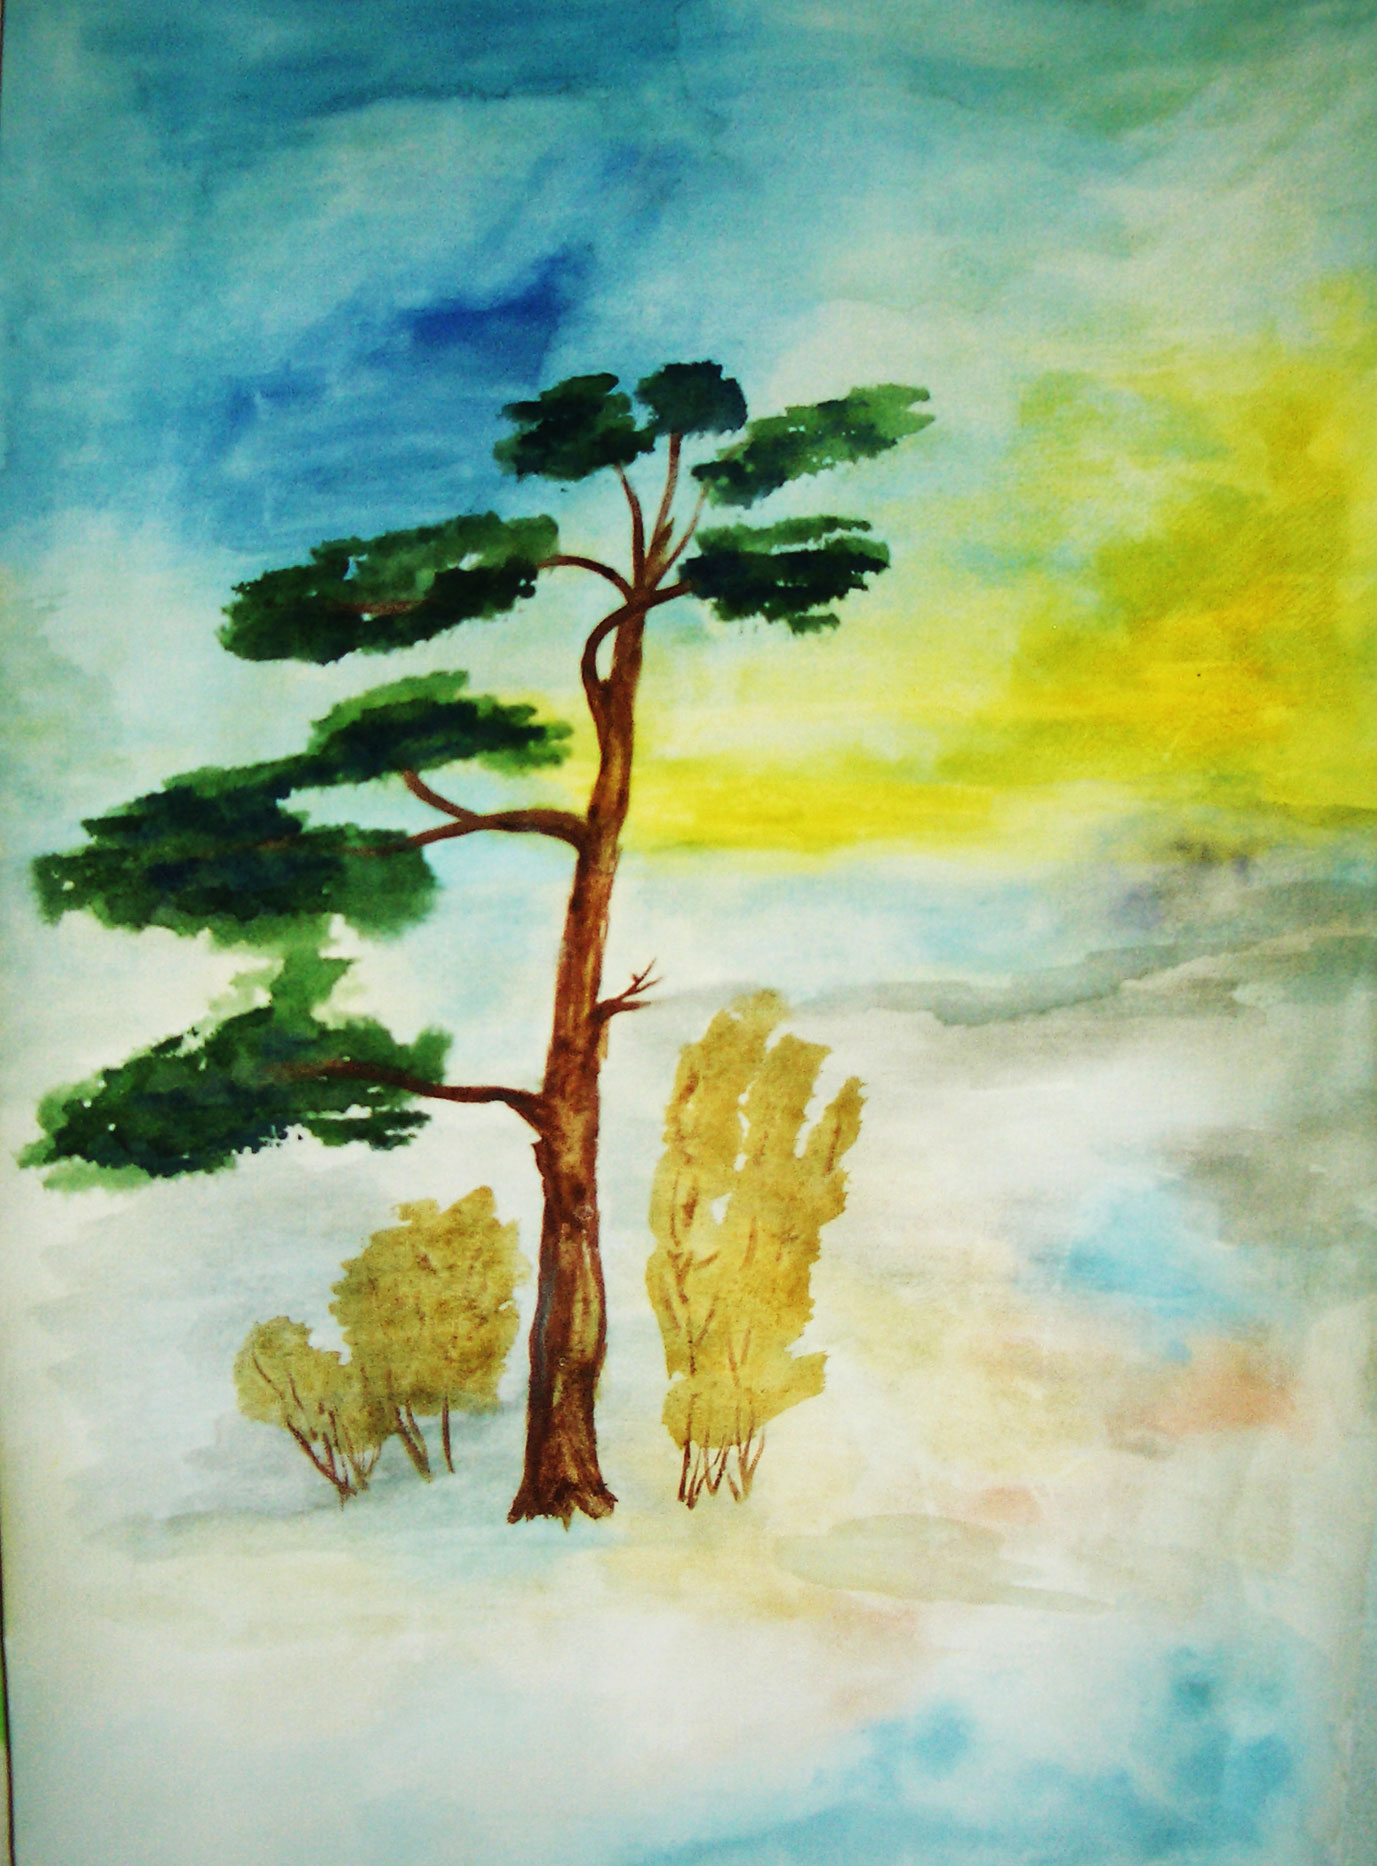
The image of a pine tree is painted with paints or pencils.
Step-by-step drawing for children
Children of any age know that the trunk of a pine tree is straight with a lush crown on top. How to draw a child a beautiful pine, so that the tree was similar to the present, will prompt a step-by-step scheme-picture.
- The trunk is represented by two lines and the distance between them is greater at the bottom than at the top.
- The crown is depicted by clouds.
- Clouds are connected to the trunk with lines that mimic the branches.
- A few strokes of the lines on the trunk will make it three-dimensional. This is how the bark of a pine tree is drawn.
- The pine tree is painted with pencils. A chamber of campers would make a fun picture.
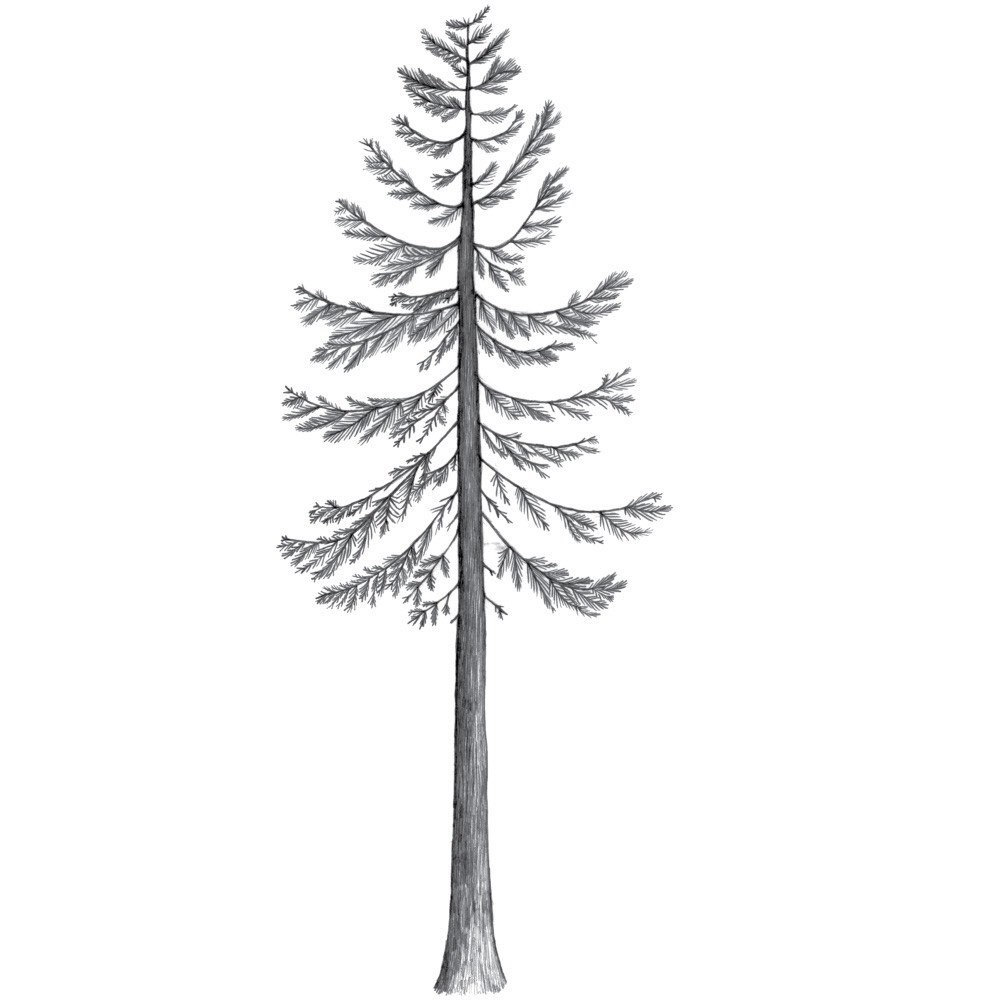
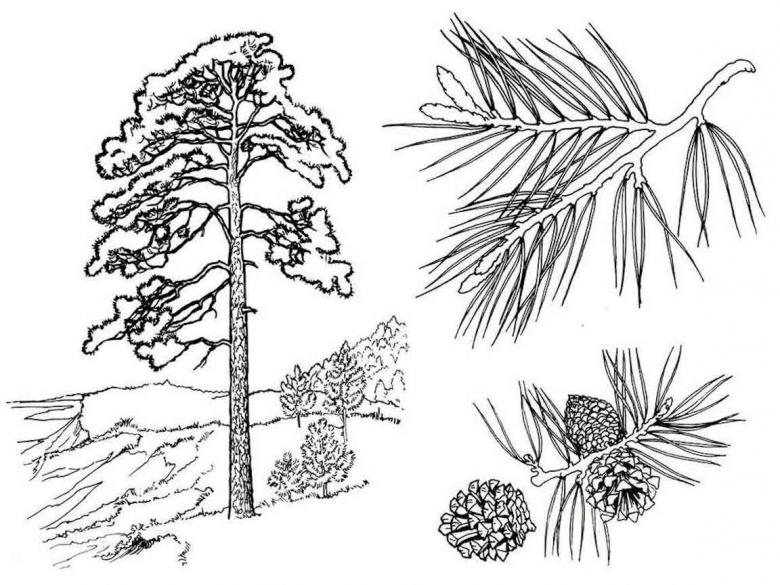
Cedar Pine
It is possible to understand how to draw a cedar pine if you know the differences between this species and the usual familiar to everyone pine.
The main difference is the large number of needles, which are distributed on the branches so that there are no bare spots on them.
Drawing by an artist with experience
Cedar pine is drawn according to a different scheme.
- The trunk is tall, straight and not wide.
- The tree has an elongated crown shape with a pointed top and a wide bottom.
- The branches fill all the spaces of the crown template. The lower they are, the more they look downward and longer. Starting in the middle of the trunk, the branches begin to go up. At the top, the branches are very short.
- The branches are enveloped in clouds.
- Among the branches more clearly drawn trunk to make it visible.
- Branches with needles are drawn in the area of clouds.
In the last step, the cedar pine is painted.
A simple scheme for children
A simple step-by-step diagram teaches kids how to draw a fluffy cedar pine tree.
- A large isosceles triangle is drawn in the center of the scrapbook. From his top, crossing the base of the triangle, a line goes down. It is necessary for the formation of the trunk.
- On the left side of the figure is drawn tightly adjacent to each other silhouettes of branches. Closer to the ground, they become longer.
- Actions are repeated on the right side of the triangle.
- All the conditional lines in the drawing are erased.
- Under the lower branches, finished broad stem leg and the picture is ready for coloring.

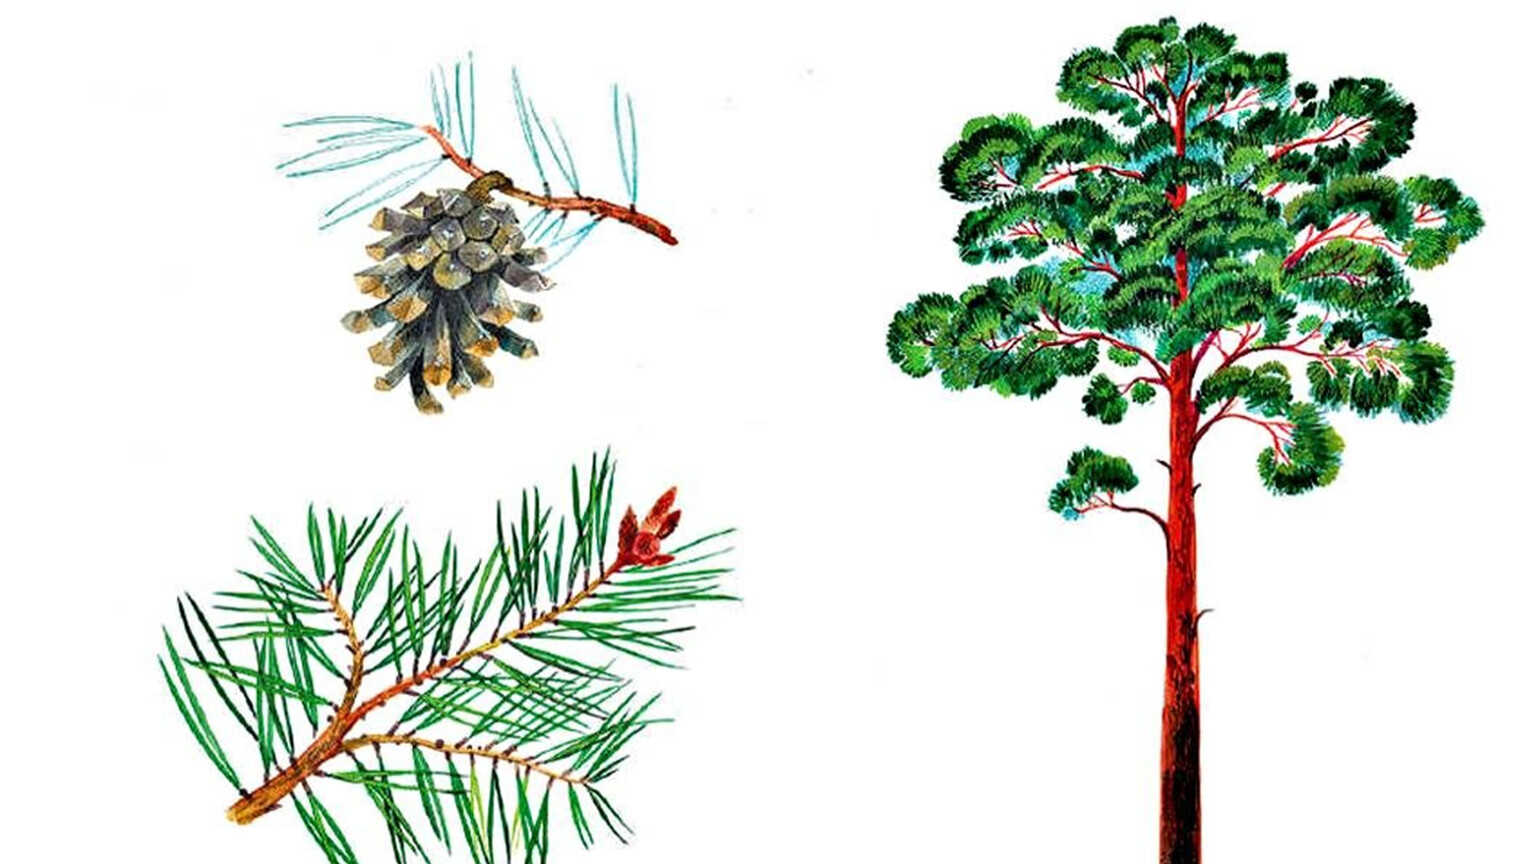
A branch of a pine tree
If you know how to draw the branch of a pine tree, it will not be difficult to move on to the image of the tree itself at any time of the year. After all, pine, unlike deciduous trees, never sheds its cover, and remains fluffy at all times. The sprig of the pine tree is decorated with a cone.

Base lines are drawn with a hard "T2" pencil.
- The branch line is not flat, but with a bend. Small branches are drawn from it.
- Ovals mark the location of future cones.
- Each offshoot is decorated with long needles, as if they were gathered in a fan.
- A real cone is scaly. The oval is divided into cells by intersecting curved lines.
- Parallel lines are drawn around the base line, which will give the branch a thickness. But the proportions between the main branch and the offshoots are preserved. The latter should be narrower. They end with a bunch of long needles.
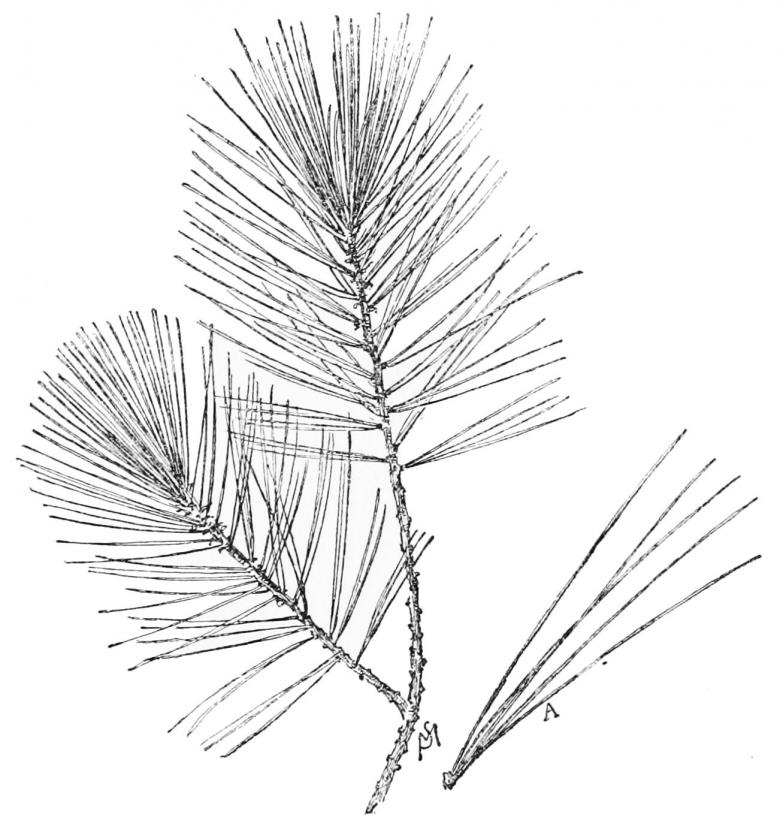
At the stage of coloring, the contours of the scales are highlighted in dark brown, and the cone itself is painted brown. The same color are painted branches. A green fan with needles appears at their ends. Their large number is emphasized by gray dividing lines.
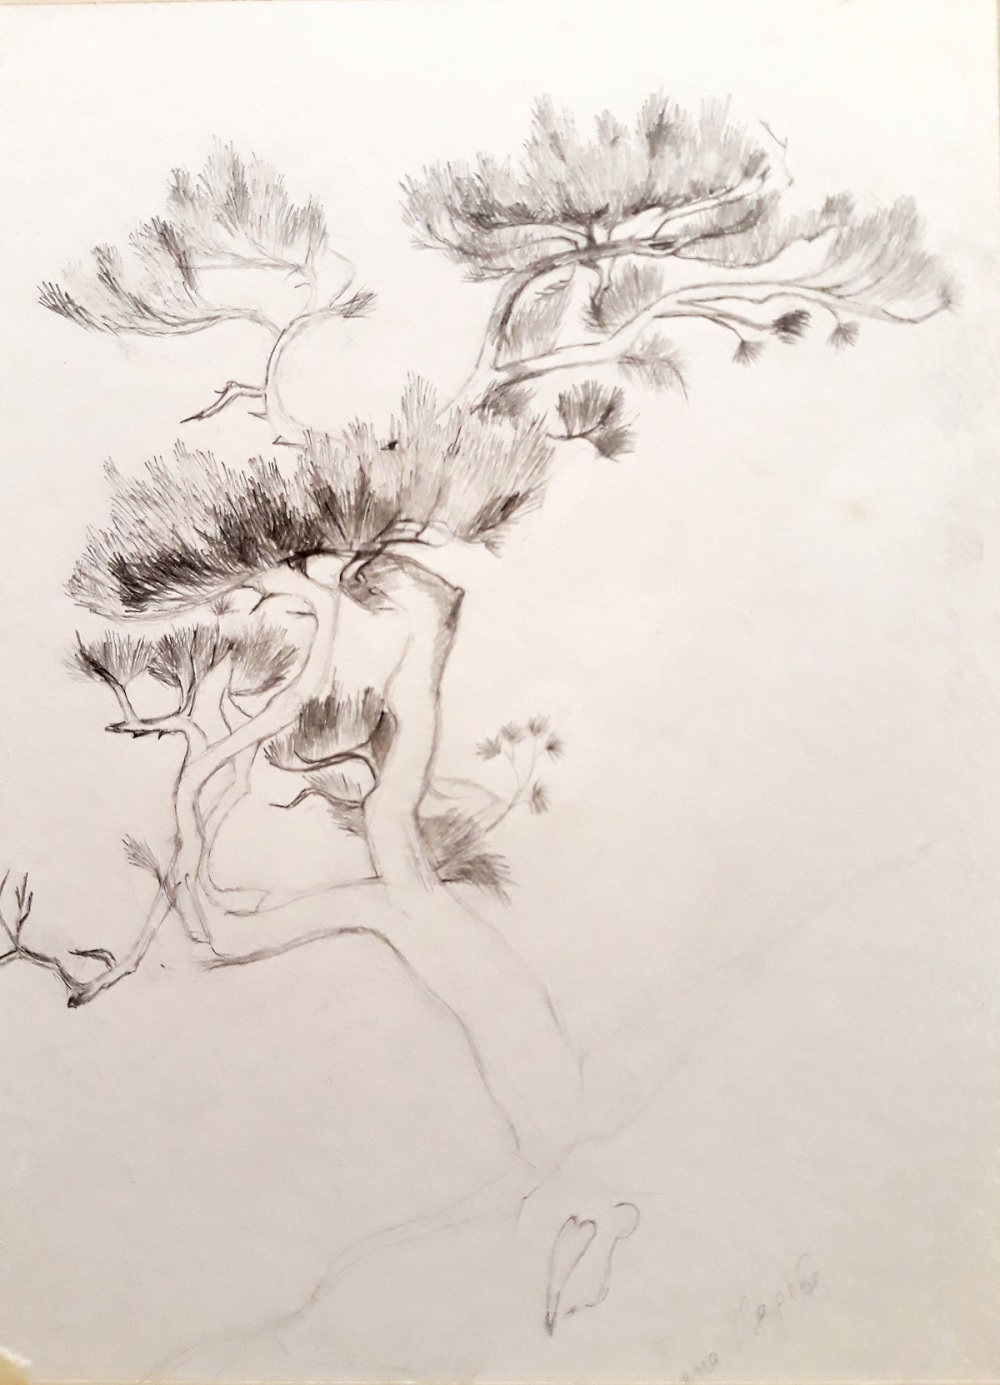
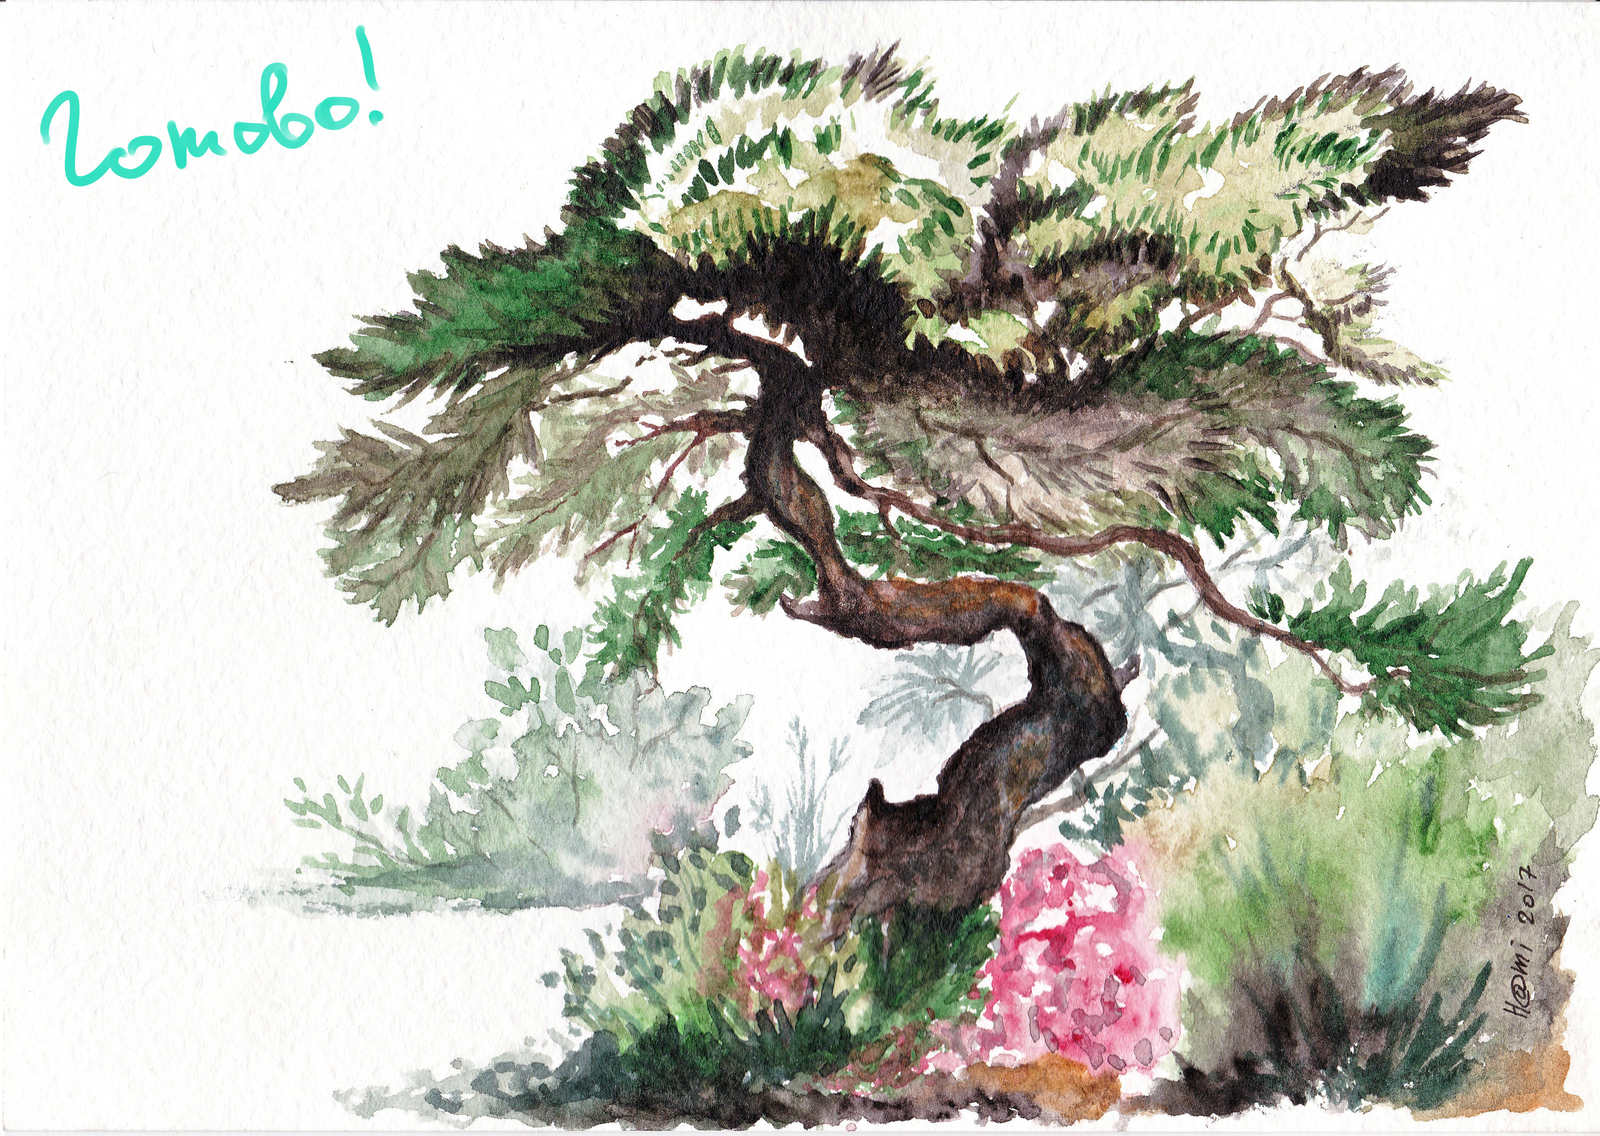
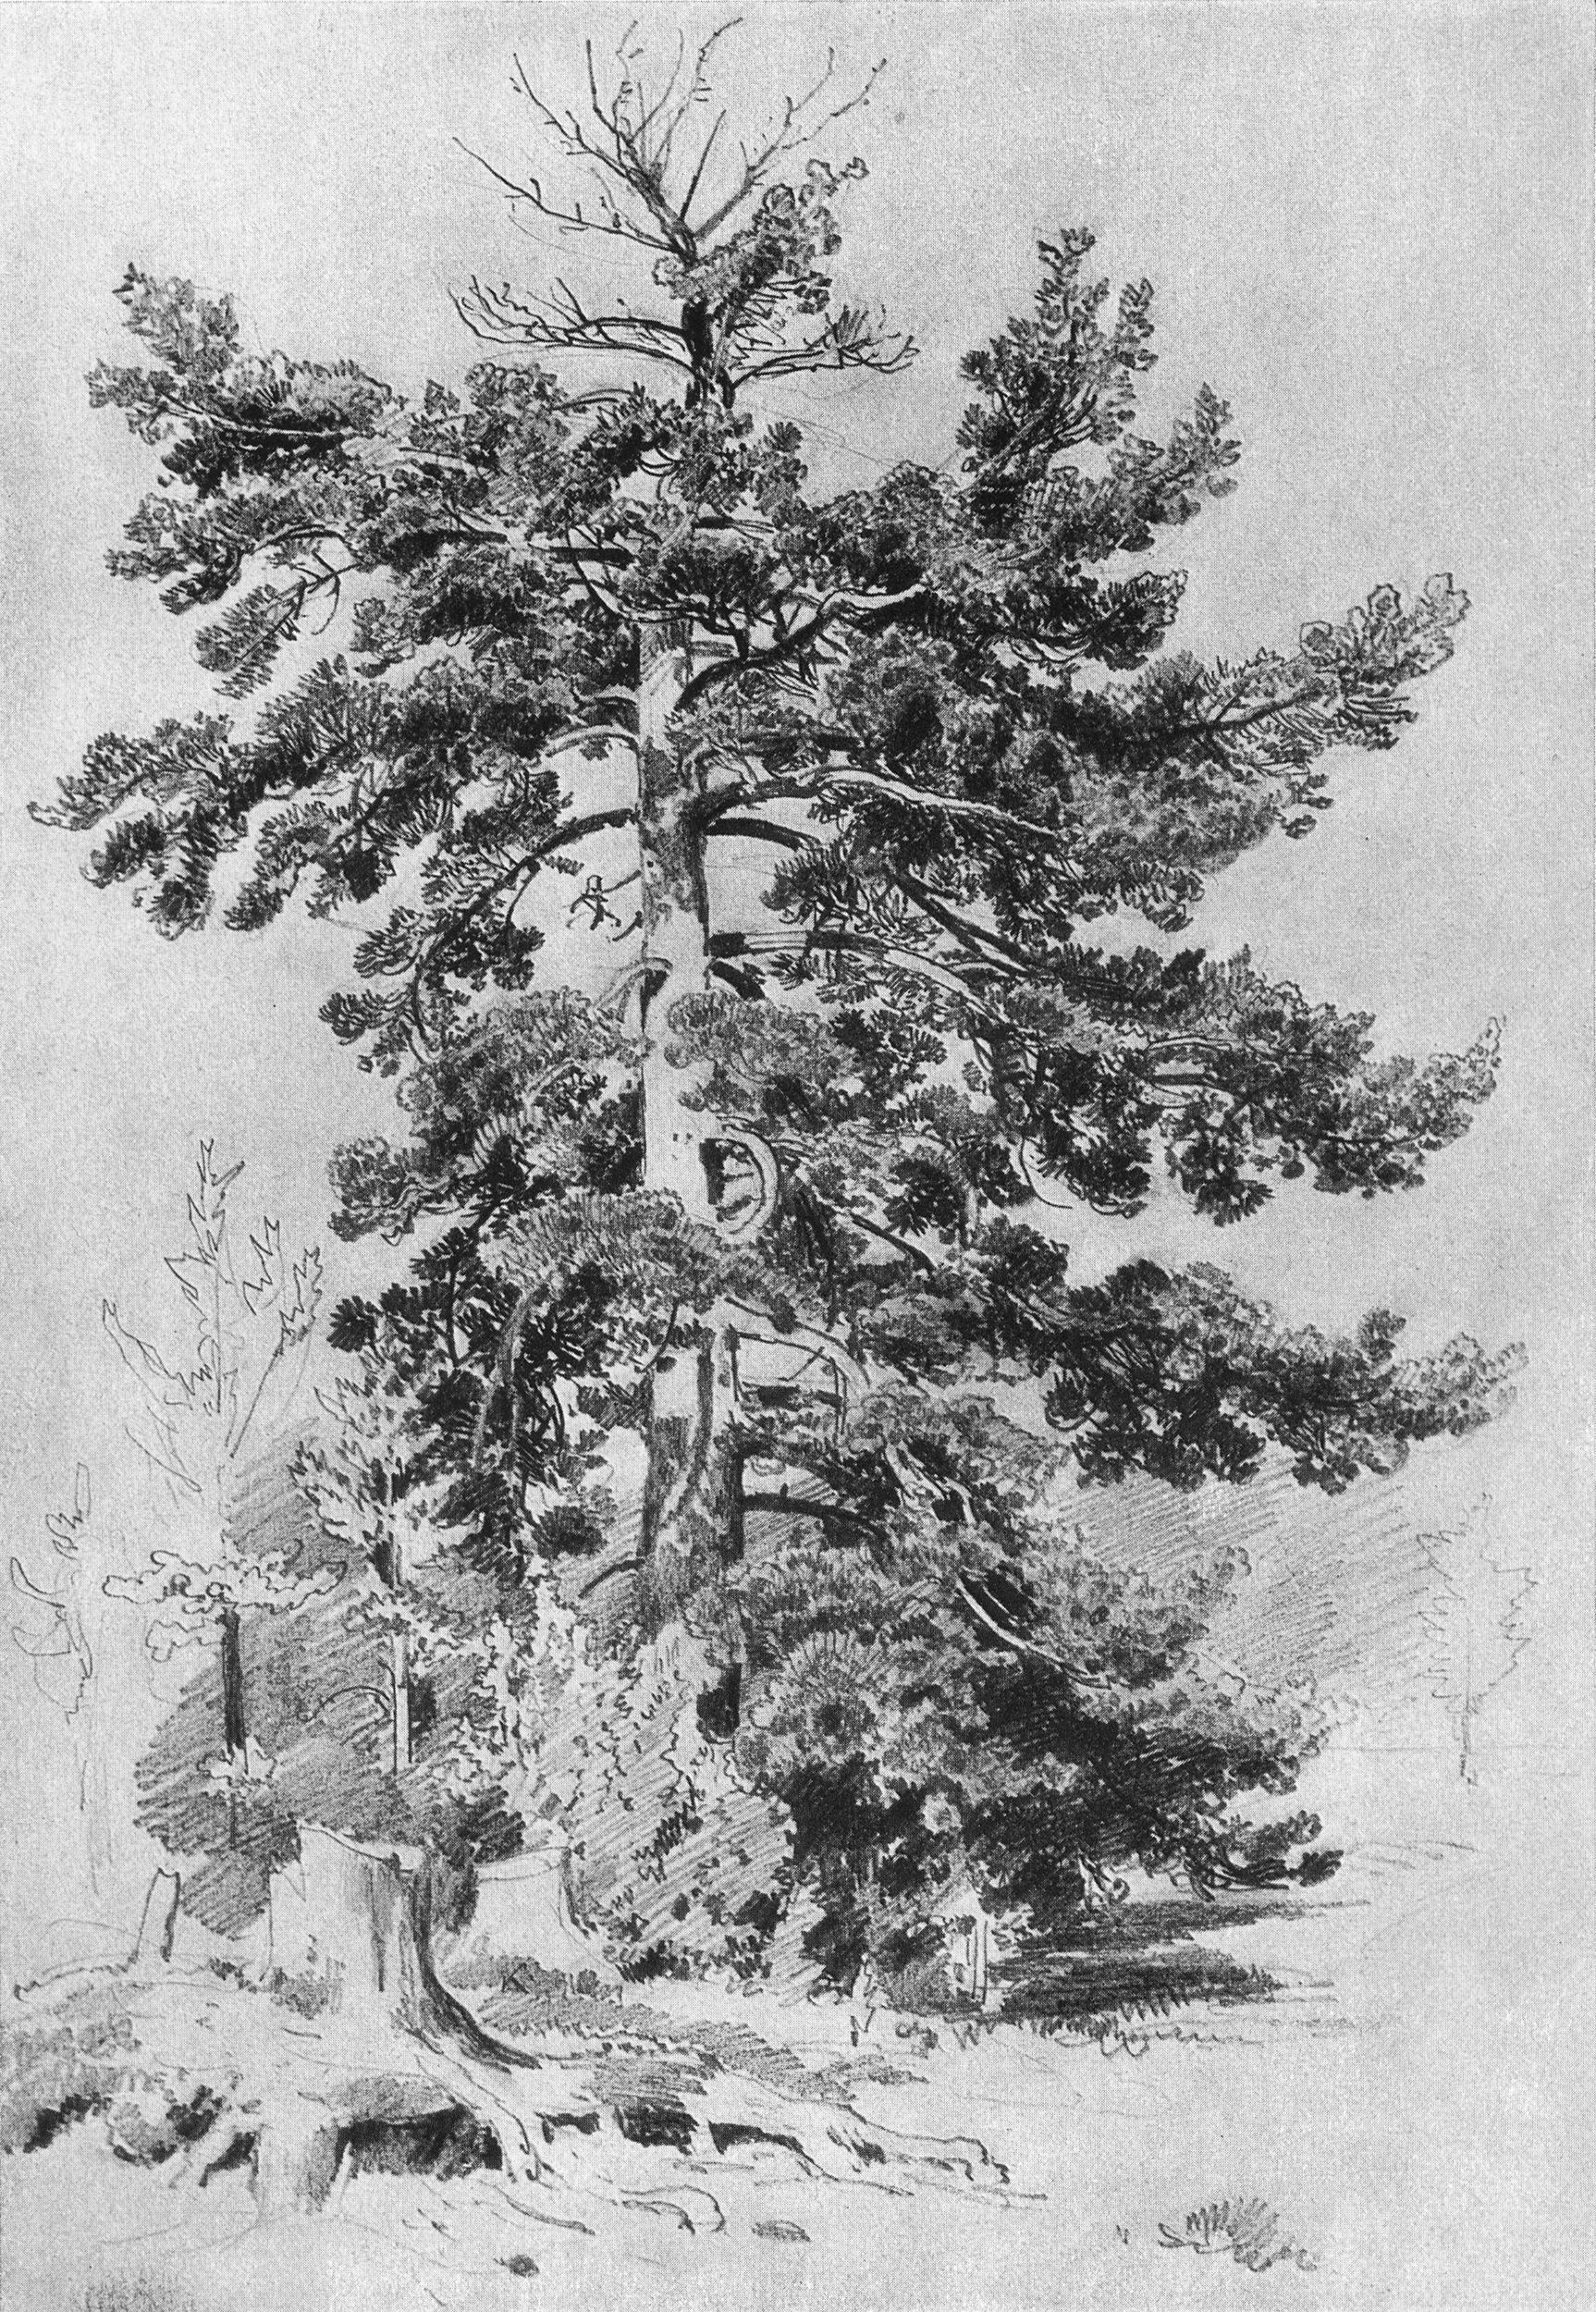
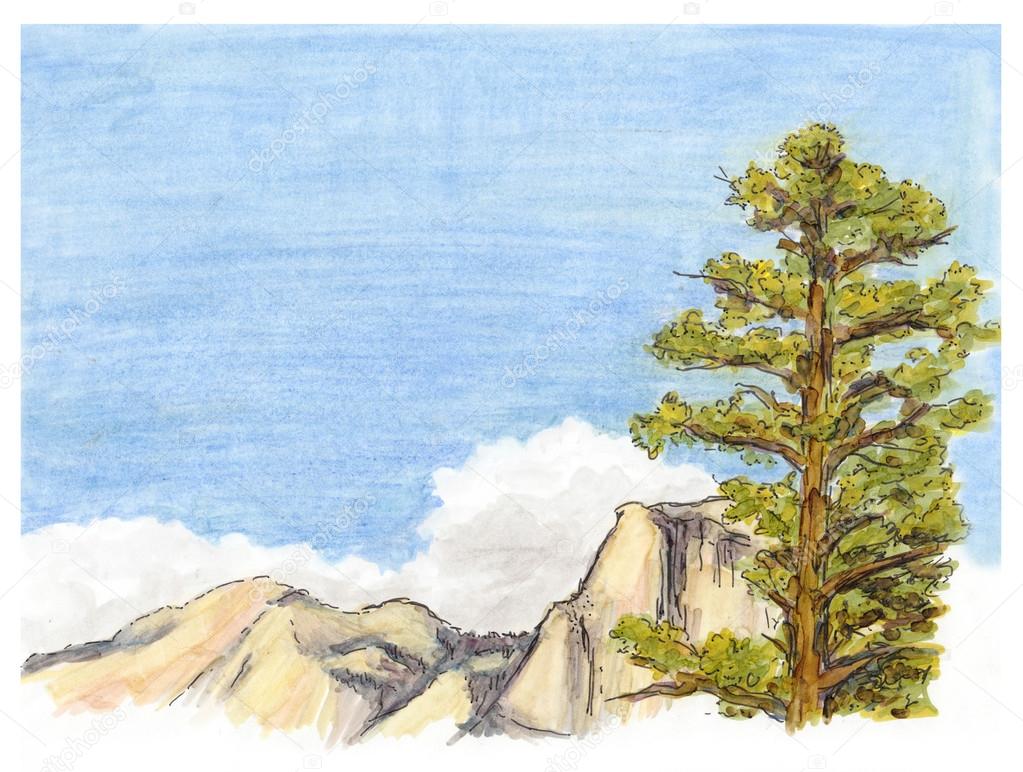
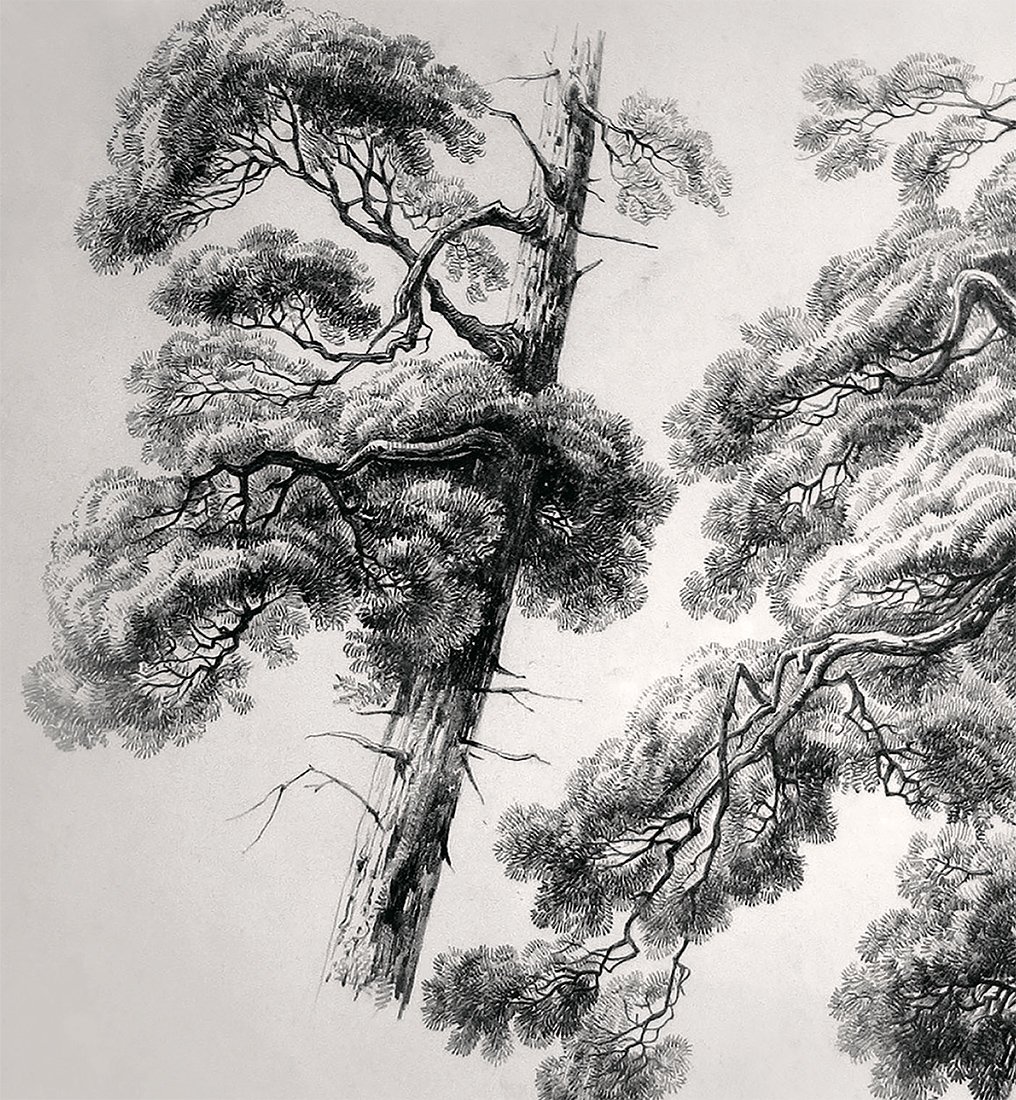
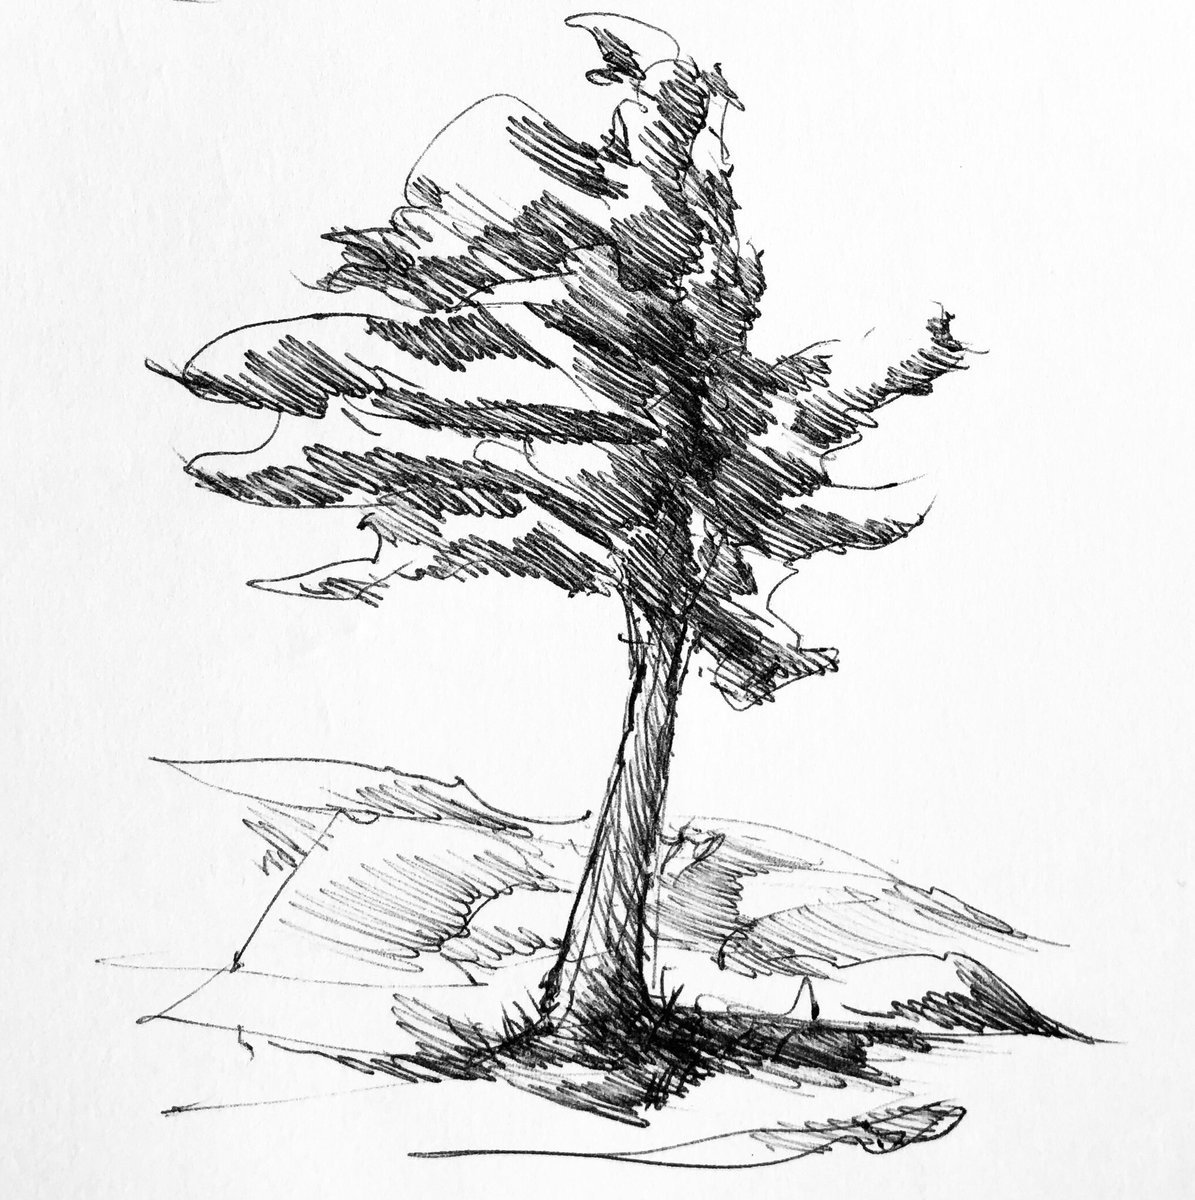
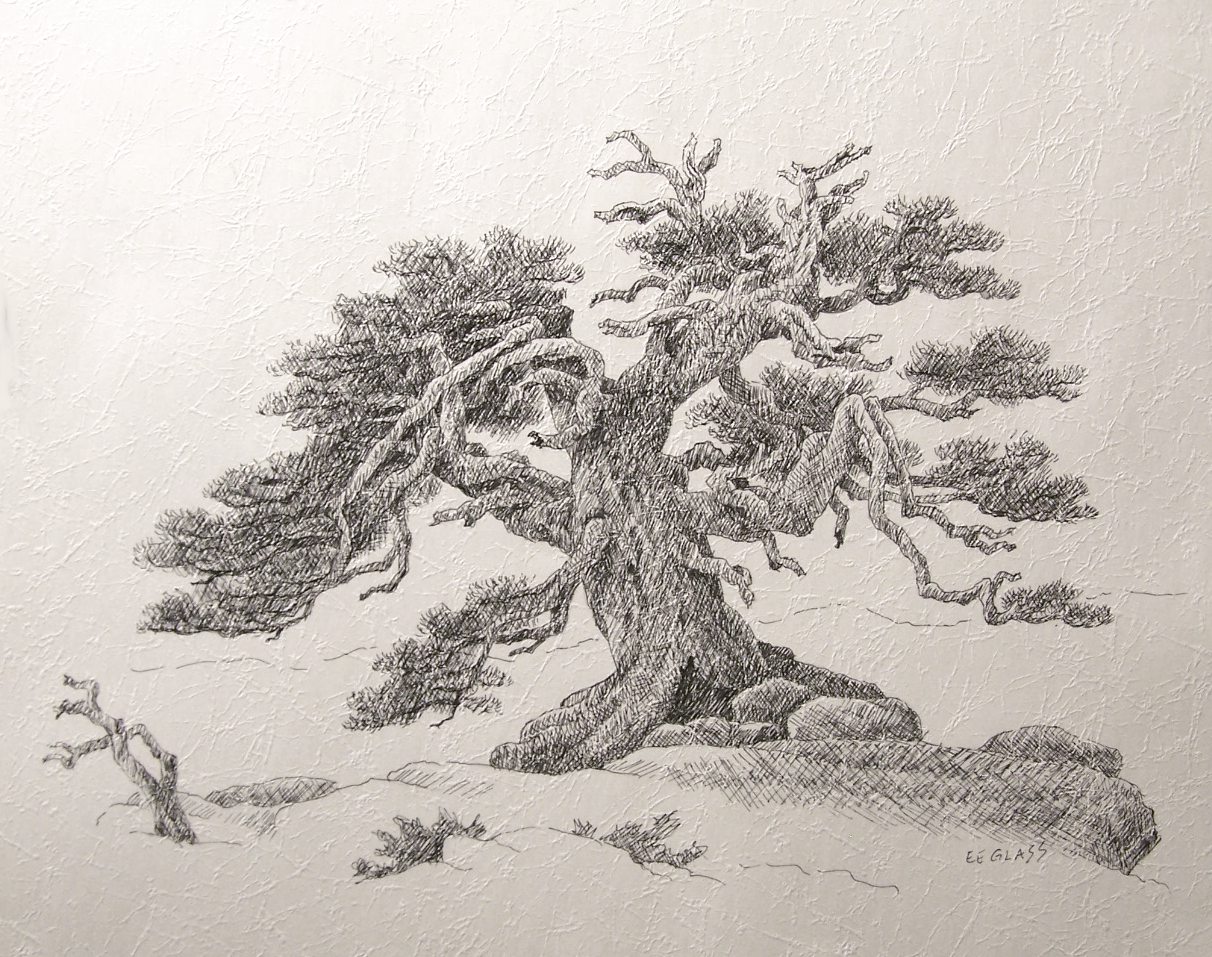
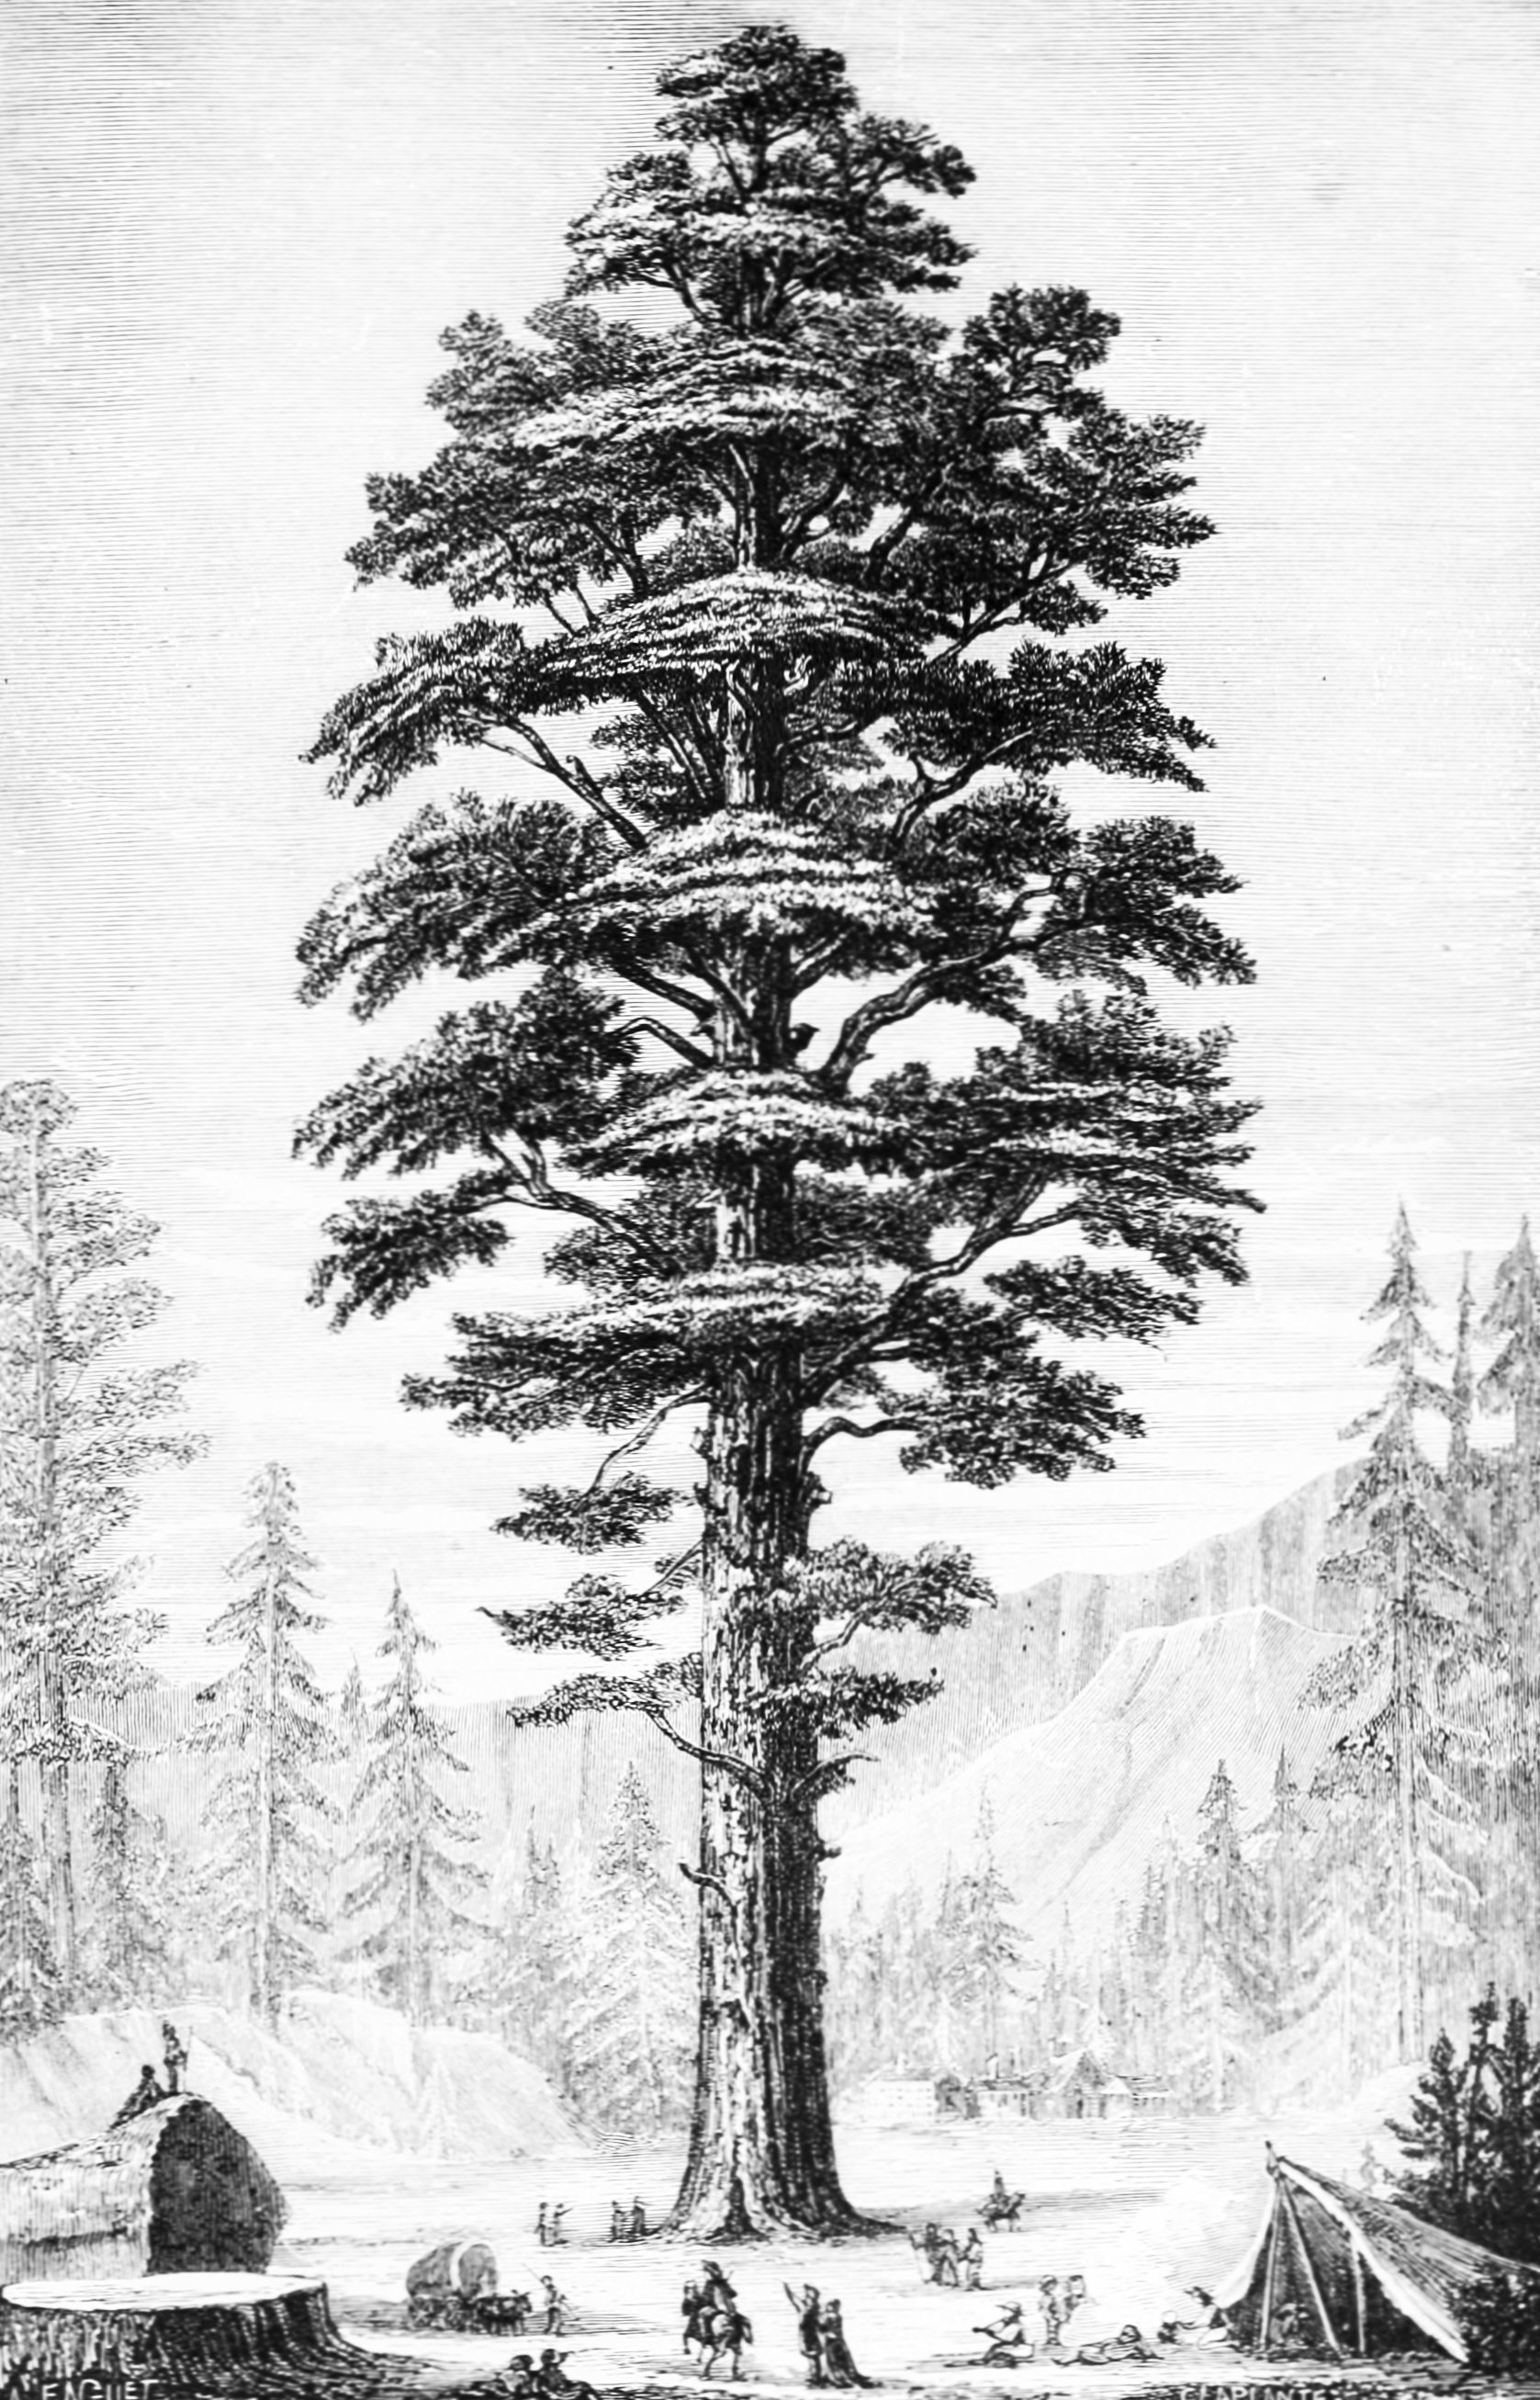
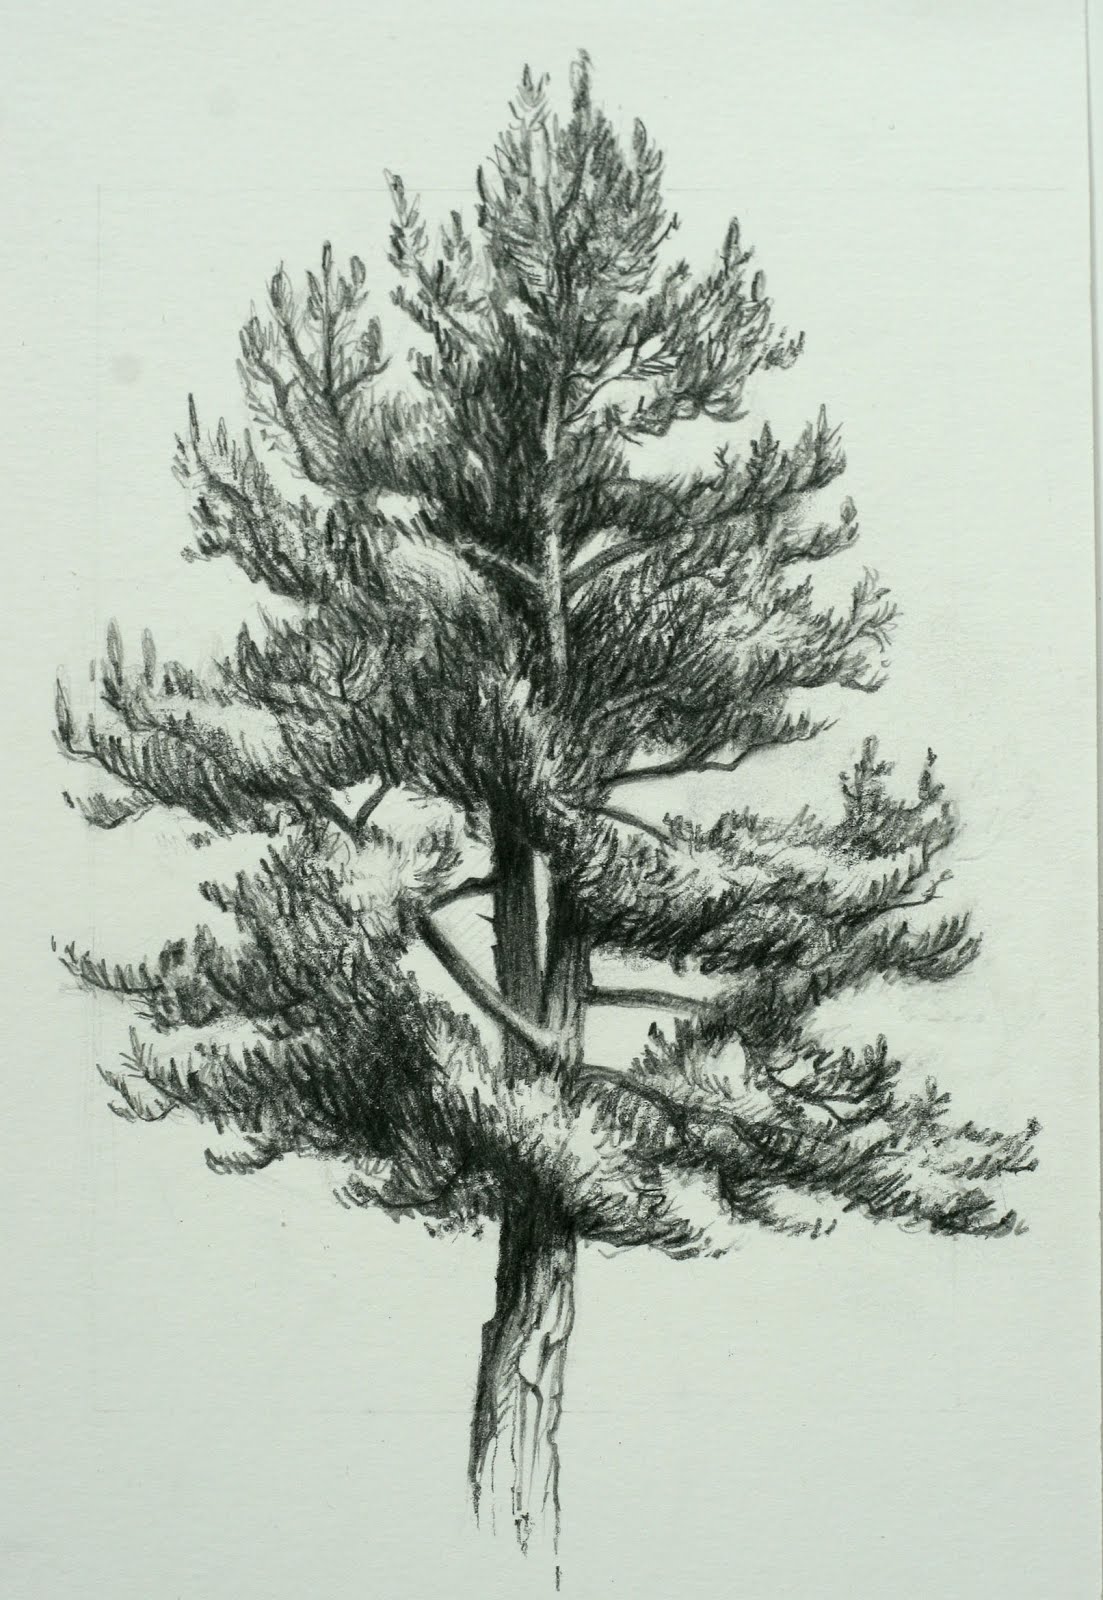
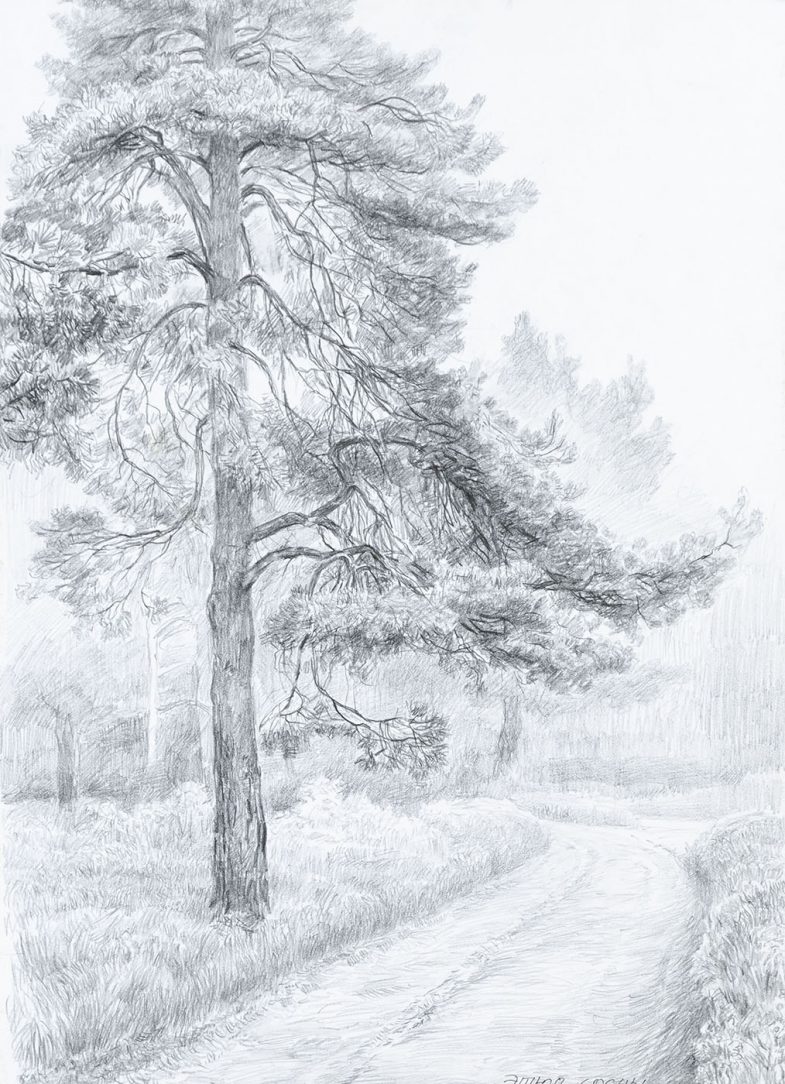
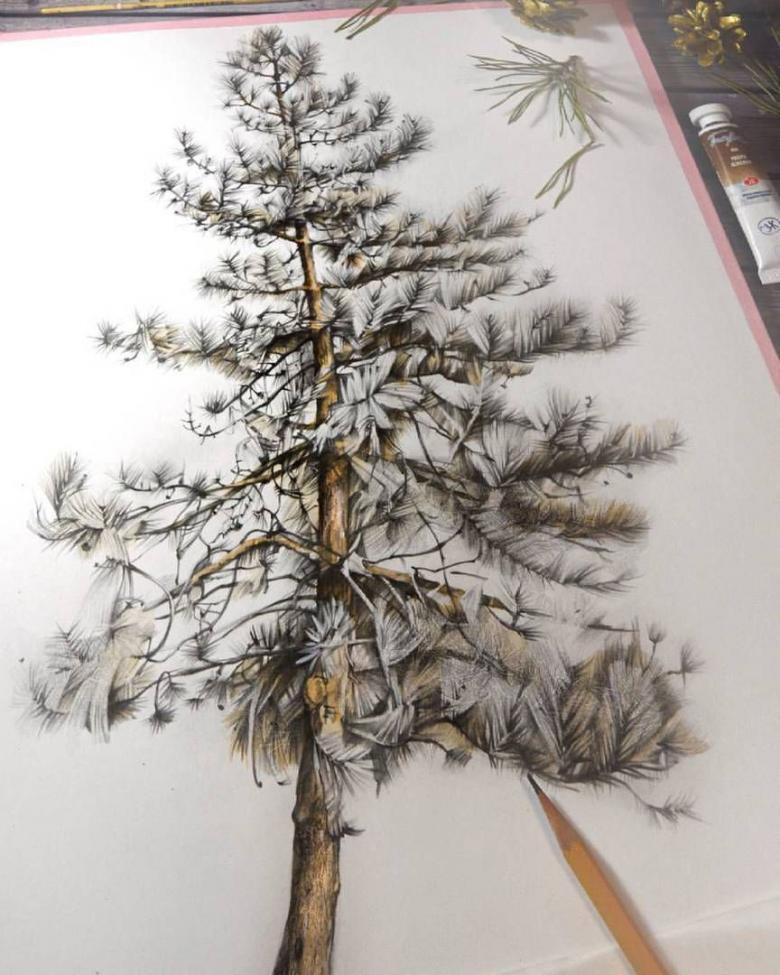
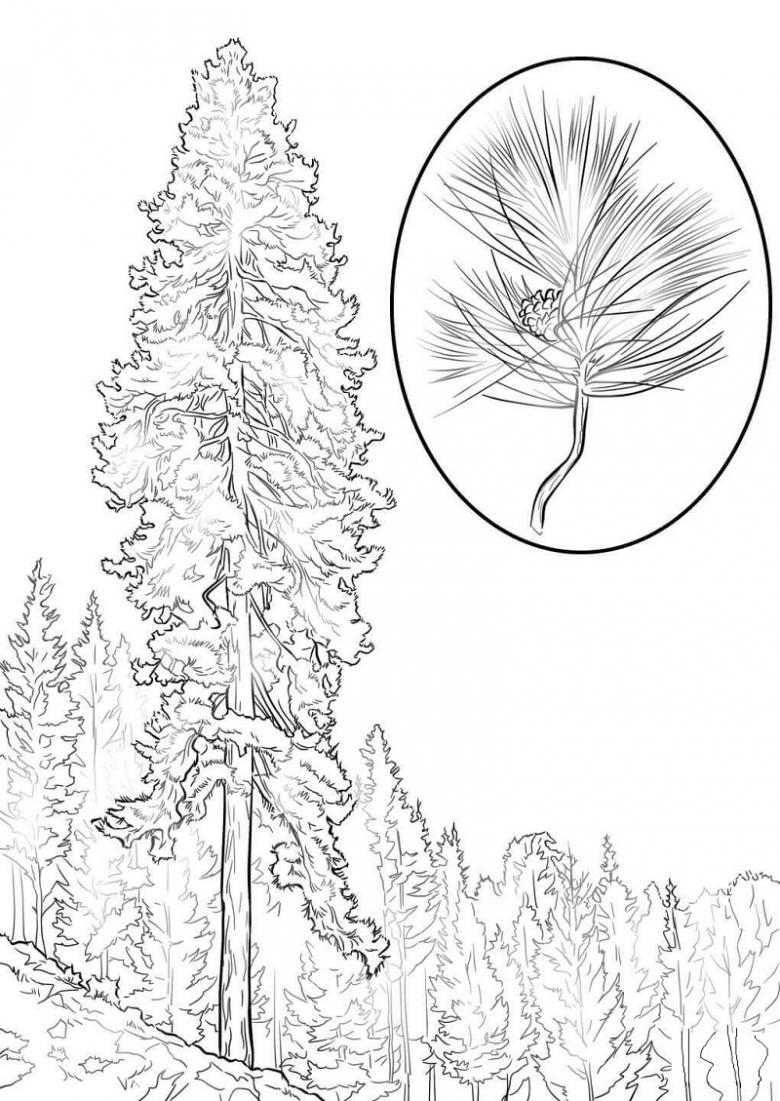
Pictures of pine trees for sketching in pencil