How to draw a cake in a step-by-step pencil: master classes with photos for children and beginners
Learning how to draw beautiful things is easy. To do this, you can use the master classes for beginners. For example, one of them how to draw a cake step by step, will help beautifully decorate a birthday or wedding greeting, even if the abilities to draw no.
A cake on a postcard
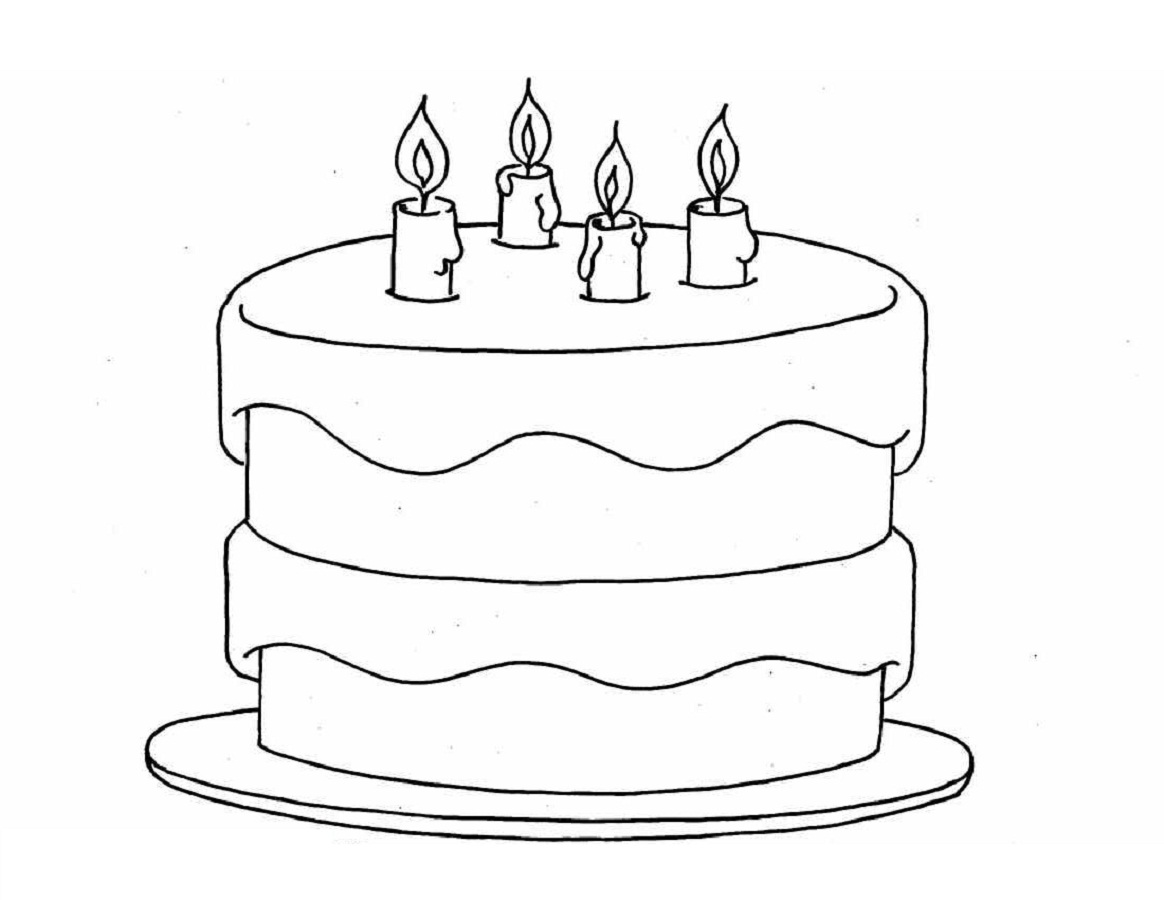
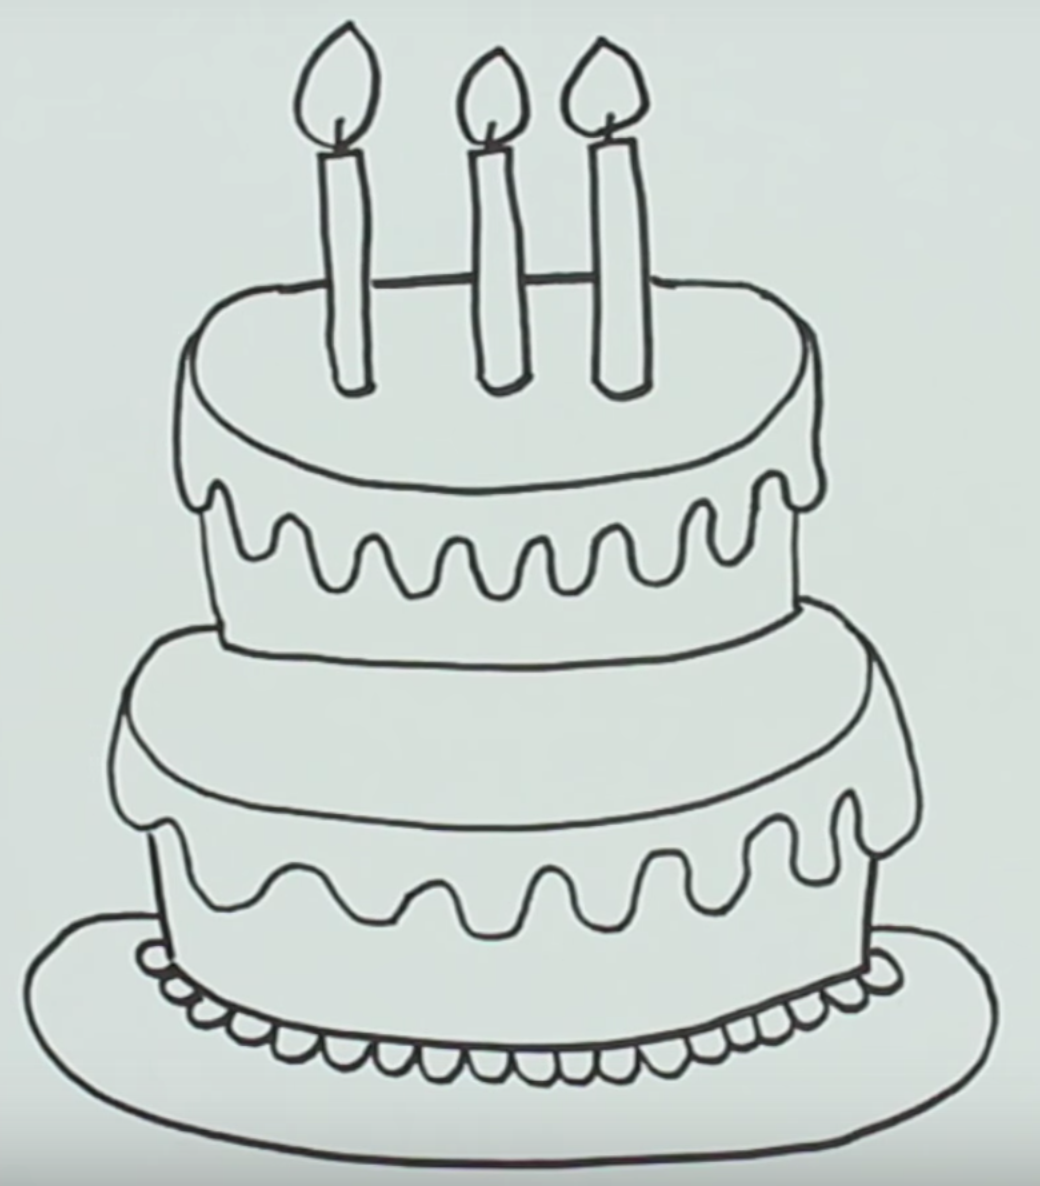
If you have no drawing skills, that's okay. You need to include your imagination and imagine what a cake looks like on a greeting card.Sketch is done with a simple pencil on a sheet of paper. It will be the blank for the card.
A simple cake
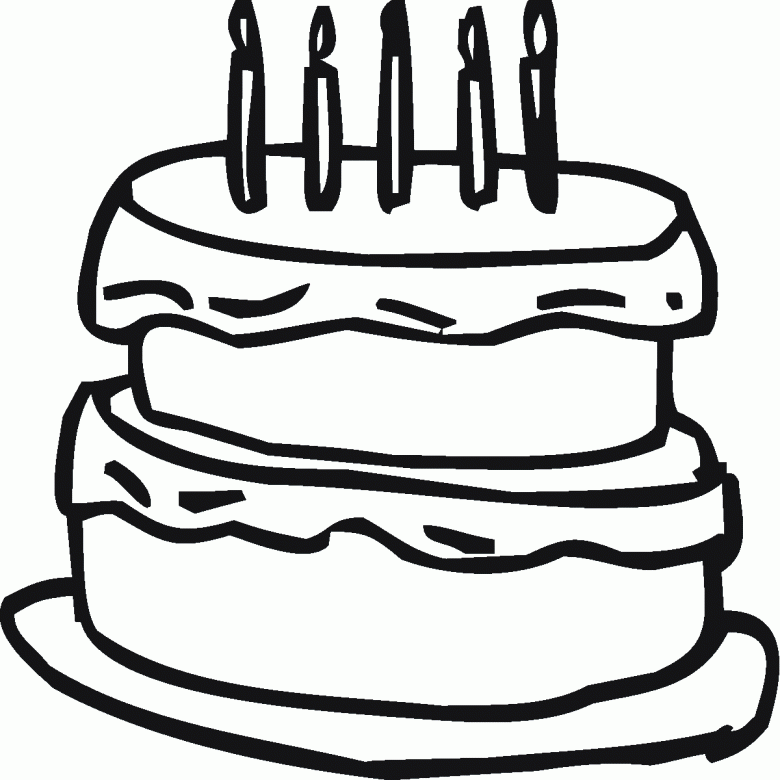
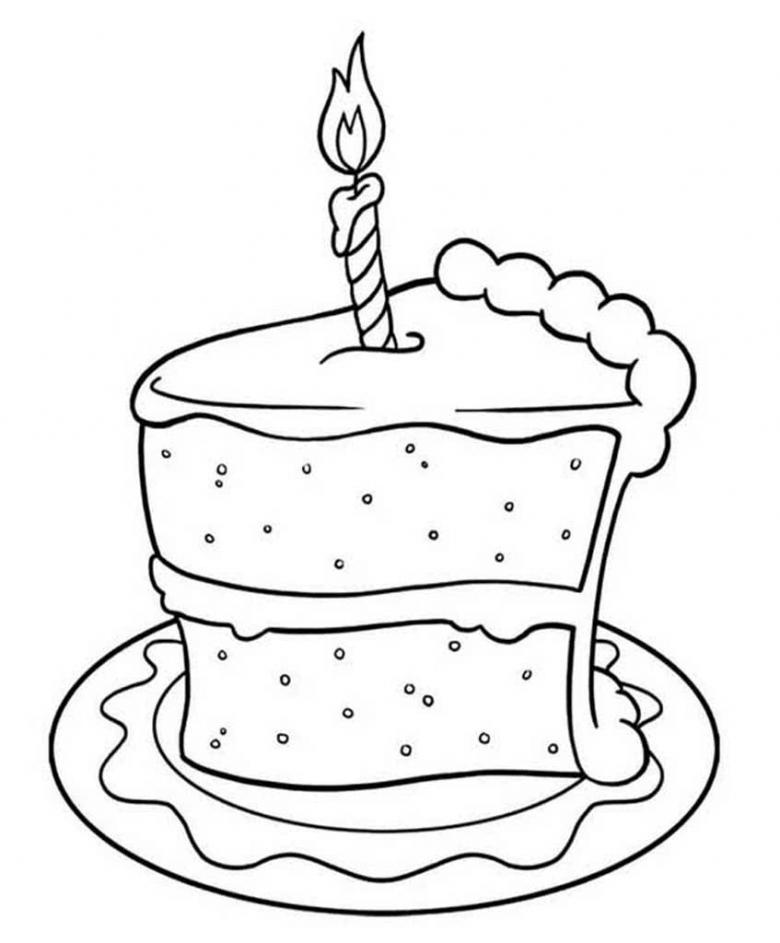
For a beginner artist, figuring out how to draw a birthday cake will be easier if all the steps are carried out step by step.
- The thin oval becomes the template for the top layer of the cake covered in frosting.
- Since the frosting flows down unevenly, the bottom contour of the frosting is drawn with a wavy line.
- Vertical lines from the oval form the main part of the cake. Do not forget that it is not a geometric figure depicted in the drawing. Therefore, the corners can be rounded.
- So that the gift does not hang in space, an oval-shaped plate with a beautiful napkin is drawn under it.
- The cake is decorated with candles.
- The workpiece becomes a real postcard after coloring the cake with colored pencils. The main part of the cake is covered with yellow, icing is pink, birthday candles are blue and flames are bright orange.
- Colorful confetti or streamers in the background will make the picture even more festive.

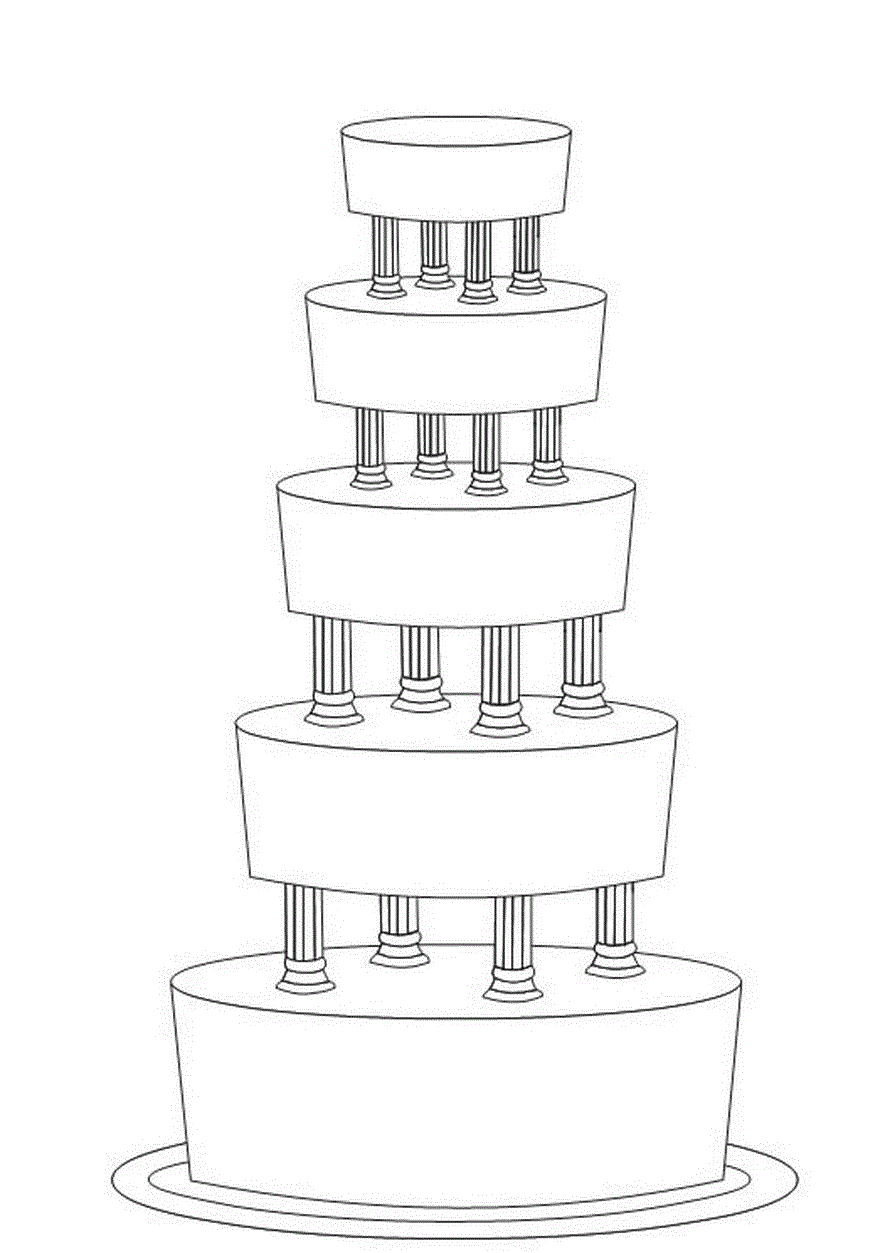
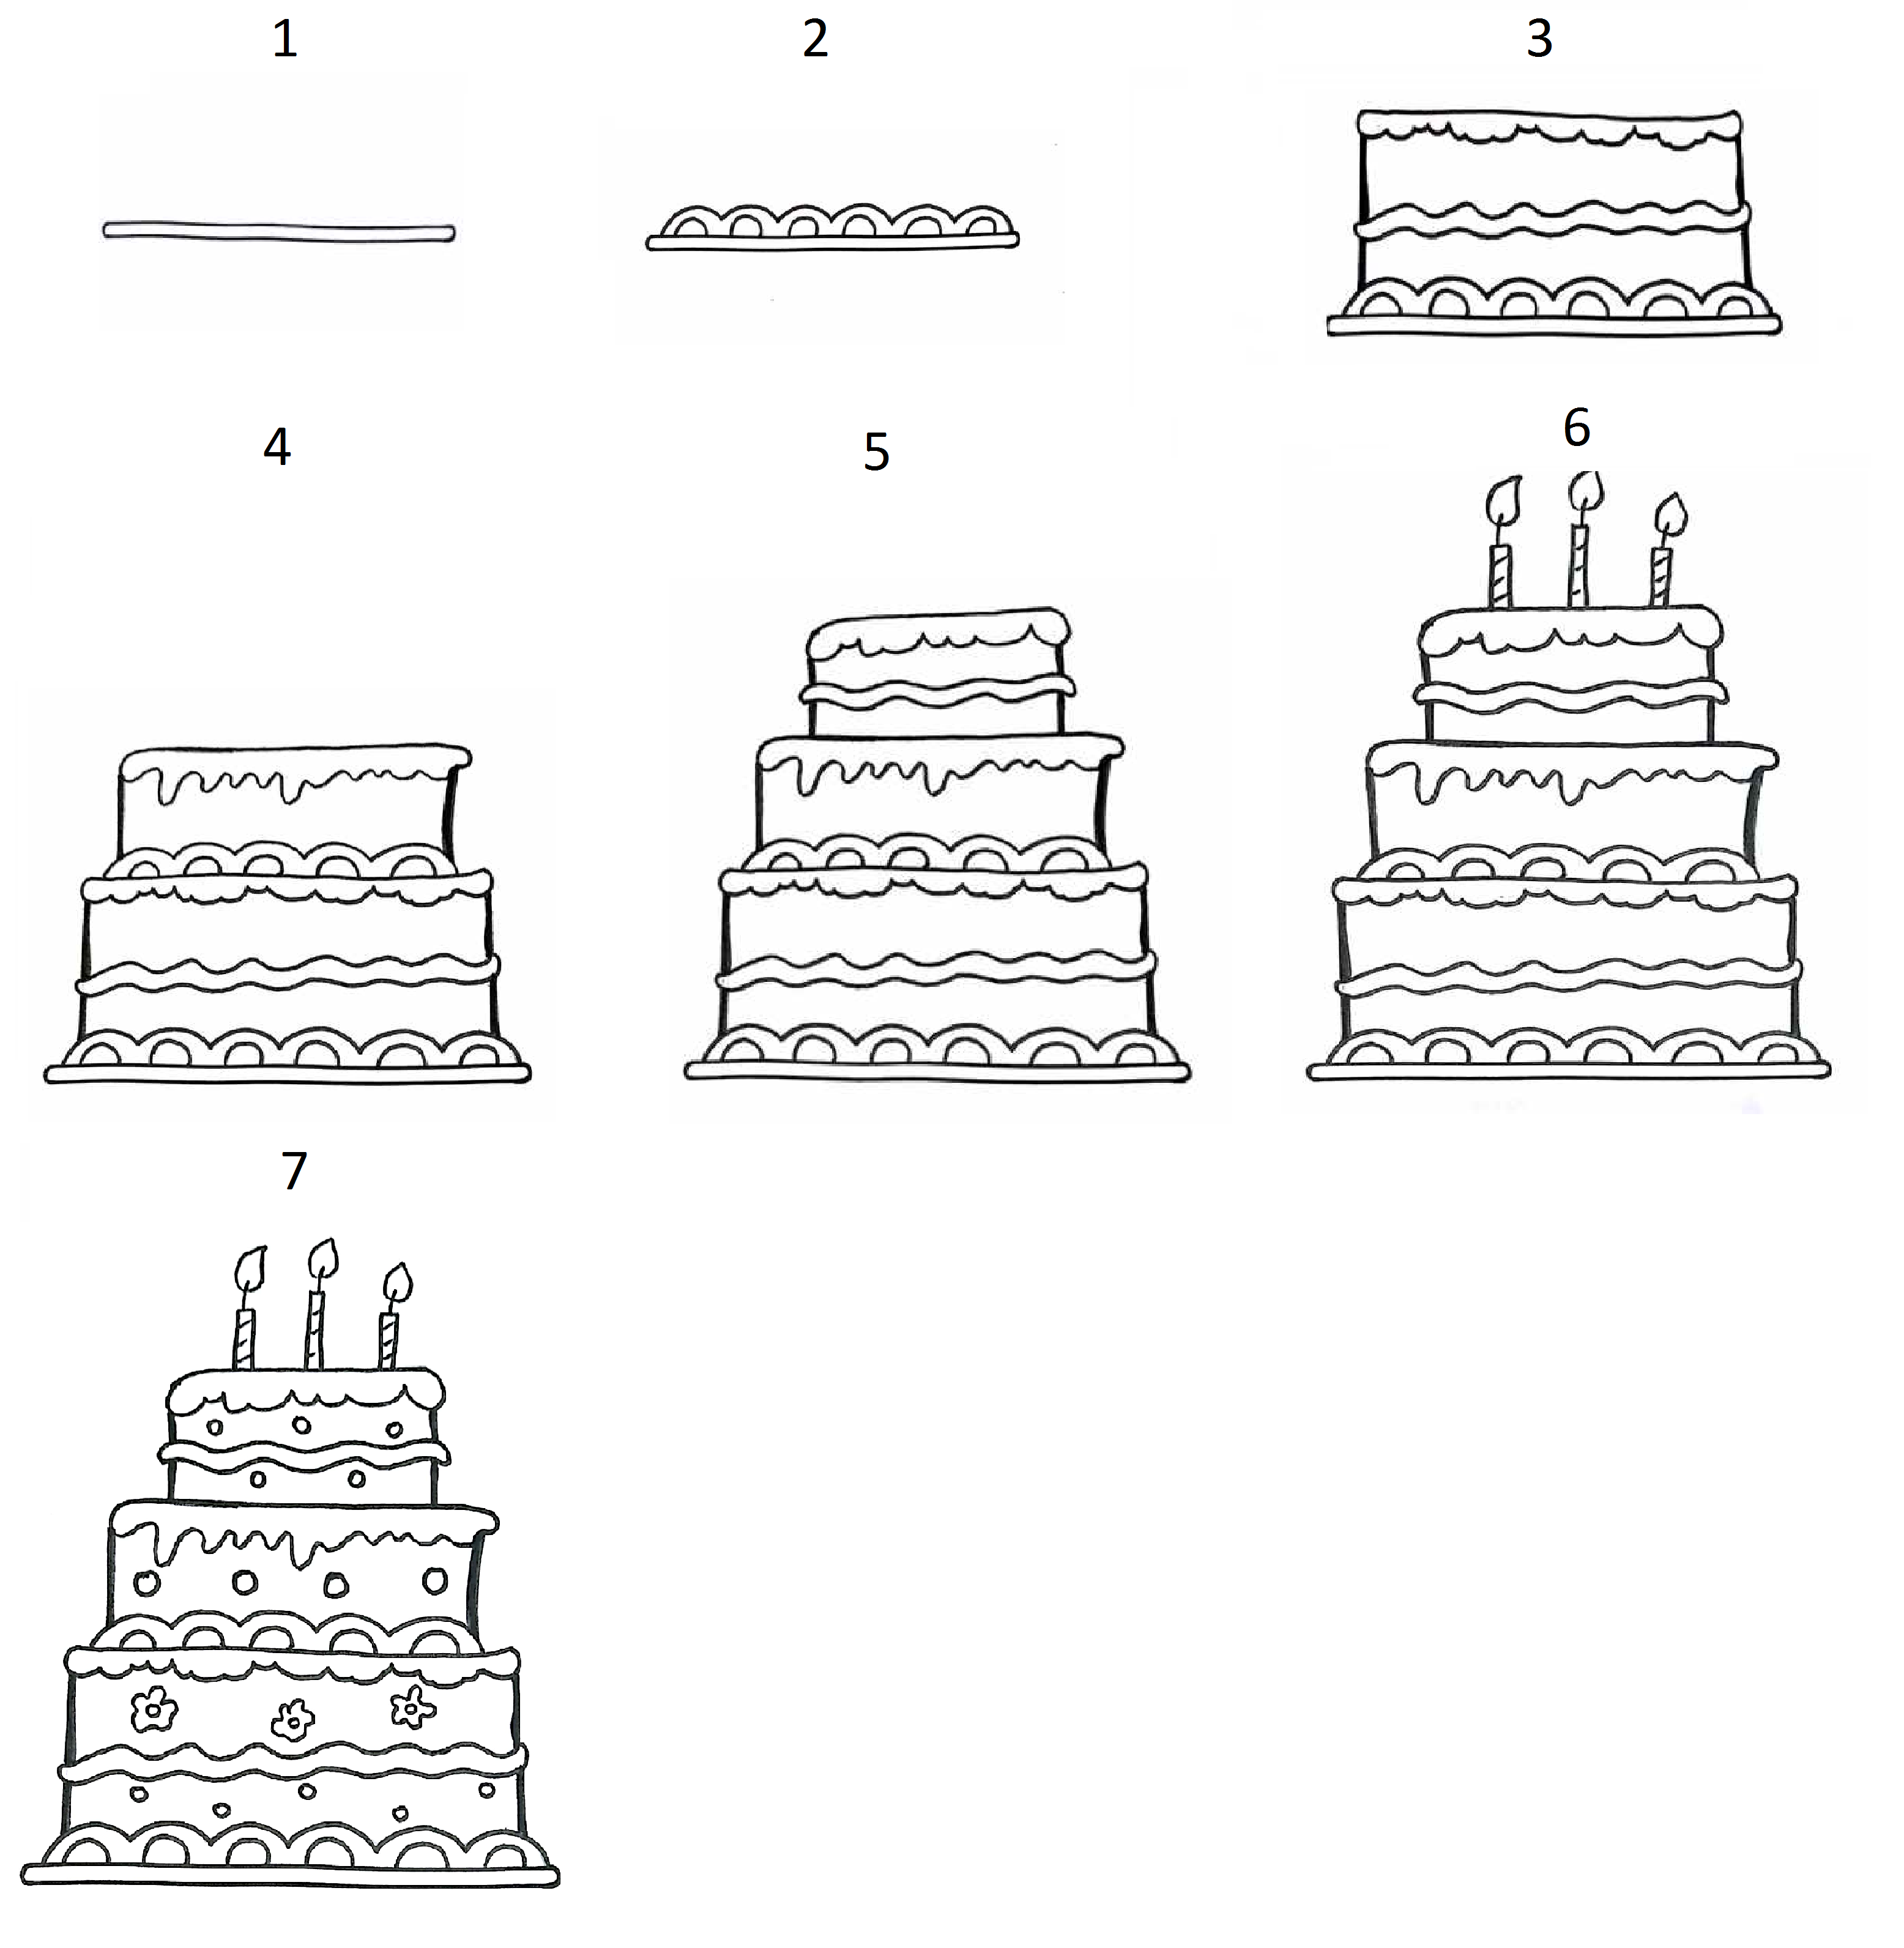
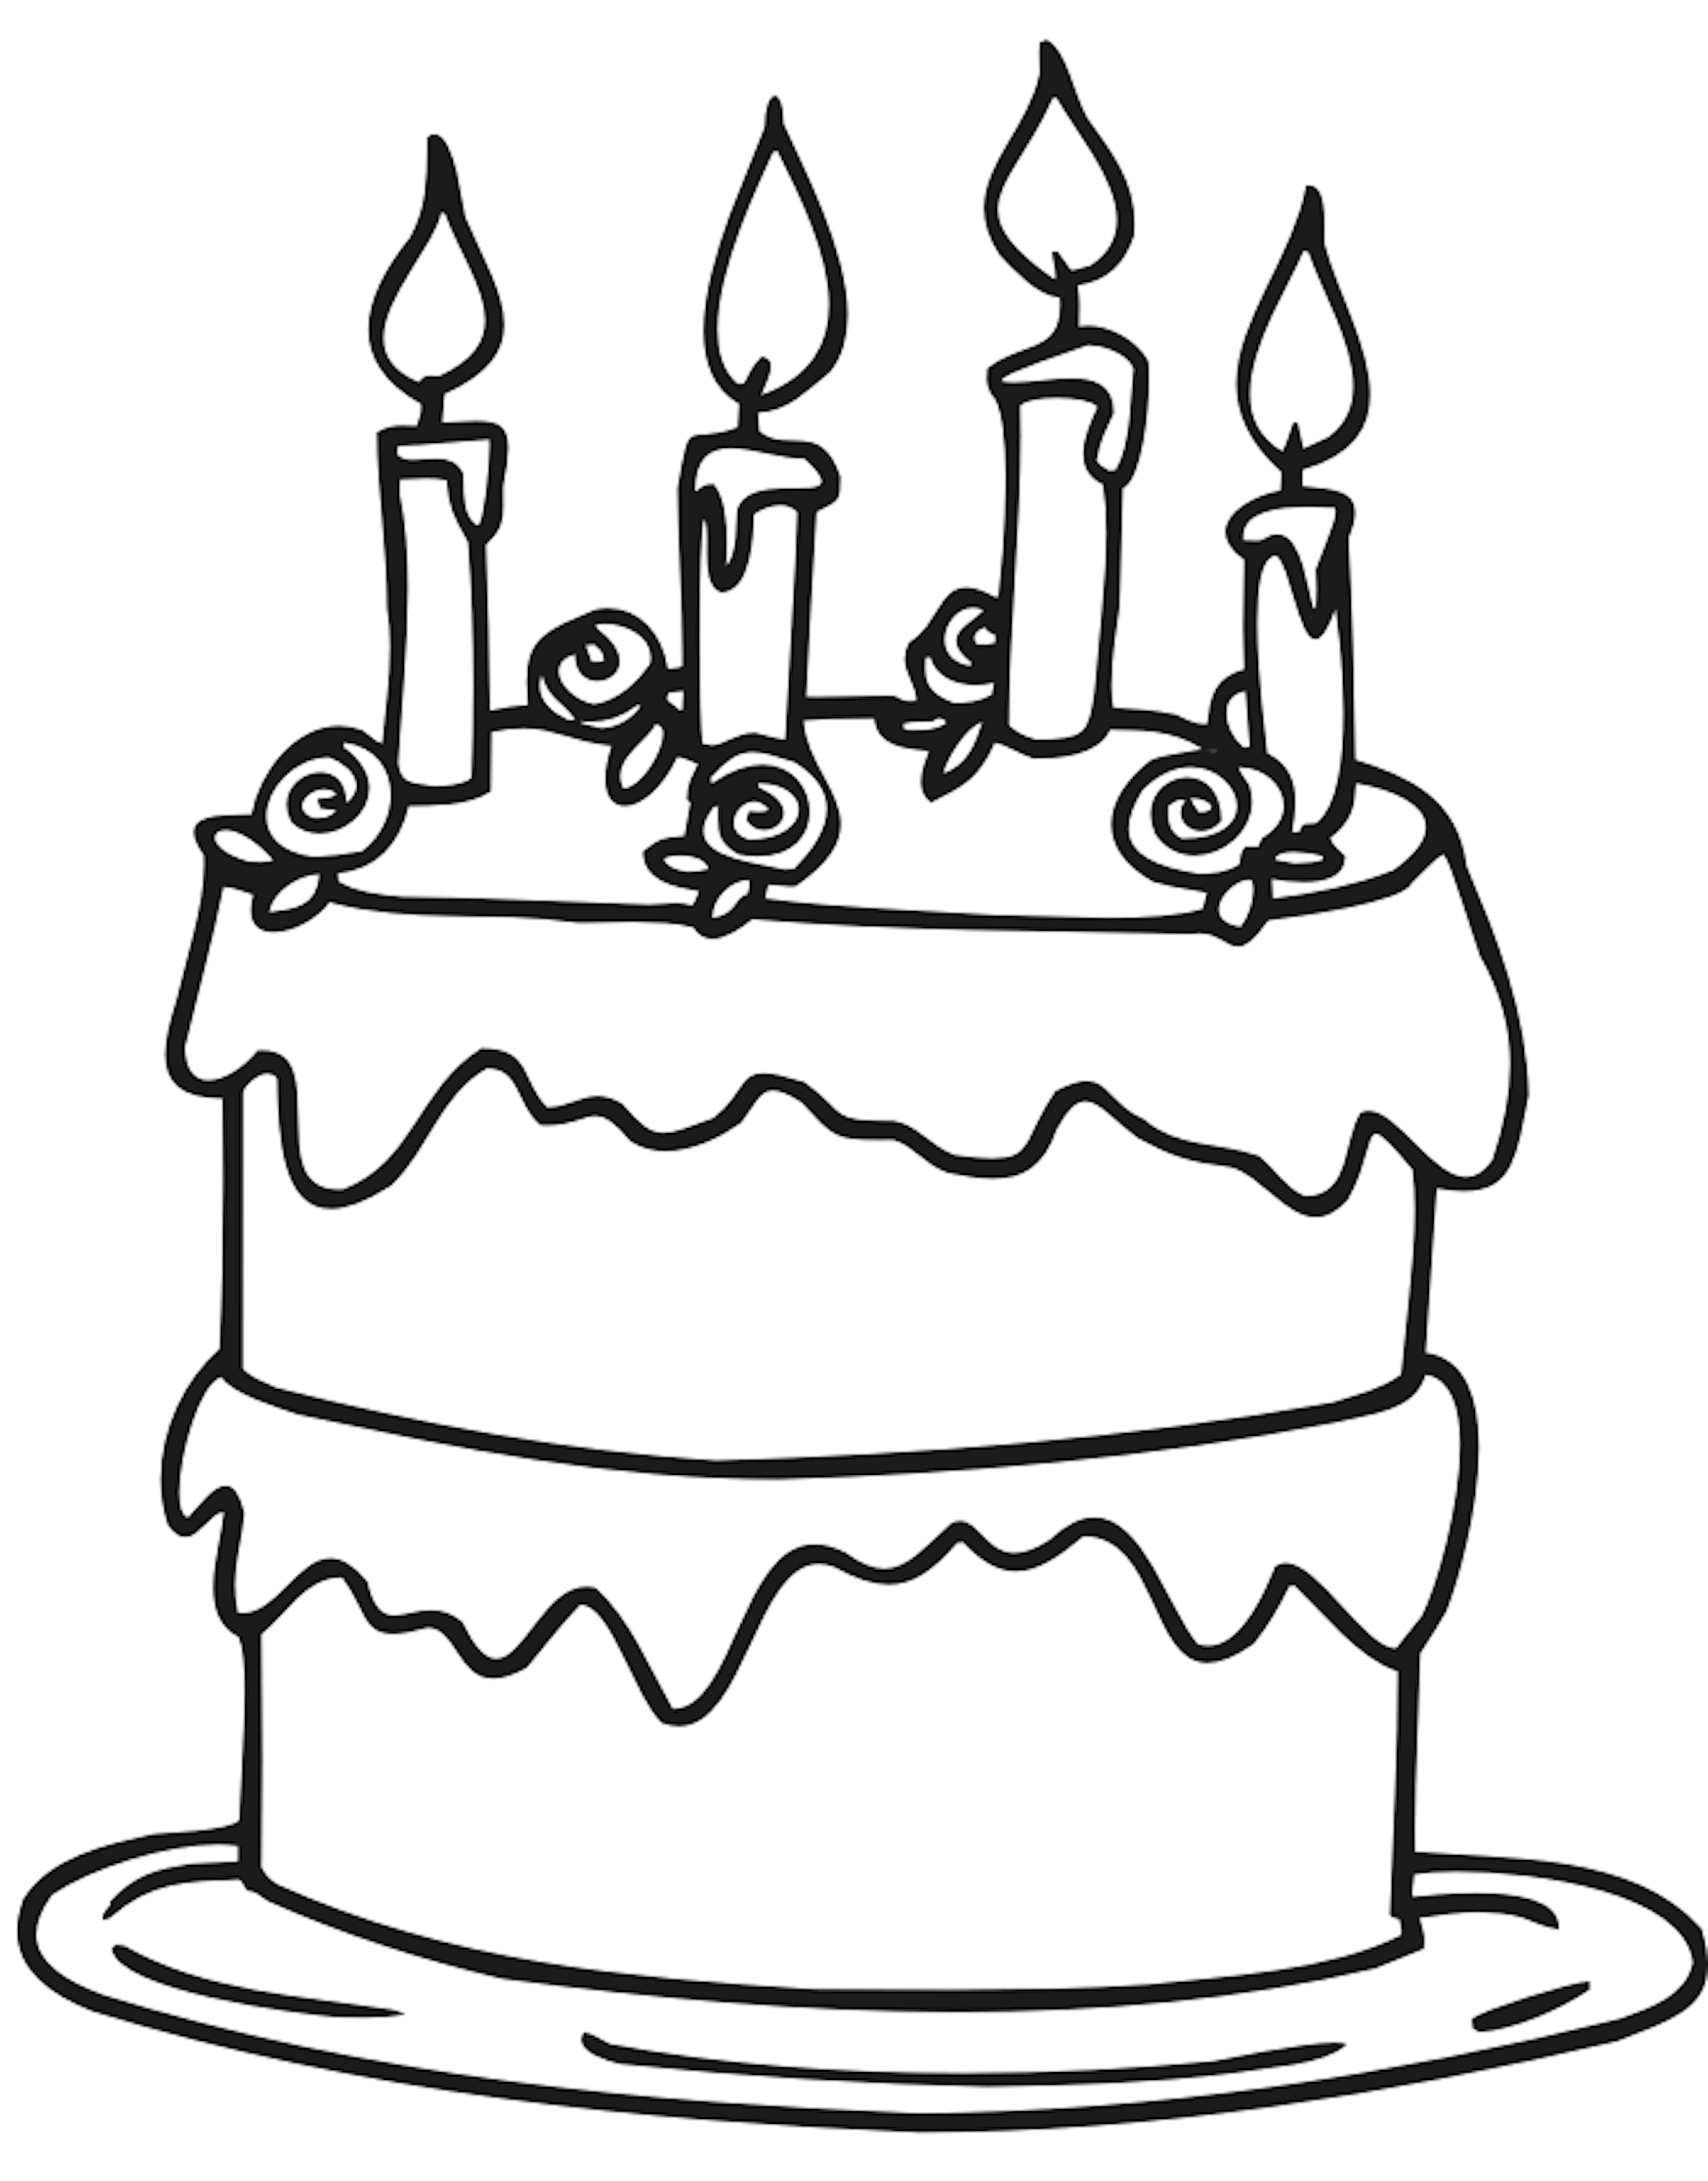
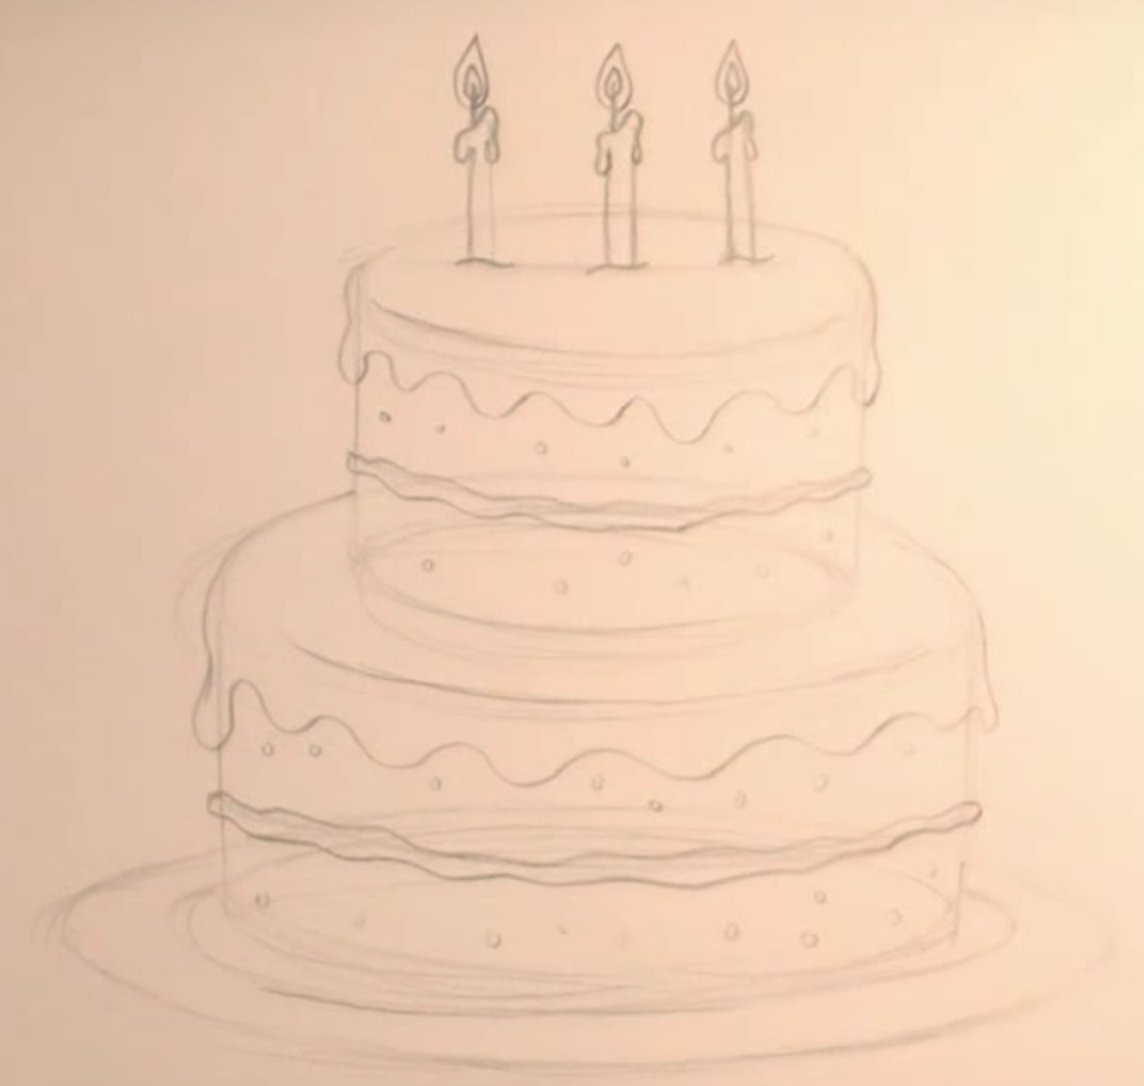
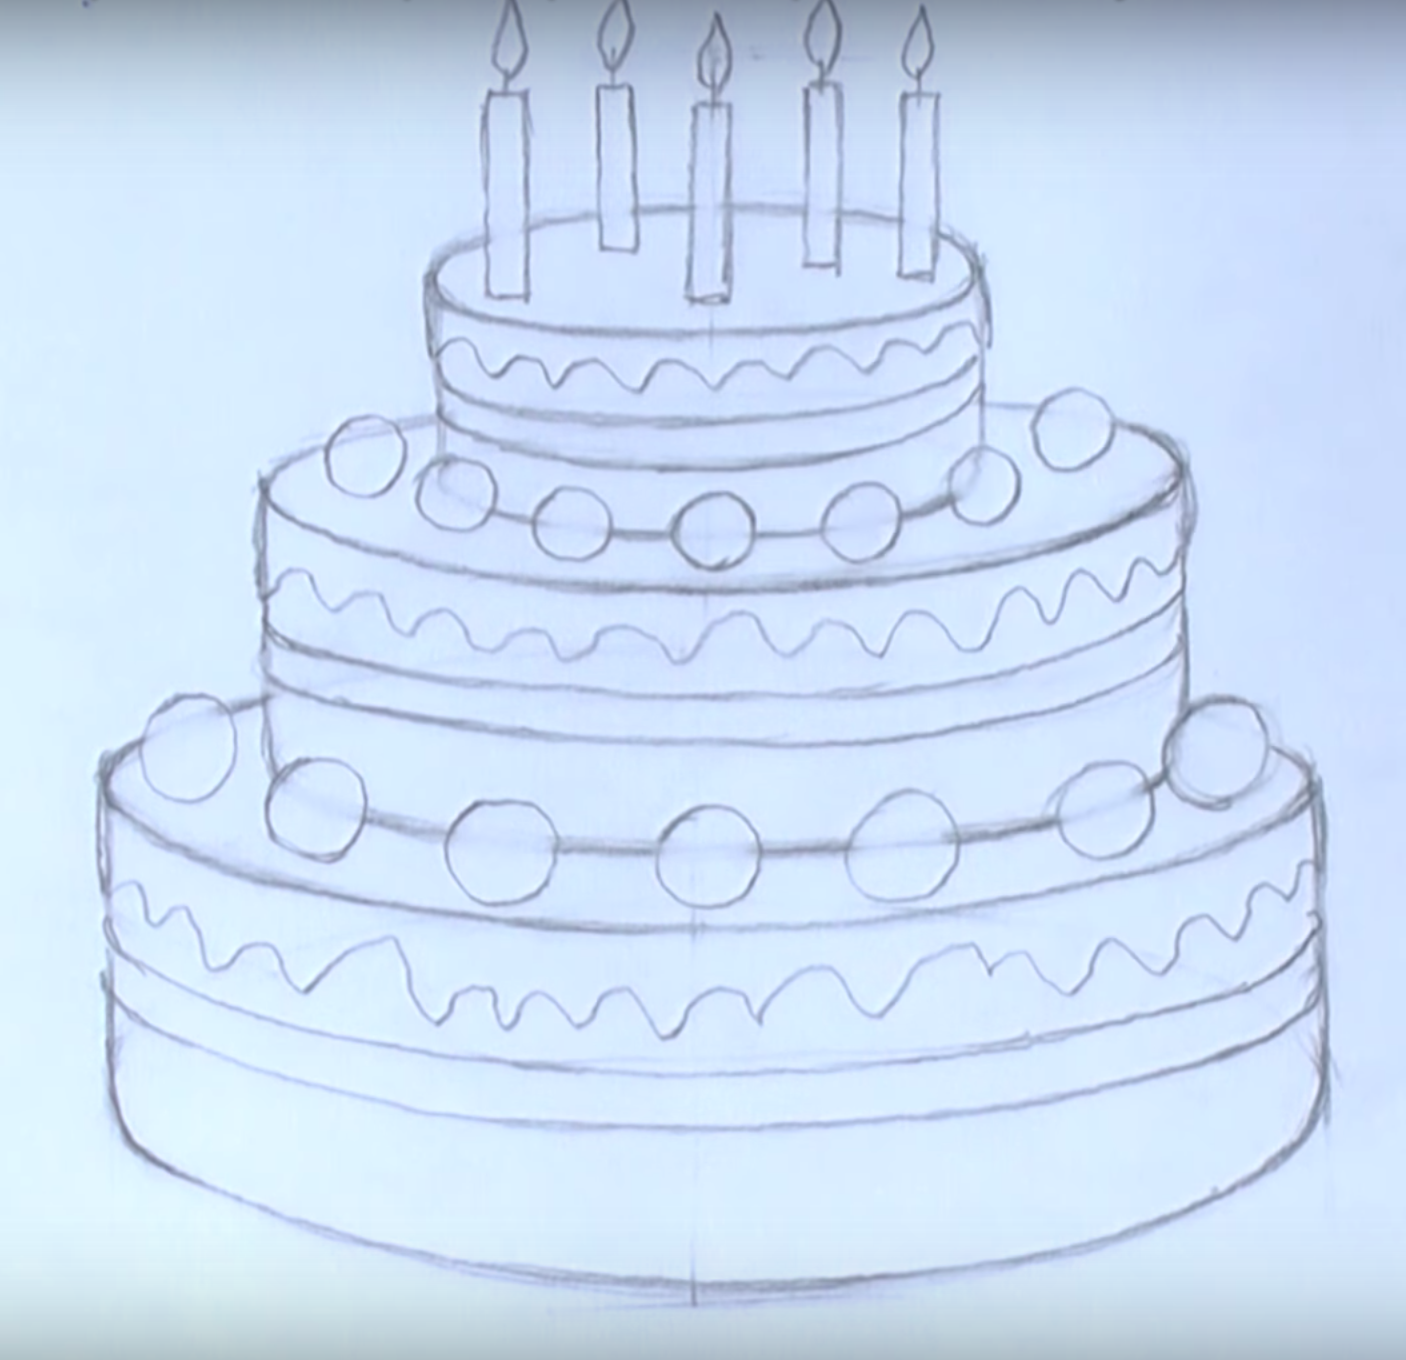
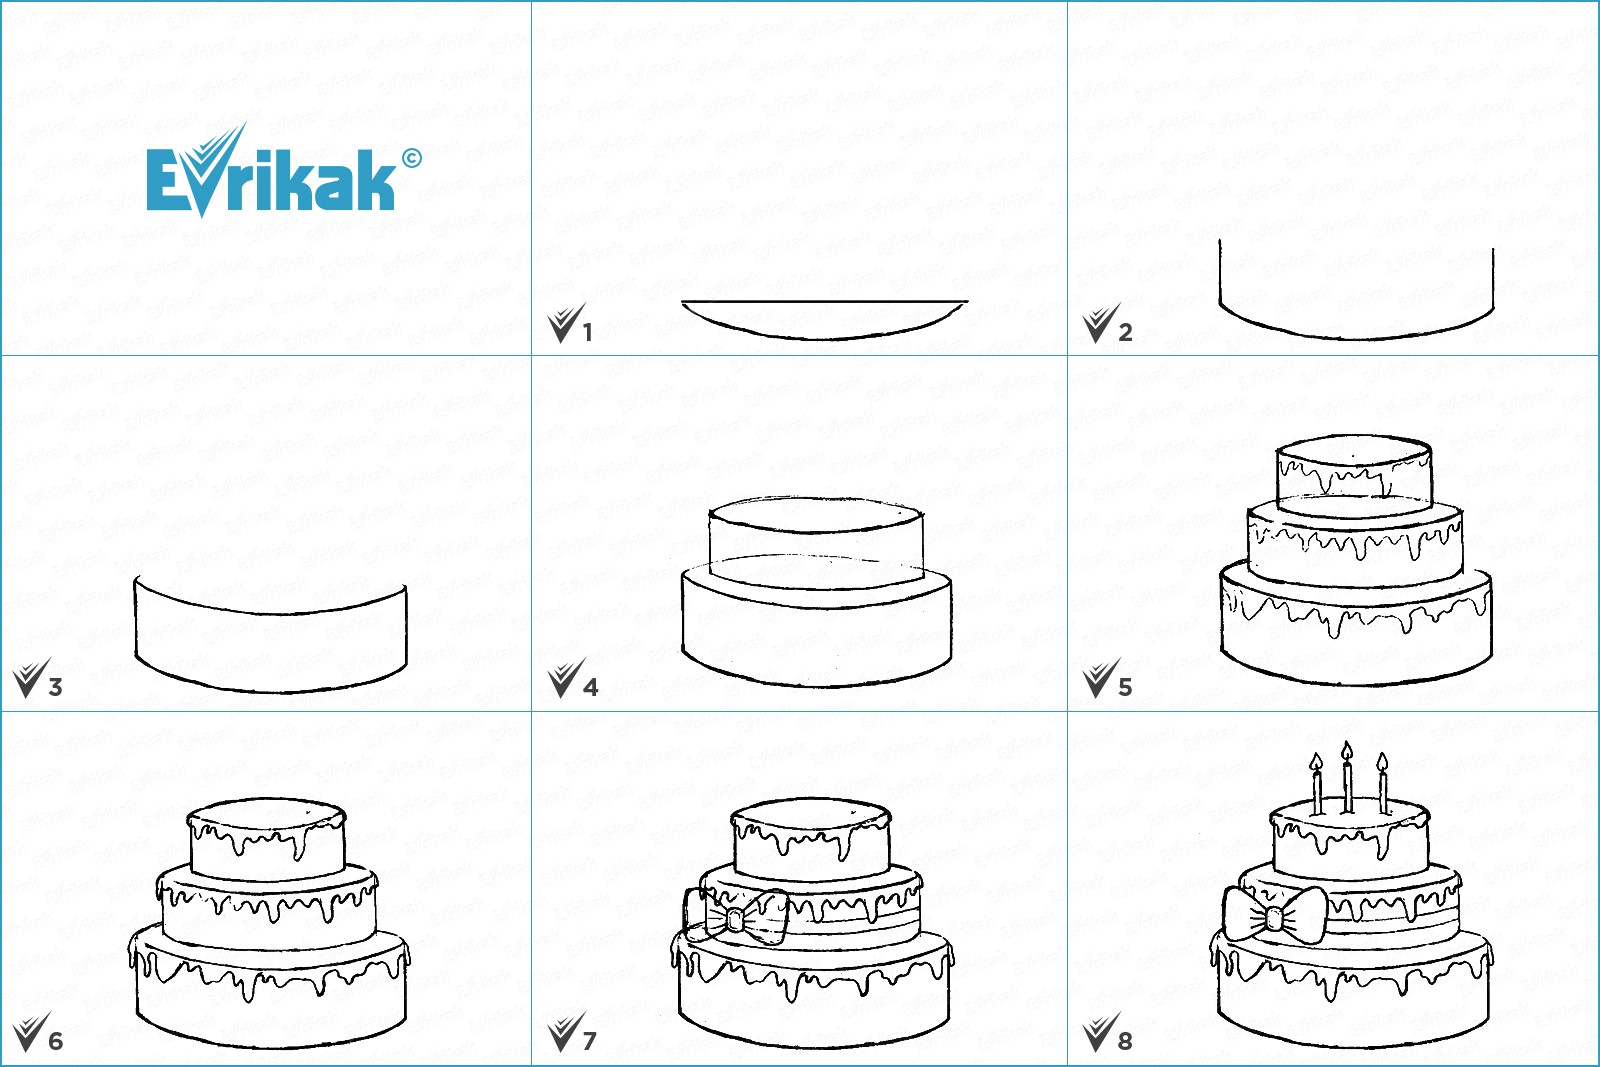
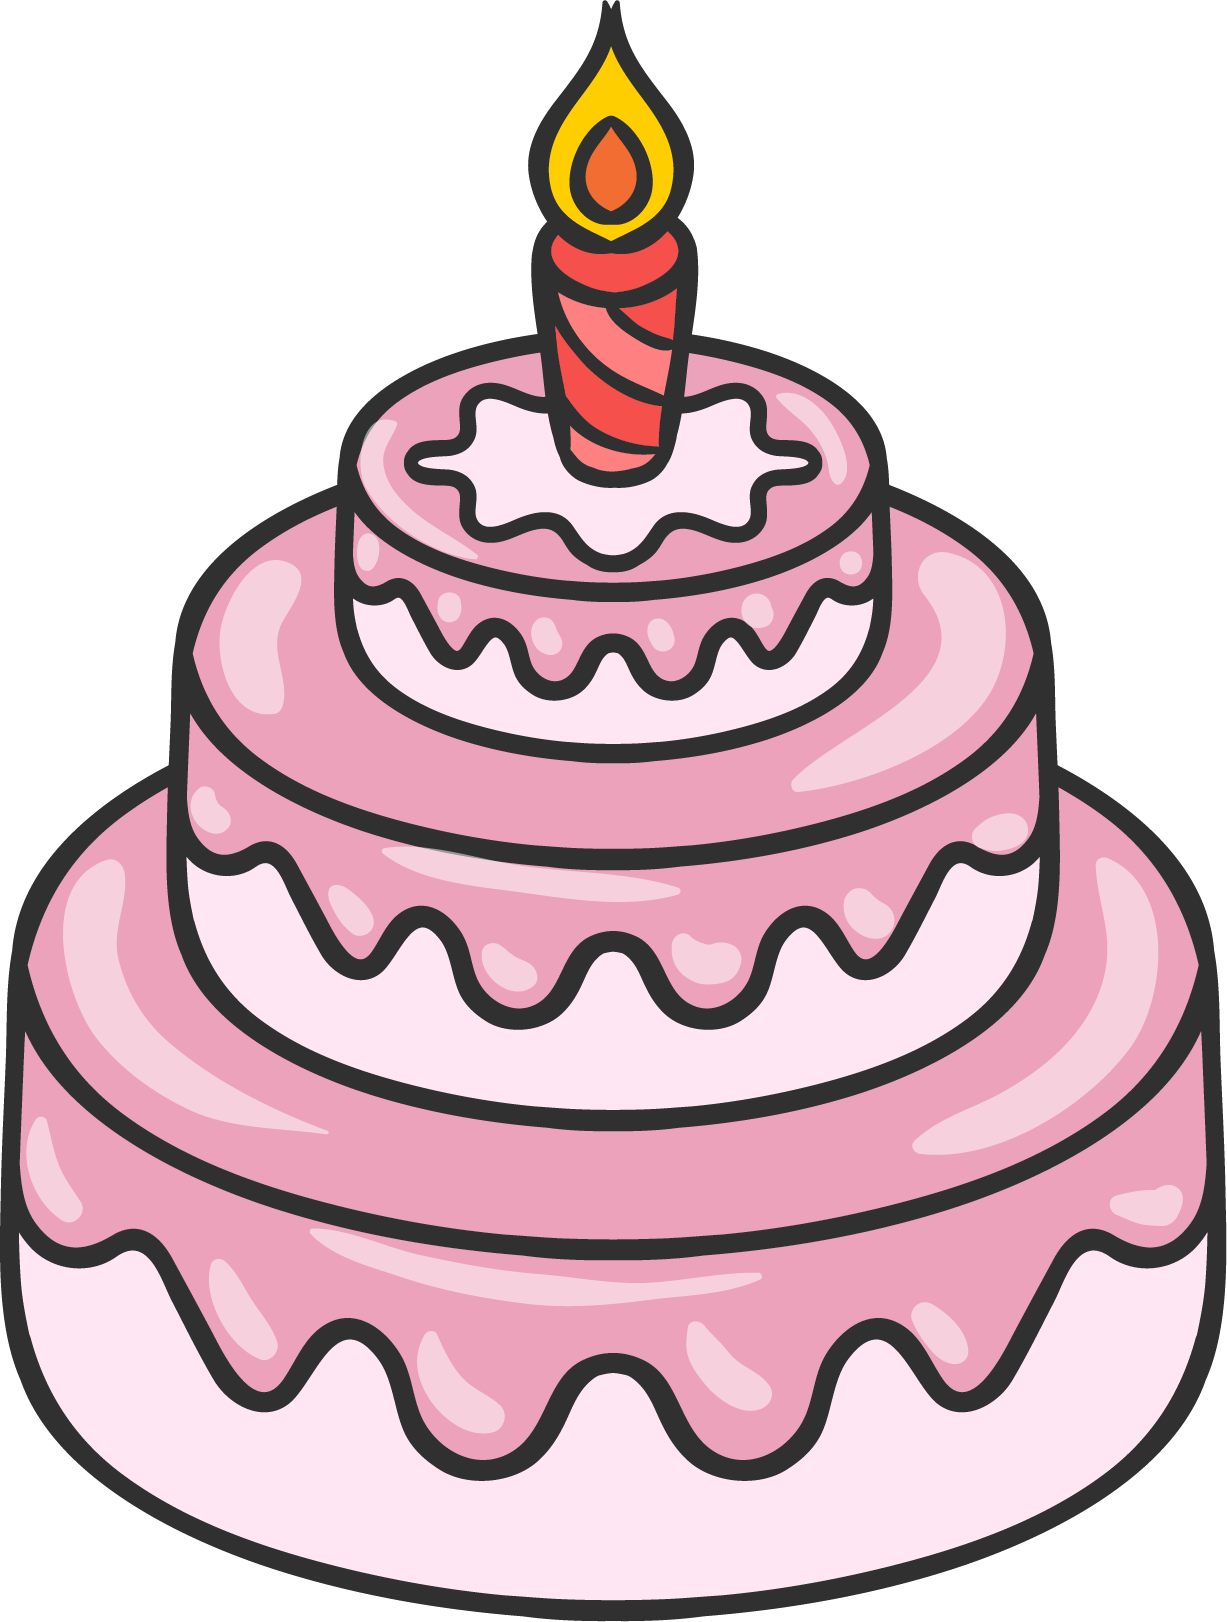
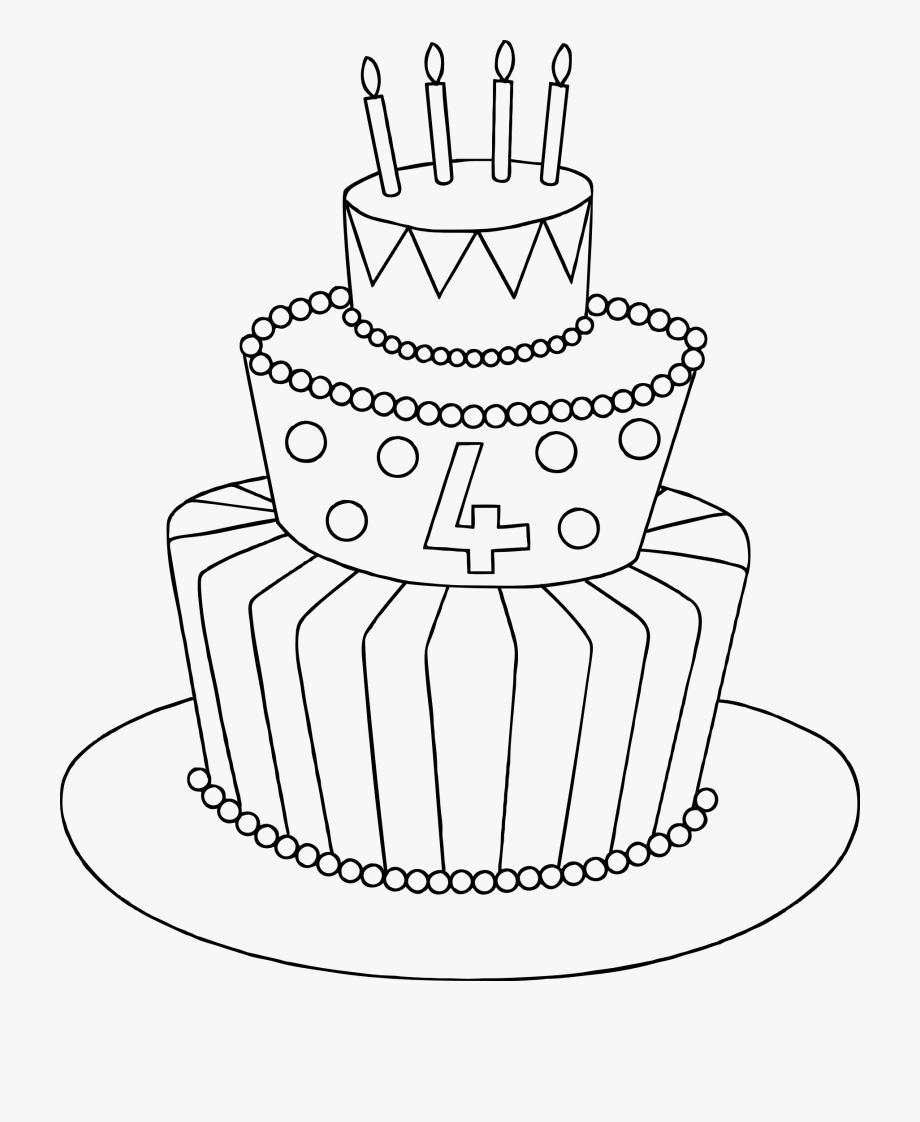
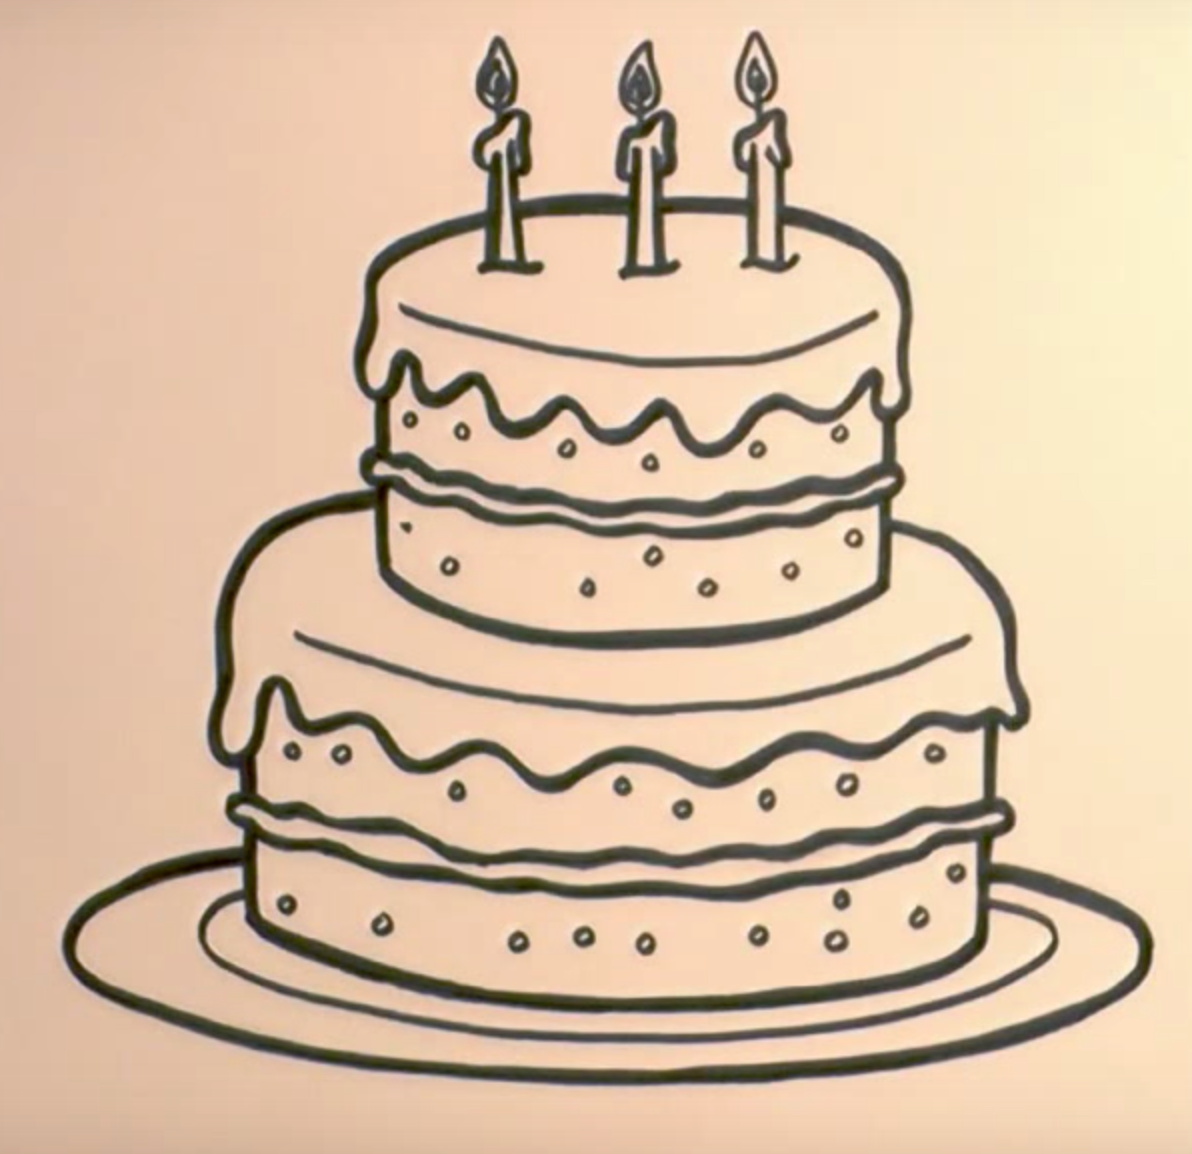
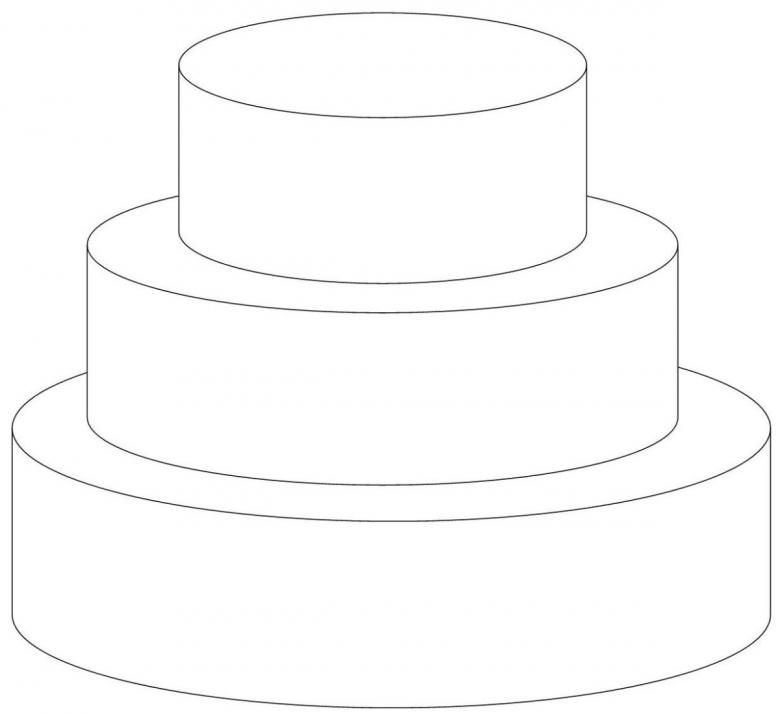
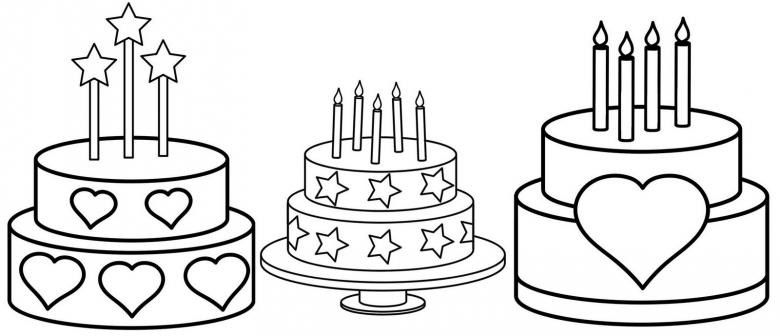
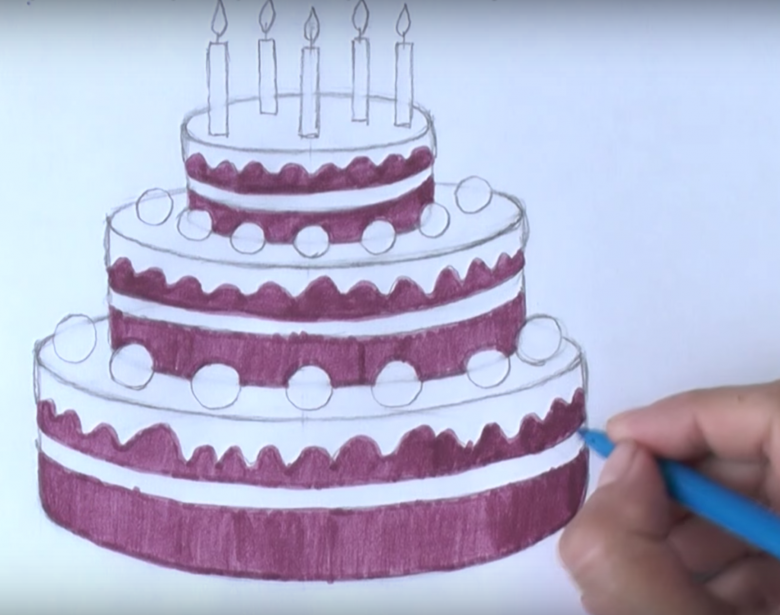
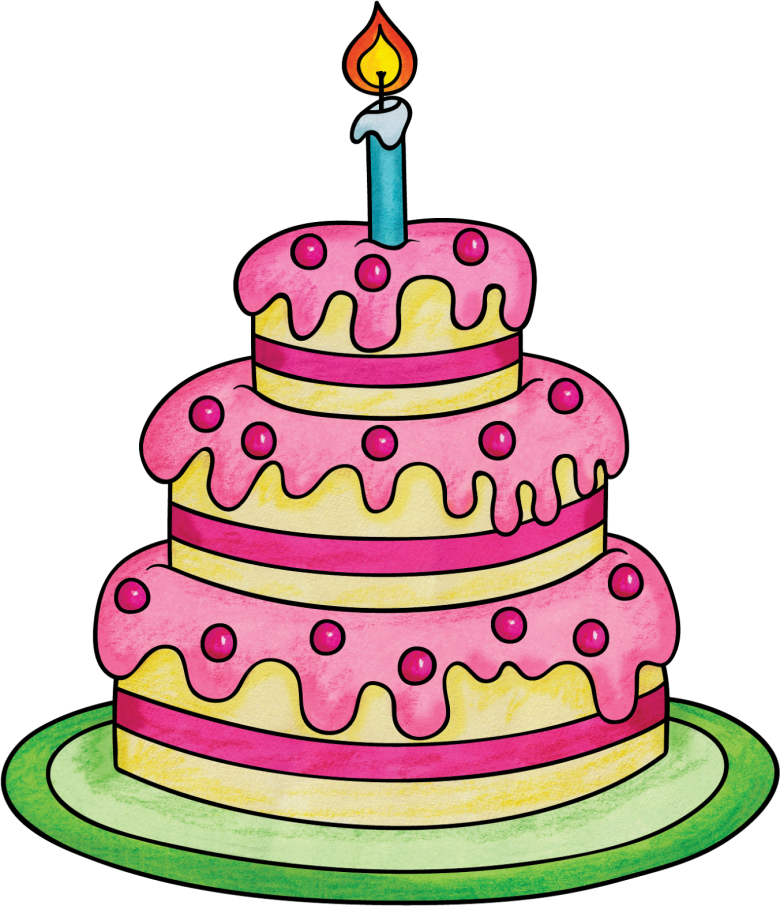
Tiered cake
For school-age children, it is more interesting to go through a master class that describes step by step how to draw a beautiful cake with several tiers. For a kid, such a drawing from an adult can become a coloring book.
- On paper, vertical lines on the right and left fix the height of the future cake, as well as the width of the first large layer.
- The number of tiers is marked with horizontal lines. The distances between them should be the same, because this is the height of each tier.
- The biggest bottom tier is drawn first. A line in the form of an arc curved downwards marks the bottom contour of this tier. From the first horizontal line below is drawn as if an unfinished oval.
- The large oval above completes the bottom tier at the level of the second horizontal line.
- Further actions are repeated. The conventional vertical lines on the left and right set the width of the second layer of the cake. It will be narrower than the first.
- From the second bottom horizontal line is drawn semi-oval, as the bottom contour of the second tier.
- At the level of the next horizontal line, an oval-shaped top layer of the second tier is drawn.
- The last tier is depicted according to the same algorithm: its width is set, a semi-oval is drawn at the bottom, and a small oval is drawn at the top.
- All the conditional lines are wiped out and the main lines are drawn more clearly.
- The top layer of each tier is decorated with cherries. Equal small circles are drawn. It is not necessary to adhere to an ideal form.
- Each tier is decorated with frosting, which flows down its walls. Therefore, the bottom outline of the frosting is drawn with a wavy line.
- On top of the cake are placed burning decorative candles. The flame is depicted in the form of a drop.
- The drawing is ready for coloring.
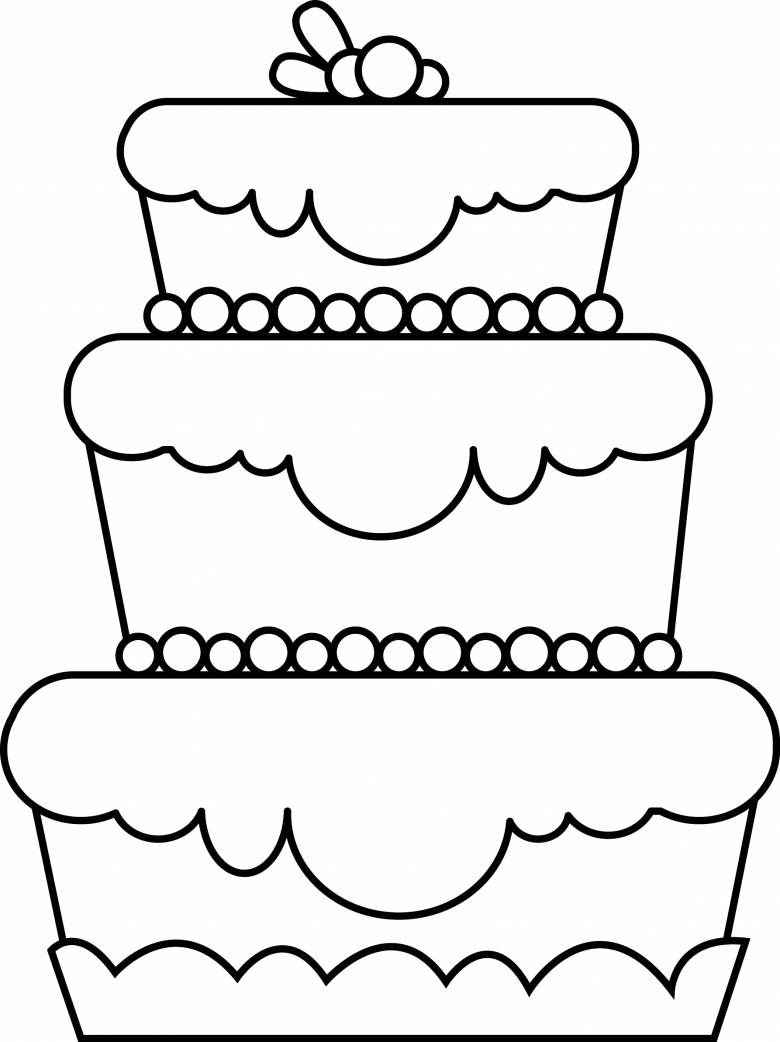
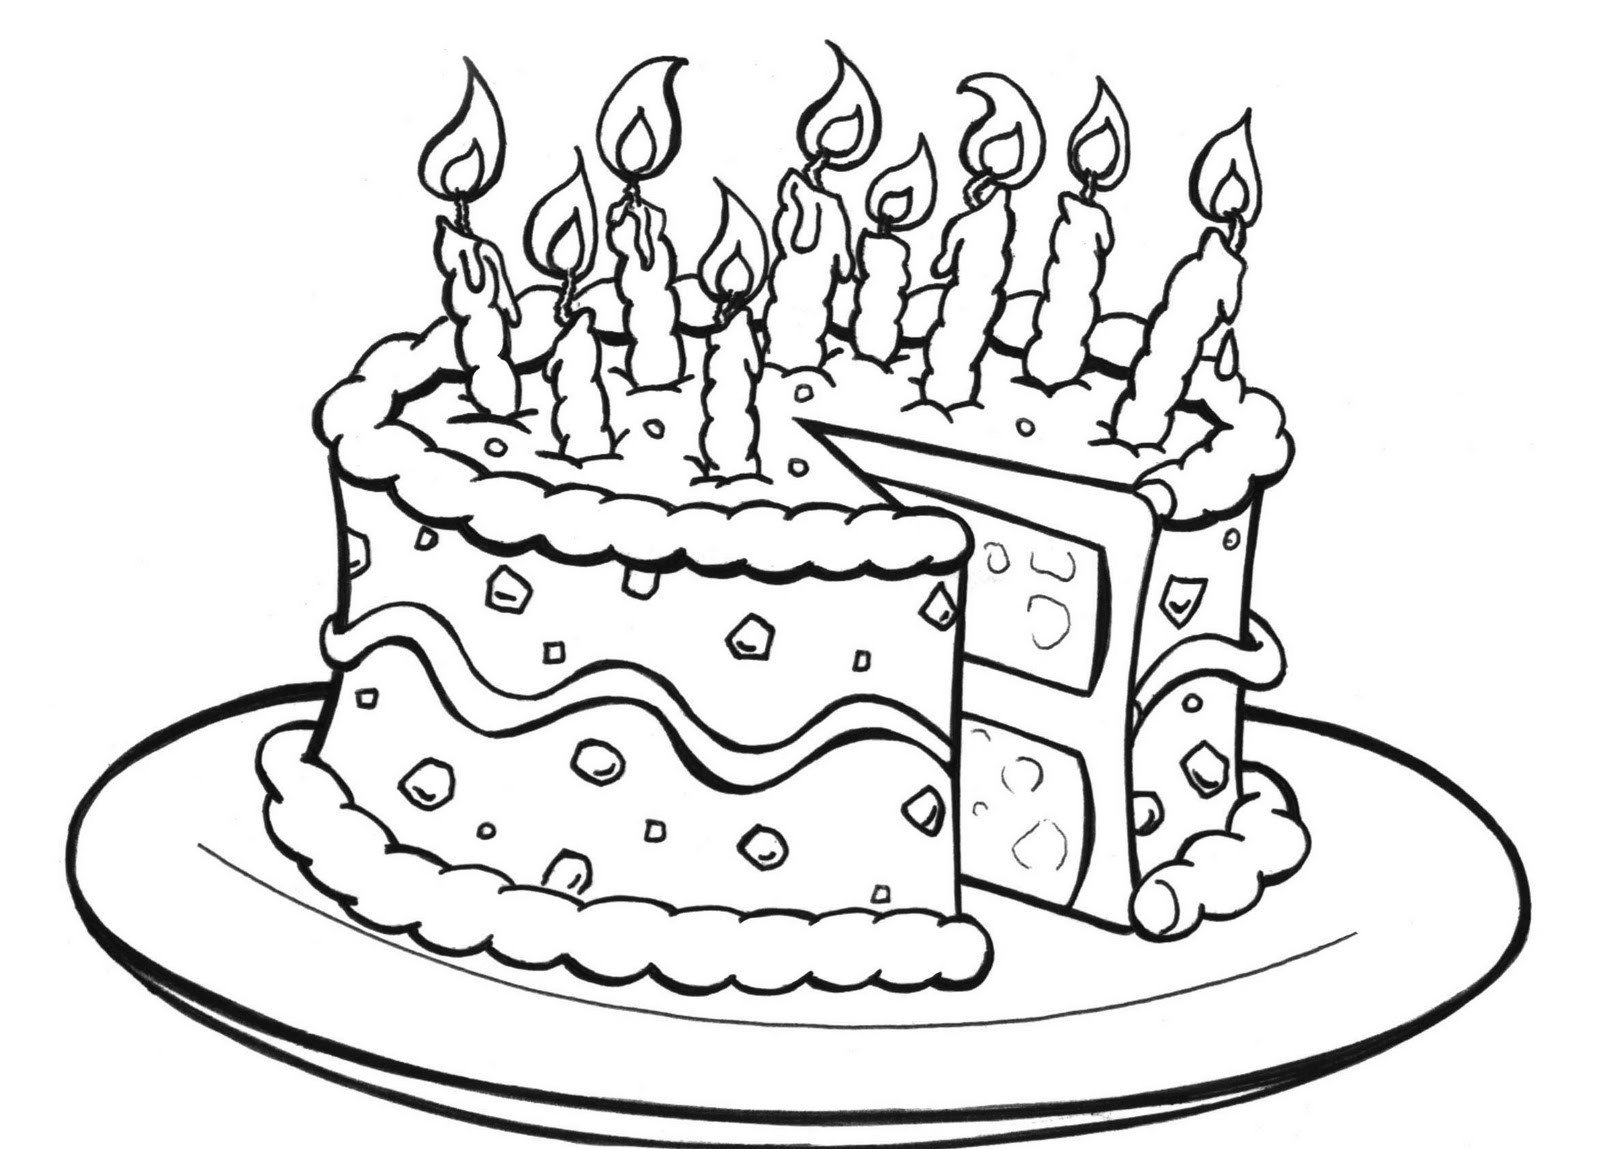
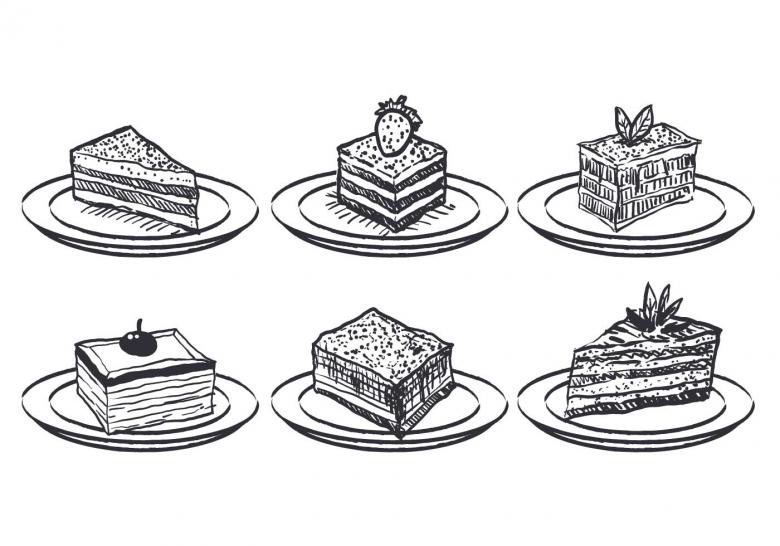
Image of a festive slice of cake
You can invite your friends to your birthday party with a postcard showing a piece of cake. After the cake is cut, its pieces become a treat for the guests, an invitation to friends to the festive table.
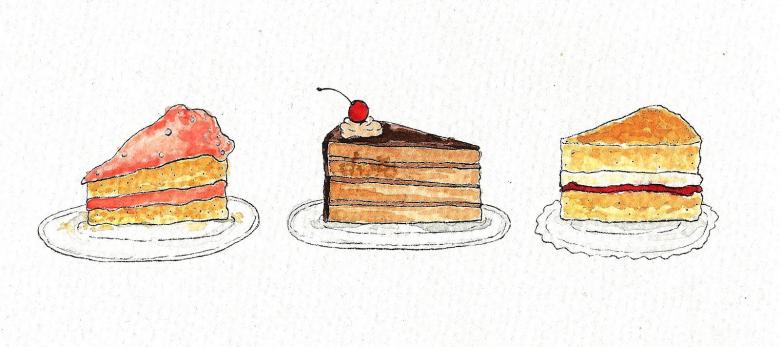
To draw such an invitation yourself is not difficult, if you understand how to draw a piece of birthday cake.
- On the sheet draws a triangle with a sharp corner on the right and with a rounded side on the left.
- From the bottom corners of the triangle down two vertical lines, setting the height of the slice.
- One horizontal line draws the base of the piece, and the second divides it into two layers. Although the number of layers is chosen independently.
- The template of the slice is ready. Details are added: the wavy edge of the top layer and the side wall marks the frosting, the inner bands of cream are expanded, and candles or berries are placed on top.
- Multicolored striped candles will make the pattern fun. Beige or brown is used to decorate the cakes, white for the cream, yellow for the icing, and red for the cherries.
The room for the celebration can be decorated with a garland of these brightly colored pieces. Each is cut out and strung on a ribbon.
Drawing on the cake at home
When the guests have gathered, then without a real cake, the holiday is no more. And so that the real masterpiece corresponds to its sketch on paper, mothers wonder how to draw a picture on the cake at home.
- The image is applied to the cake by the technique of "Pressing the contours of the picture".
Choose a picture that you like and fits the theme of the holiday. It is printed out. For punching out the lines of the picture, choose a tool with a sharp tip. This can be a simple pen or toothpick.
The picture is attached to the cake and for convenience, the needles are fixed in the chosen place. A toothpick with pressure on the lines of the picture goes all the way around the drawing. When the paper is removed to the side, a clear image appears on the mastic.
To enhance its visibility, the contours are drawn with a food coloring pen. The work is simple and fast. It is important not to miss all the lines of the picture.

- The second method of drawing is based on its division into small template parts.
So the main figure is cut out strictly along the contour and attached to the cake. With the help of food paint or a felt-tip pen, the contour lines are repeated on the selected place. For example, if you want to draw an elephant, then the template is further cut along the line of the neck and the ear.
Small details are applied to the overall template drawing already on the cake and the missing lines are added. The paper template is reduced more and more and the image on the cake is detailed. Quite minor lines are self-drawn. In this way, the picture is conveyed more accurately.

Cake pictures to sketch in pencil