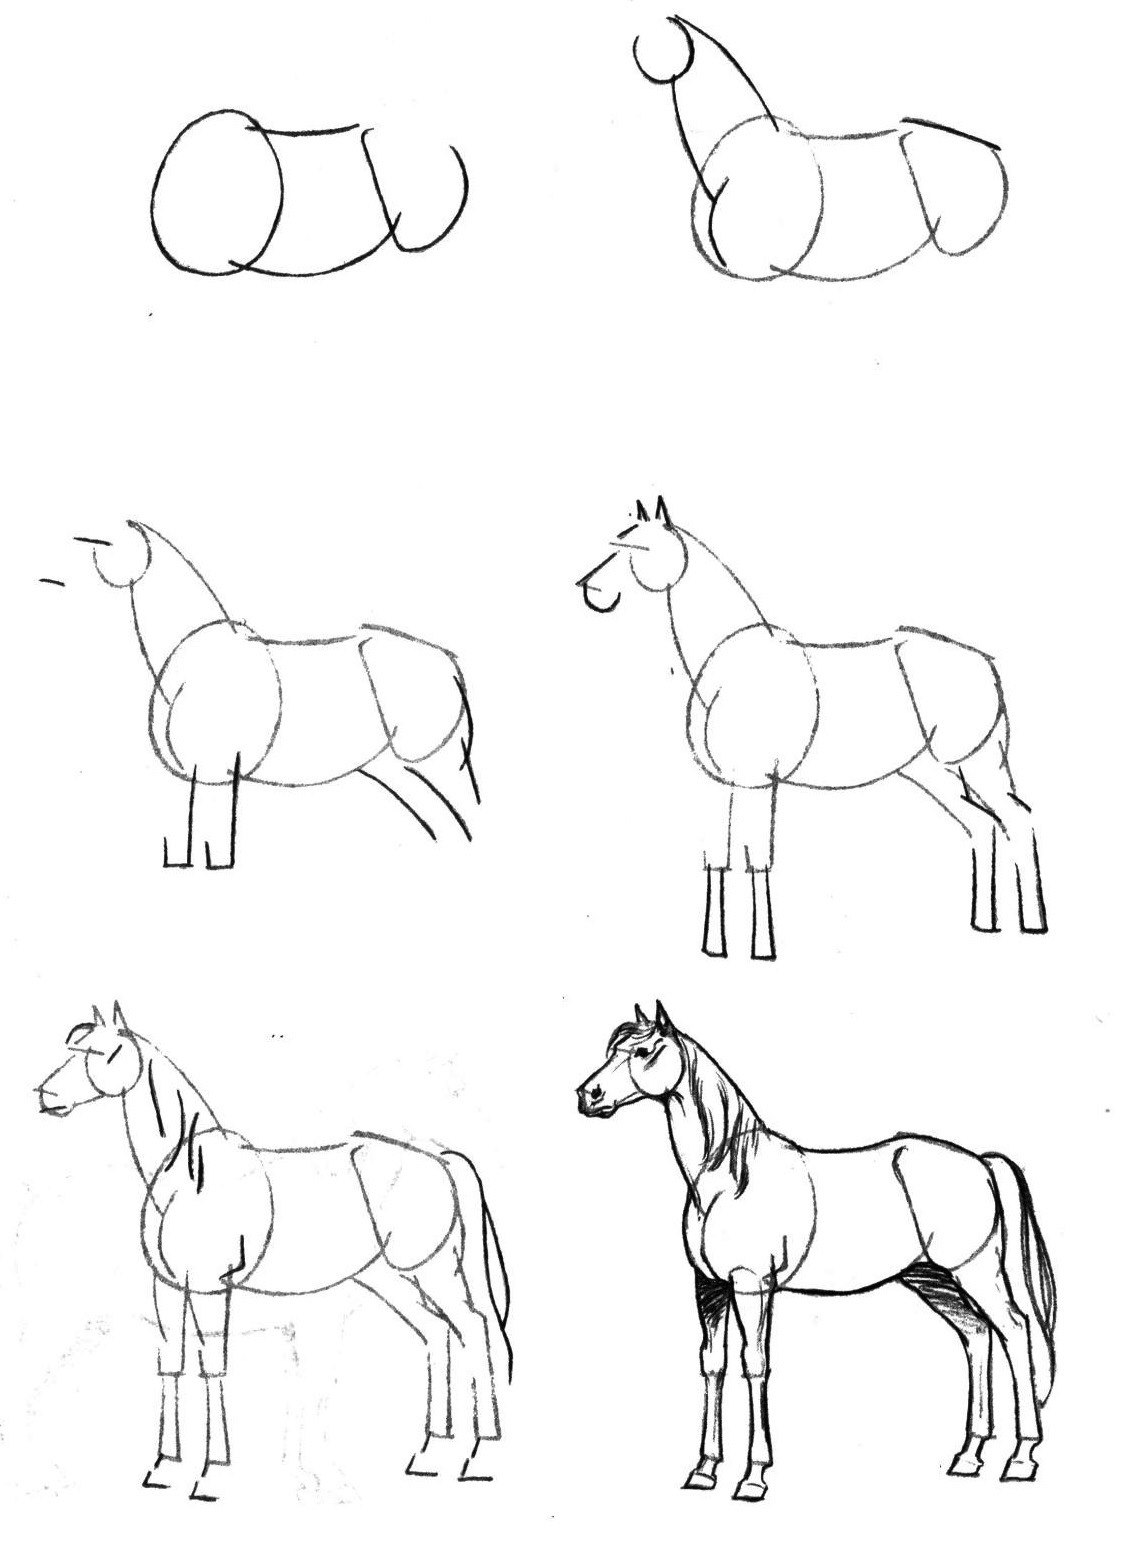
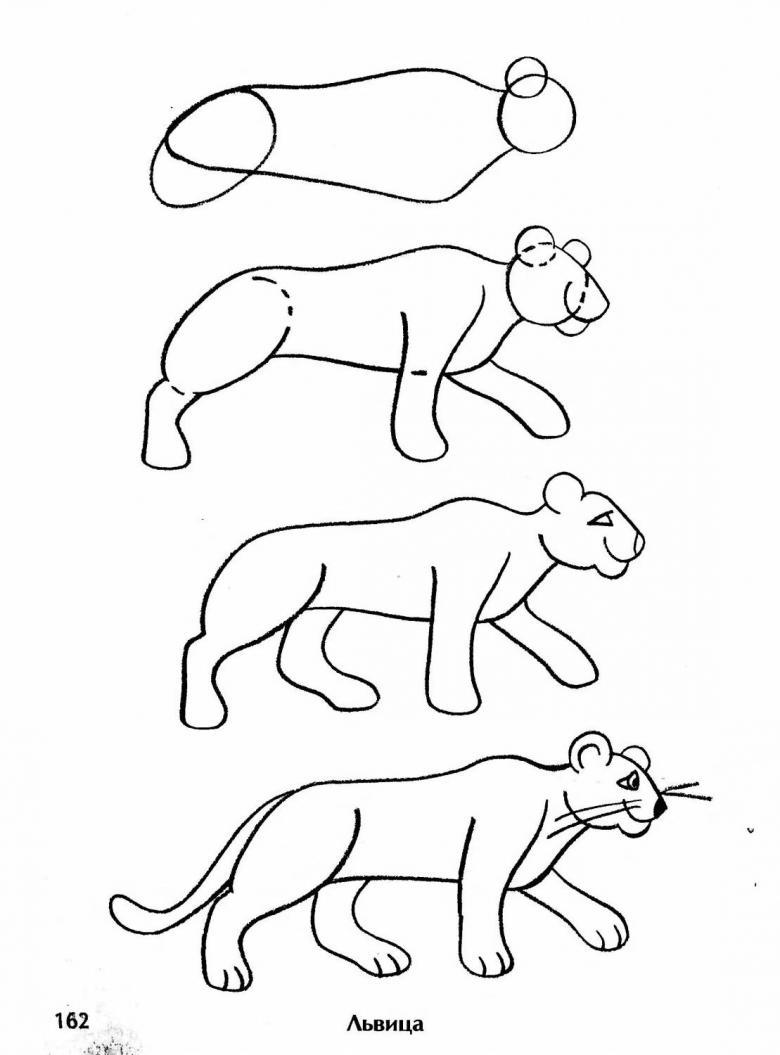
How to draw animals in a pencil drawing: learning to draw cats, dogs and forest creatures
Drawing for children is a very useful activity, as it develops the outlook, forms the skills of handling pencils, brush and paper, increases curiosity and helps to learn about the world around us. This process allows you to better connect parents with the baby. The best drawings of familiar objects or phenomena.

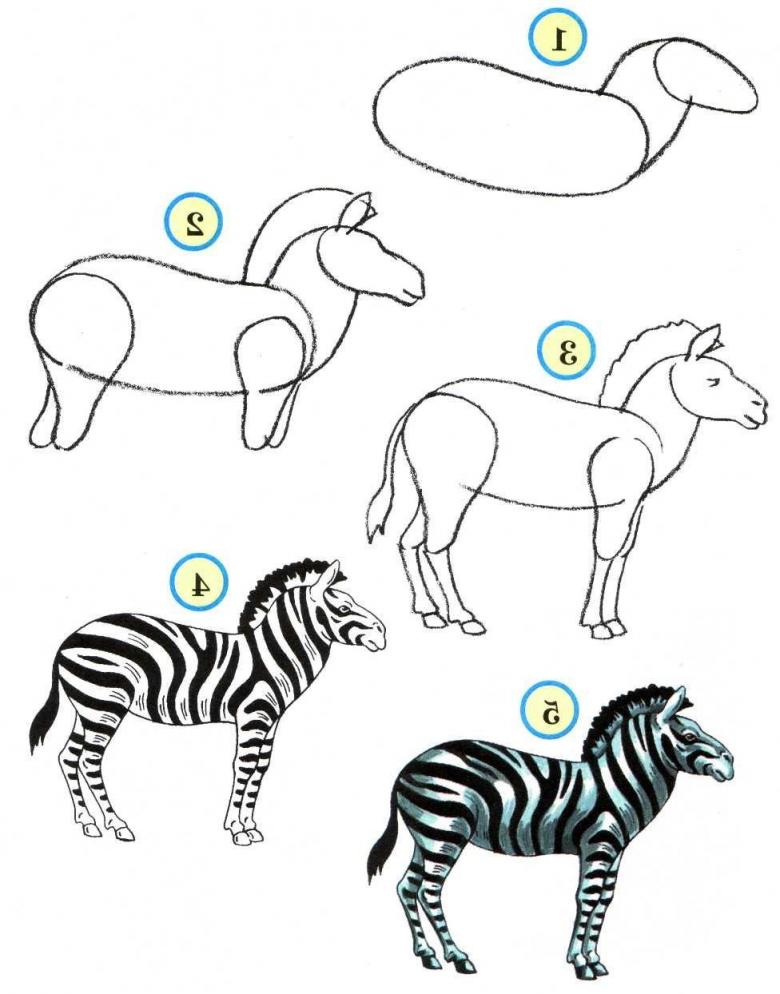
There are many recommendations on how to draw animals step by step in pencil easily and beautifully for a child attending kindergarten or elementary school. You can offer a sample from a colorfully illustrated book or photo.
Children who live in the city will be happy to draw a pet, and those who visit their grandparents in the countryside will probably want to try to convey a picture of a chicken, cow or horse.

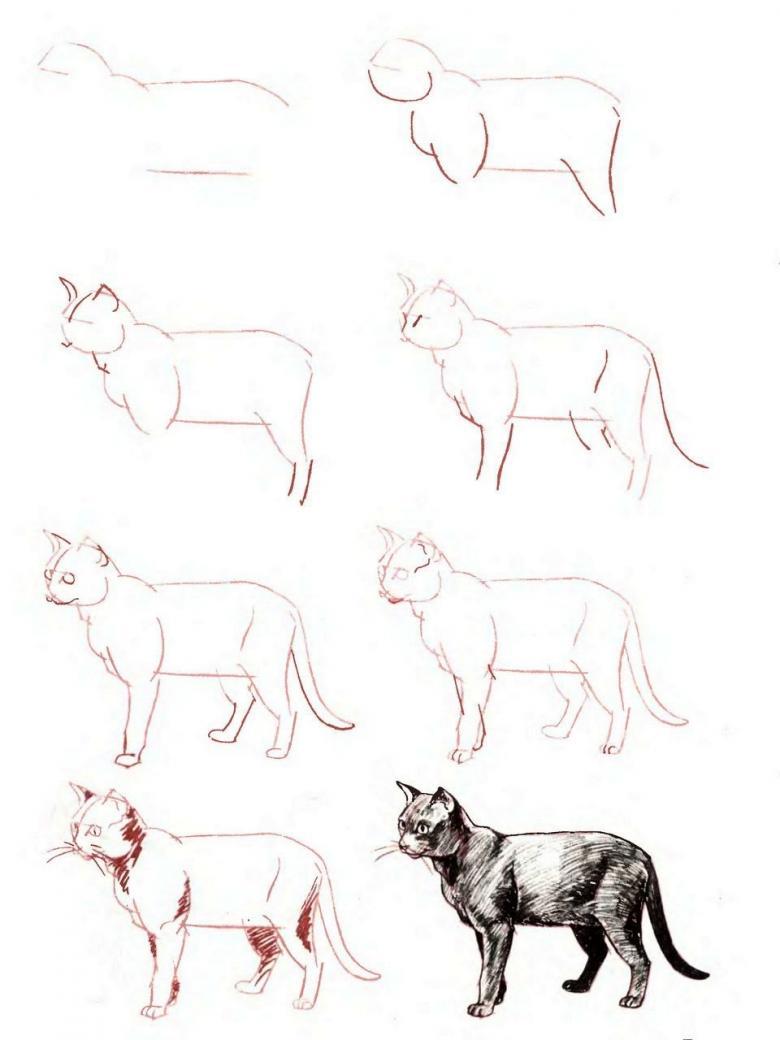
Pussycat
Even if she is not at home, kids are sure to have seen her at acquaintances, on the street or in cartoons. These characters for creativity are always around, which makes it easy to look at them carefully.

Before you begin to draw, adults can explain what the image consists of, how the lines are rounded and change direction. The main goal is to convey the likeness as faithfully as possible.

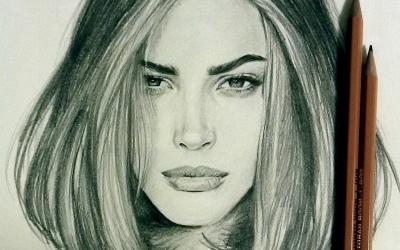
For initial experience, it is better to take a black gel or ink pen, felt-tip pen, a soft simple pencil. They will look perfect on white paper!
The outlines created are well remembered, and the blunders or mistakes made are immediately noticeable. For this purpose, colored paper, checkered or striped sheets are not suitable, as they distract and the result will not look desirable and effective.
Head, ears and eyes
- Start sketching with the head - in the middle draw an arc-shaped line at the edges of which should "appear" ears, similar to triangles. On their outer sides lead down the continuation of the silhouette of this part of the animal.
- Approximately in the center of the resulting circle with a pencil or brush applied eyes. For more plausibility with the original, you can look at the cat again and compare the result to the real view. Particular attention is paid to very specific pupils, which also need to convey as accurately as possible.
Such detail, as the eyes, help to give the cat personality, to emphasize its peculiarities and peculiar temperament.

Other elements of the body
The back, legs, and tail are drawn, the curve of which can by no means be ignored.
In fact, it is the most important indicator of the cat's mood, tells you in what state the animal is at the moment - perky, ready to fool around, or quiet, in the mood to rest and soak after receiving a tasty bowl of food. Not superfluous in the image of the tail of the cat to practice on a separate sheet.
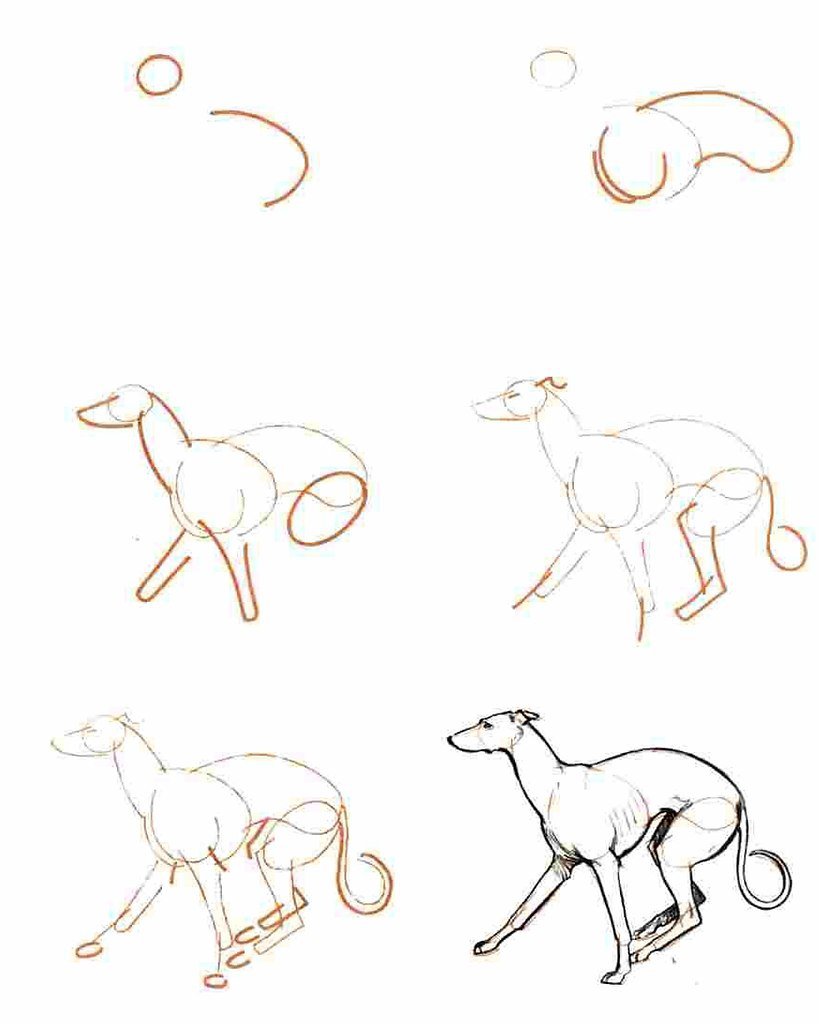
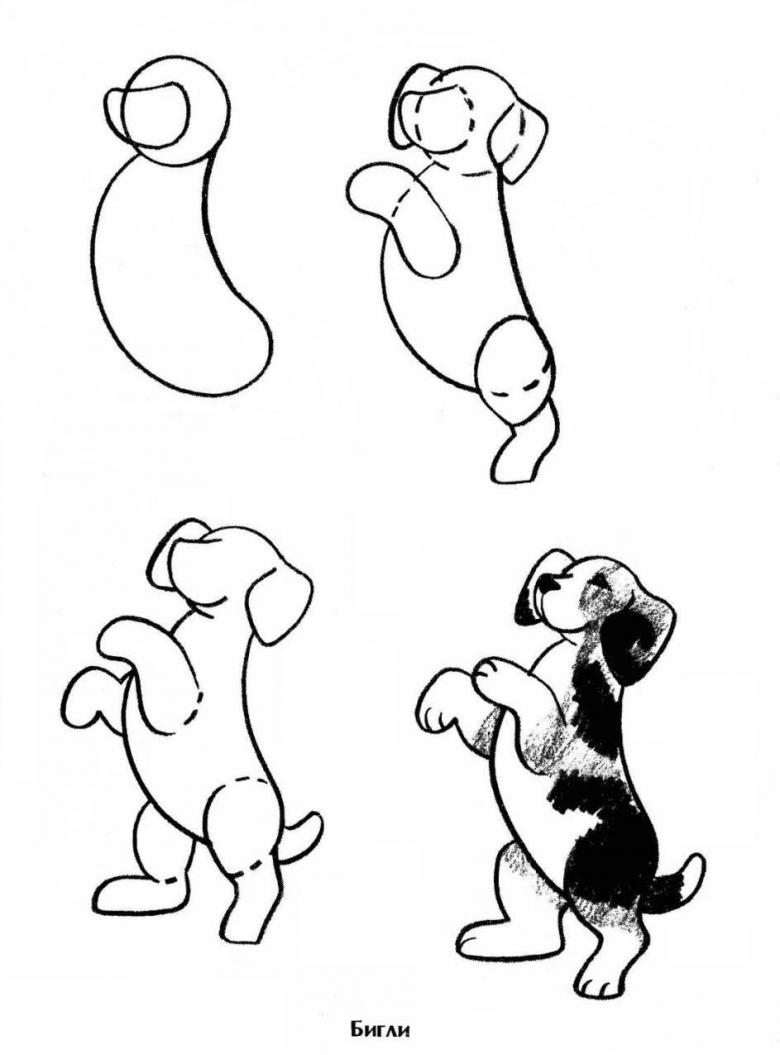
Doggie .
It is a loyal friend to man, so children often prefer this image to others. It is most appropriate to place a small puppy in a box or on the lawn. A pen or pencil is used in the work.
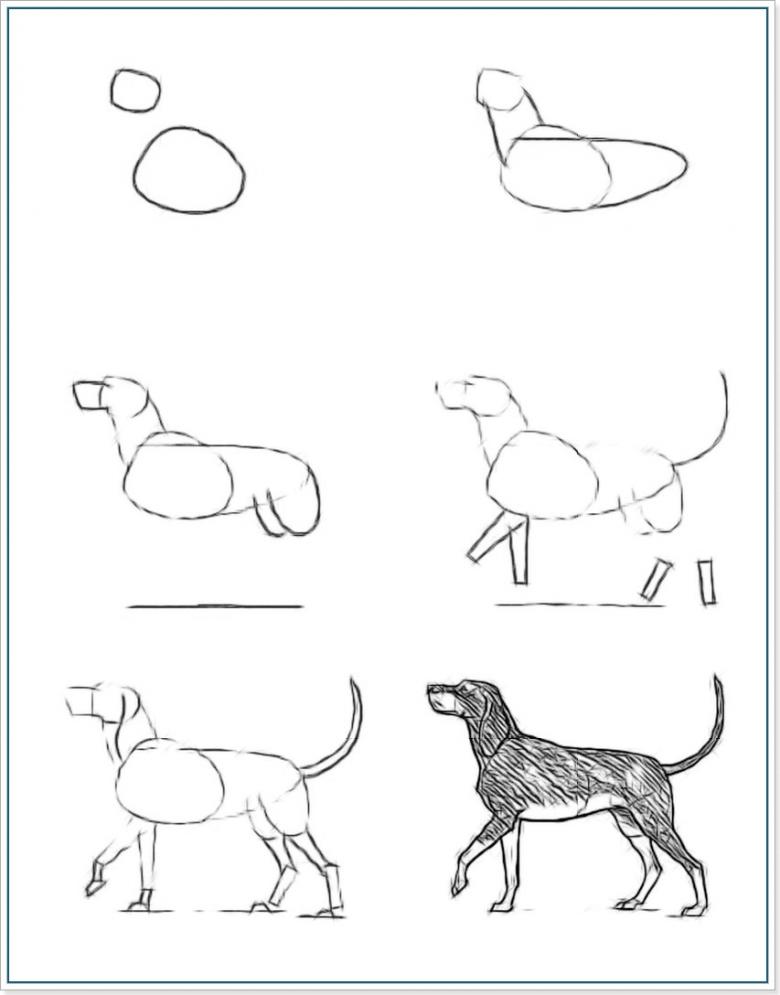
Detailed instructions
Teachers in methodological manuals can easily find guides on how to draw animals step by step in pencil for beginners children. A conversation is held in advance and attention is focused on some of the stages of the creative process.

It is obligatory to name all the parts of the body for the future drawing. If necessary, the teacher or tutor draws lines on the paper as a sample, commenting on the purpose of each of them.
- To start, the head is drawn - 2 connected stripes resembling arches, half of an oval at the top, a triangle in the middle, which is immediately painted with a darker shade.
- Just in the center of the arches should be placed tongue.
- For the eyes, from the sides of the sketch are drawn 2 circles, do not forget about the black pupils, which must also necessarily show.
- Make an indentation and draw the ears, which should hang down.
- Above the eyes draw lines for the eyebrows and a wavy line for the head.
- Next, 2 paws are drawn and a horizontal line is drawn.
- A little below the head on the left side of the image draw a bow.
- Complemented with a sloping strip imitating a collar.
- To the drawn lines add 2 vertical lines, connect them in the longitudinal direction.
- At the top, 2 diagonal strips equal in size to 1 cell are drawn on the sides, they must also close.
Next, use a pre-prepared set of colored pens and pencils. Pink will serve for the tongue and bow, and brown for the outline of the sketch, some strokes are drawn in darker color. Shading the background in green.

It is not necessary to stick only to this color palette, you can experiment and show all your imagination and make the picture impressive and unique!

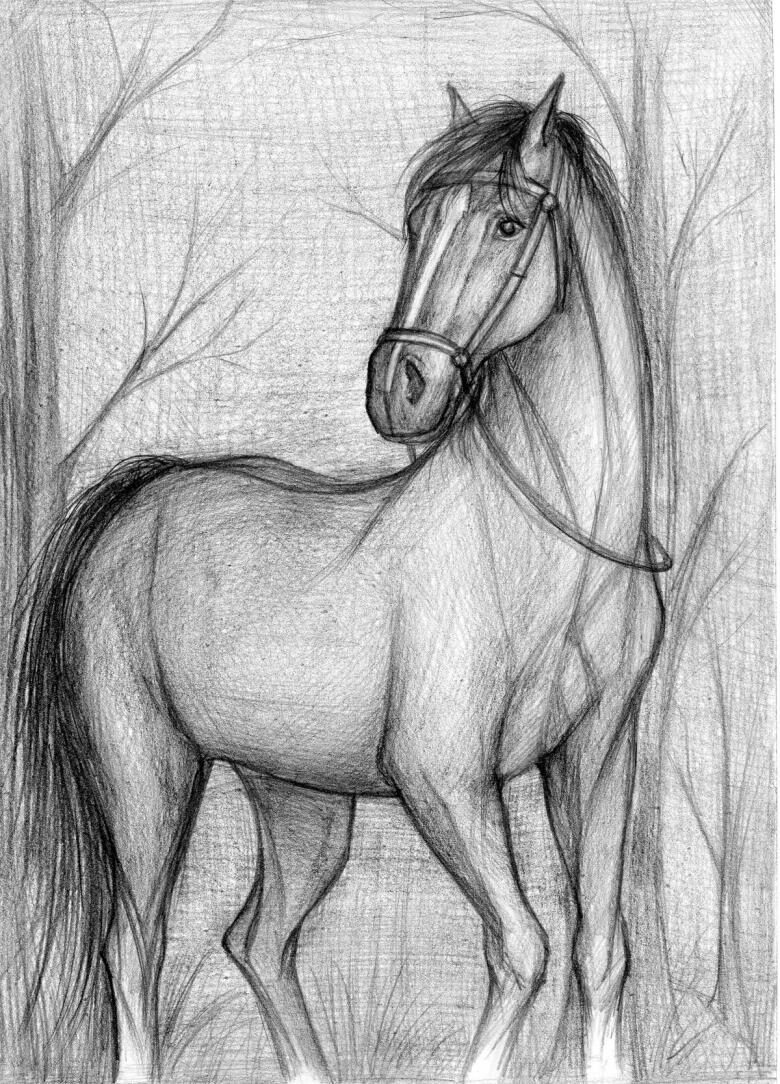
Drawing with wood dwellers
There may be interest in how to draw a forest with animals in pencil step by step for beginners. Such a drawing will depict not an individual animal close-up, but a whole composition, which may seem complicated and will express a very different idea.
There are many examples and illustrative tips on the Internet on how to handle this task.
A step-by-step guide will make it much easier:
- First, on a sheet of paper convey the contours of the trees, for which depict the trunks and branches. Wavy strips will denote hills.
- Shrubs are drawn in the foreground.
- To make the plants three-dimensional, the trunks are depicted thick.
- It is assumed that the forest will be deciduous, so the trees are drawn leaves.
- What forest without bushes and grass! Do not forget to supplement the composition with them.
- The drawing should look bright and expressive, for this purpose colored pencils, paints or felt-tip pens are used.
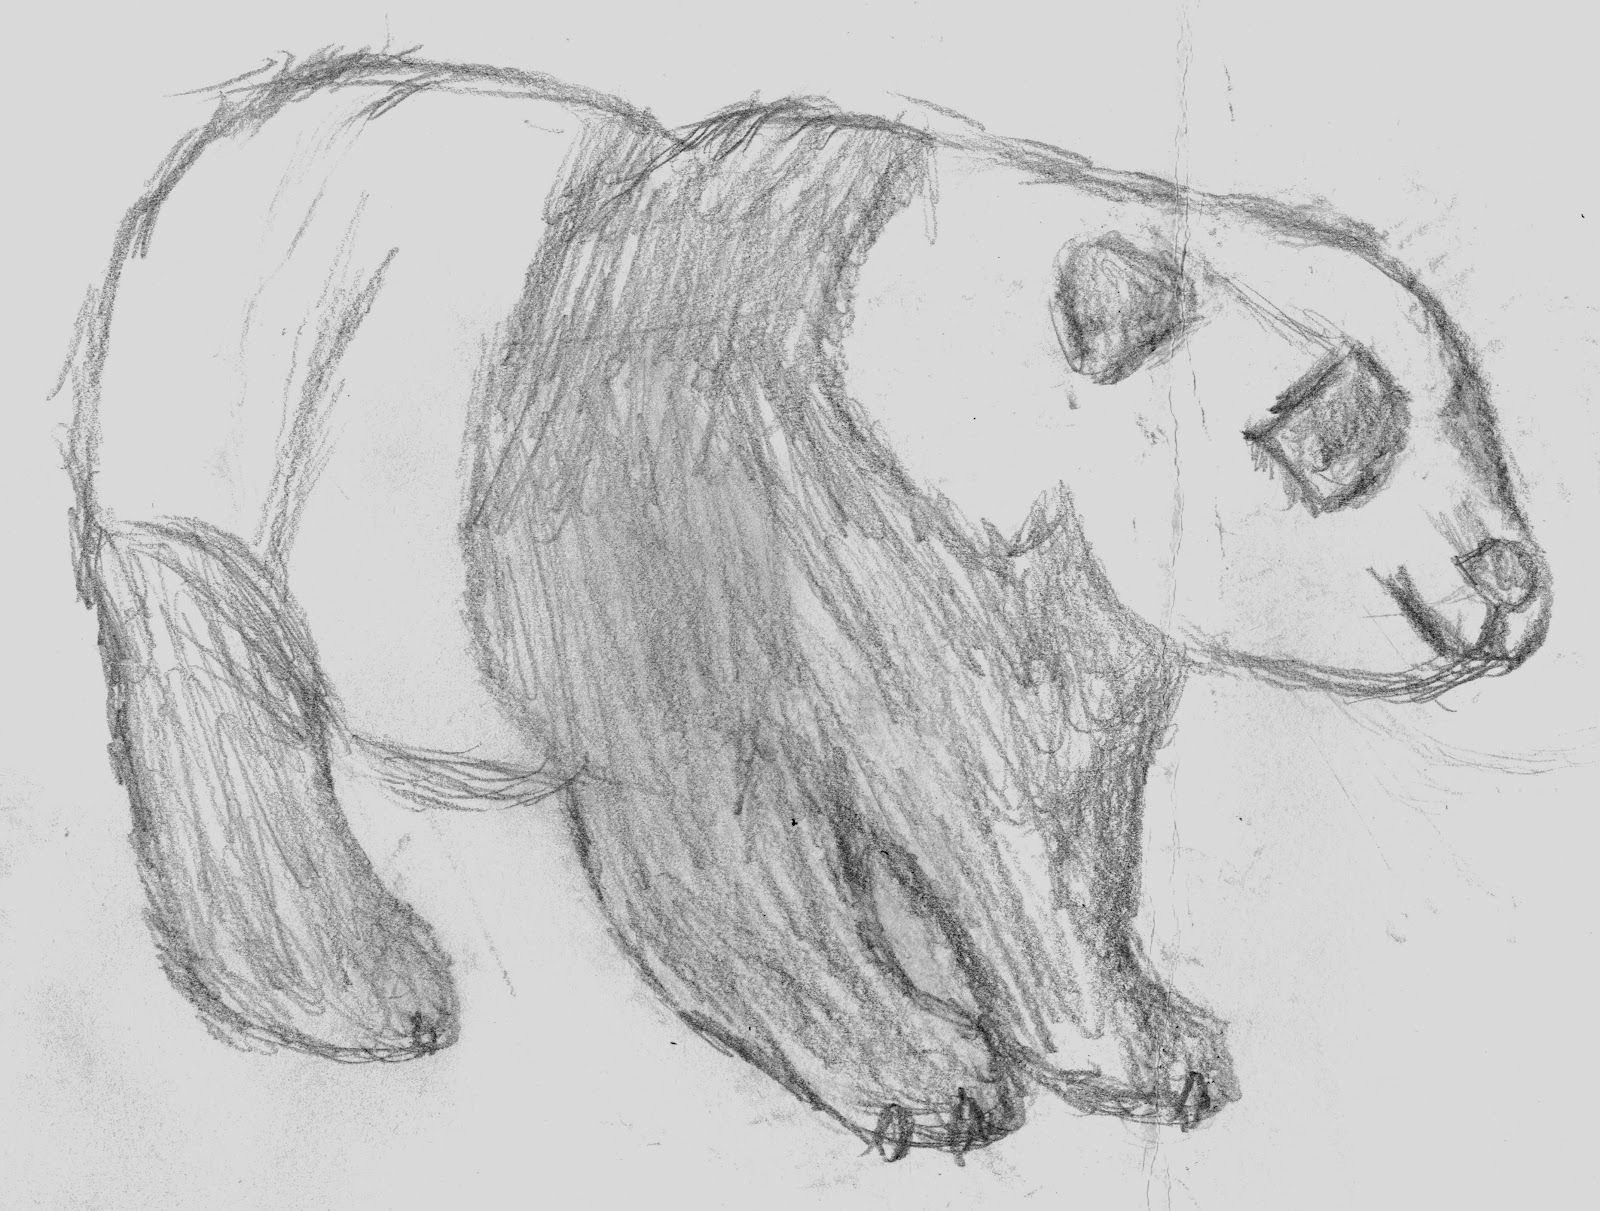
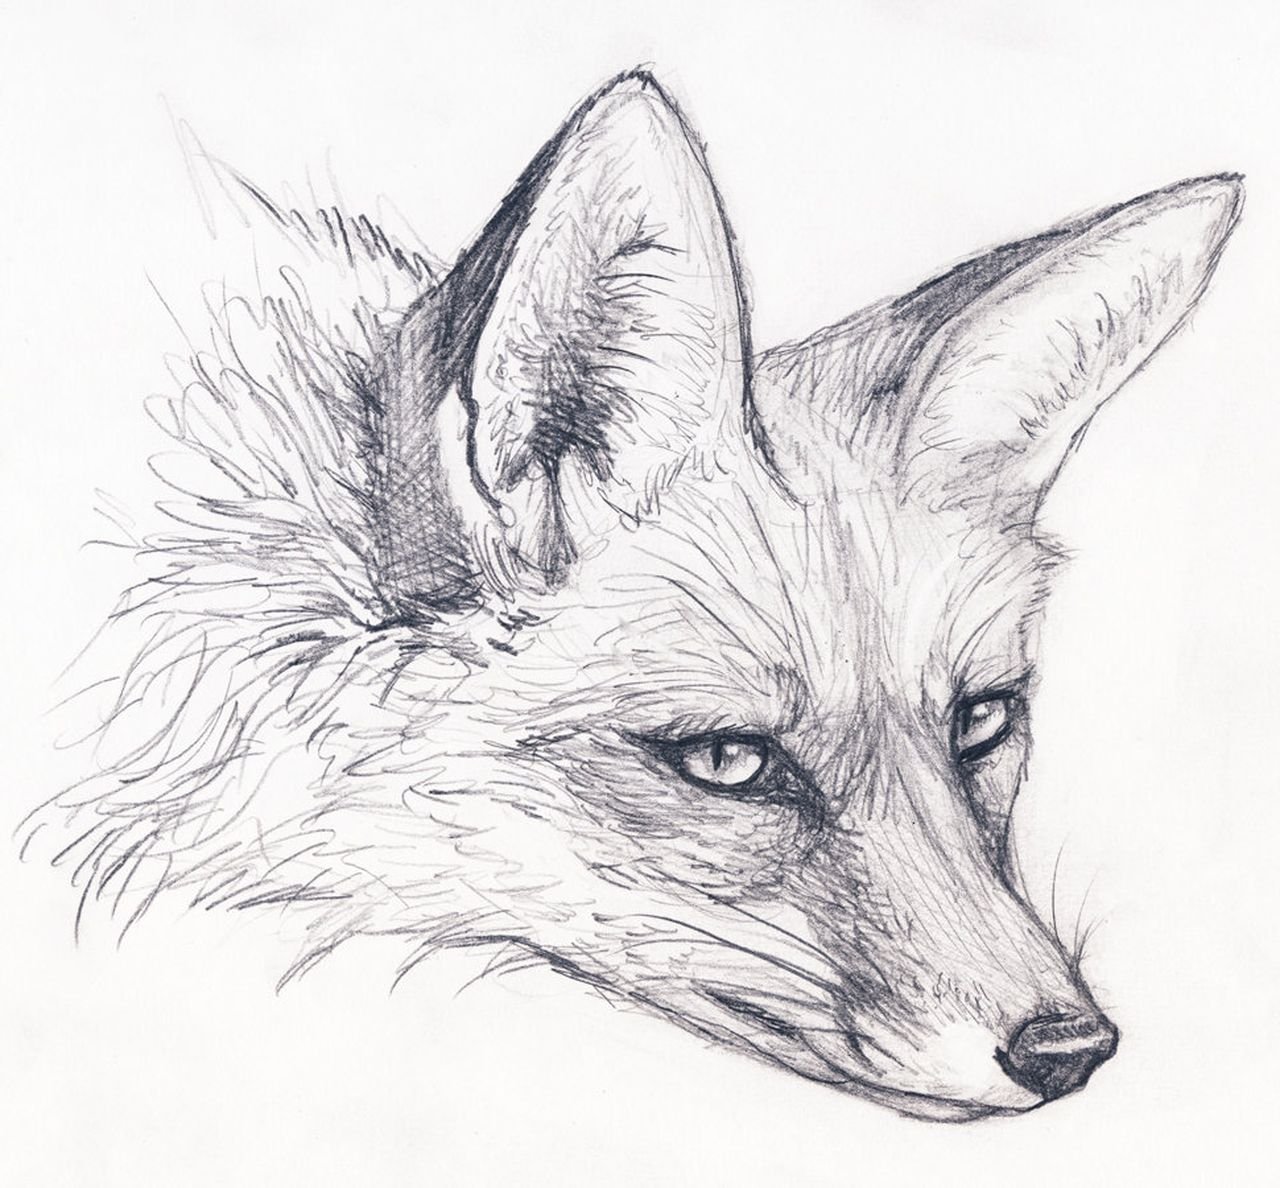
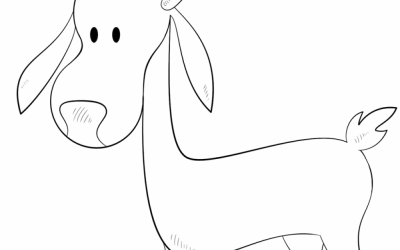
In the forest, fauna should be represented. The child chooses independently which animals to draw - a squirrel, a hare, a hedgehog, a bear, a boar, a deer or others. Remember that the most successful species are those whose contours the young artist knows well, so it is desirable to opt for them!
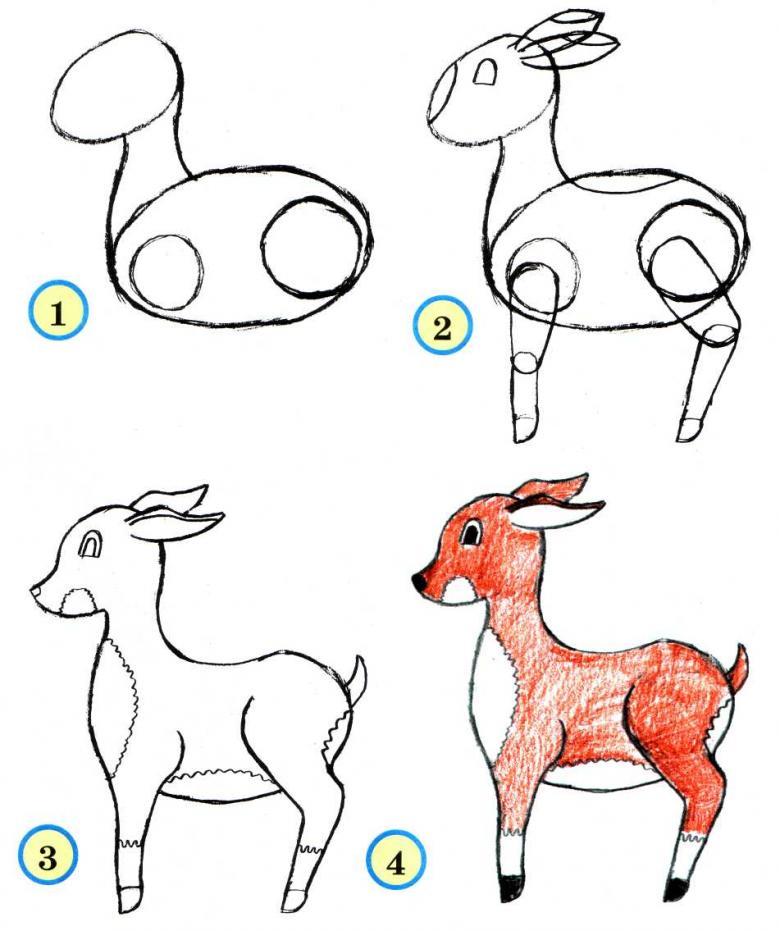
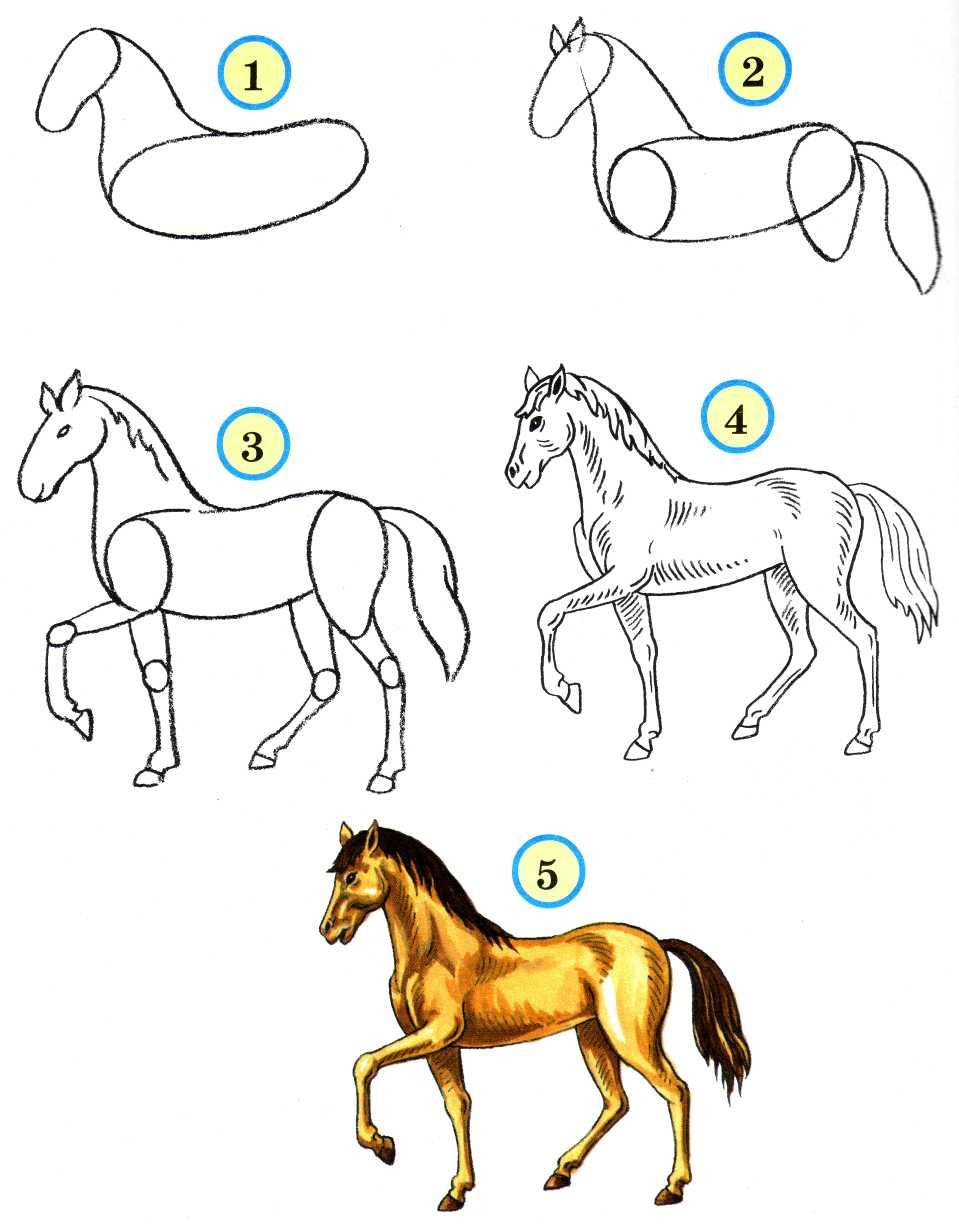
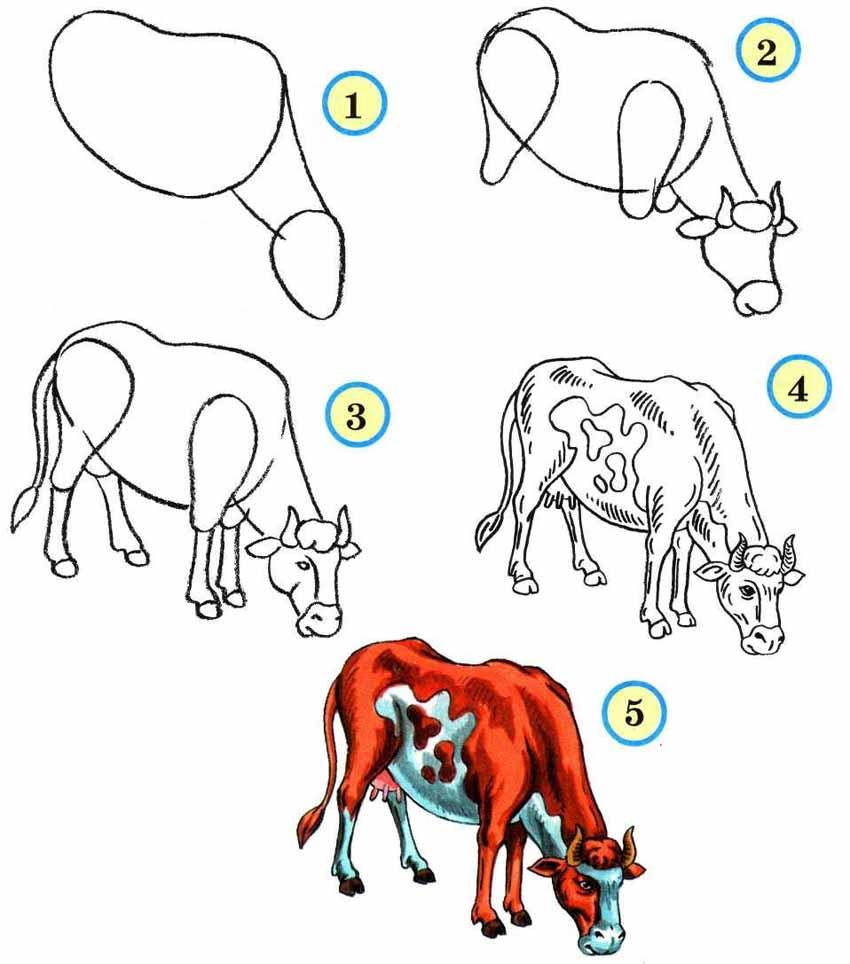
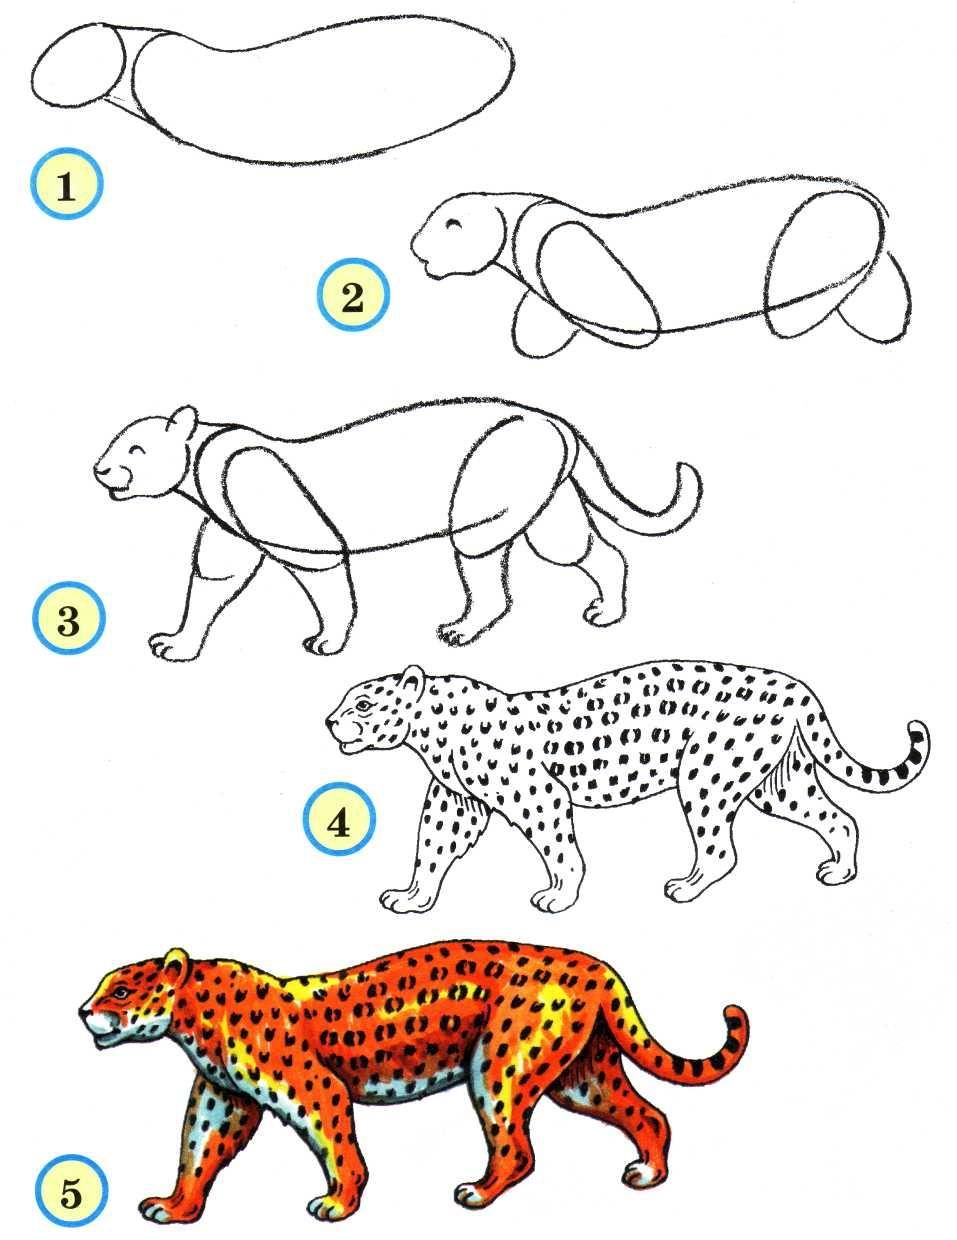
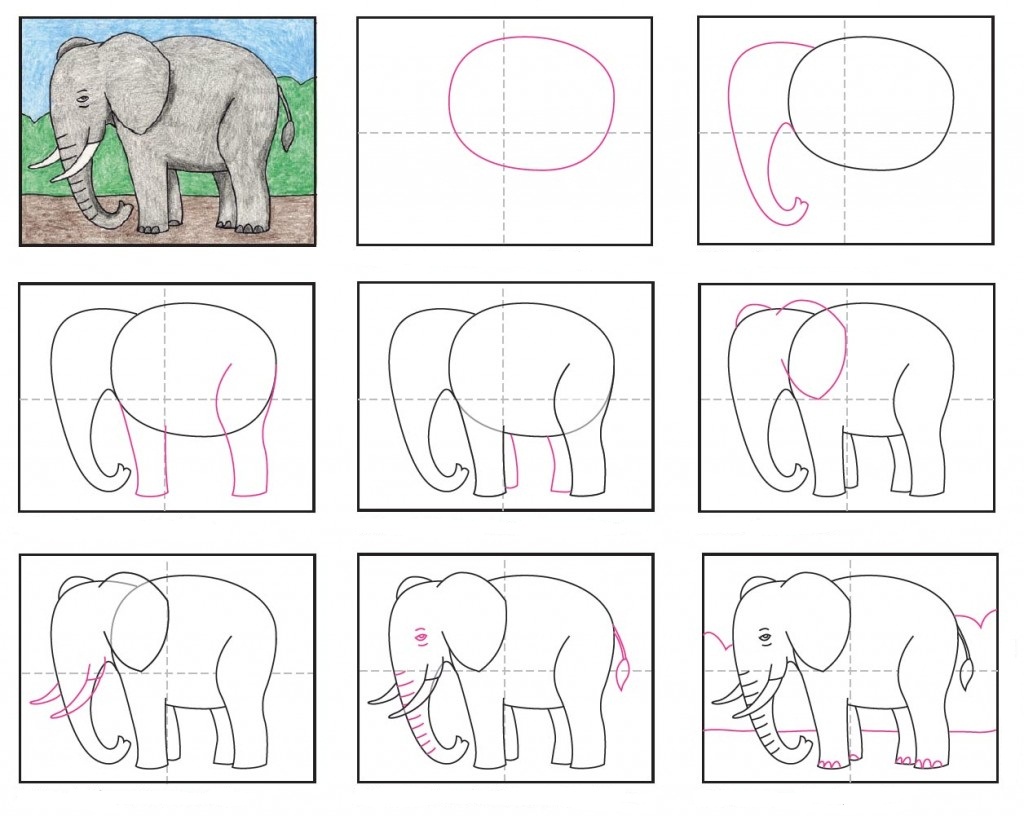
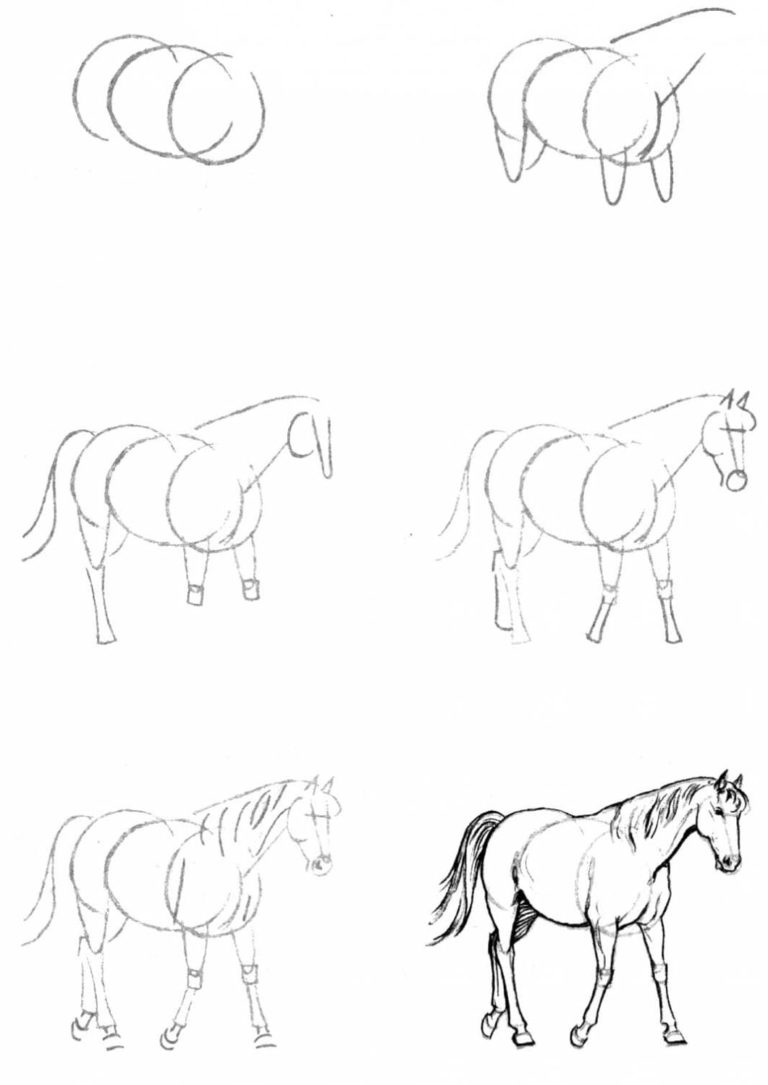
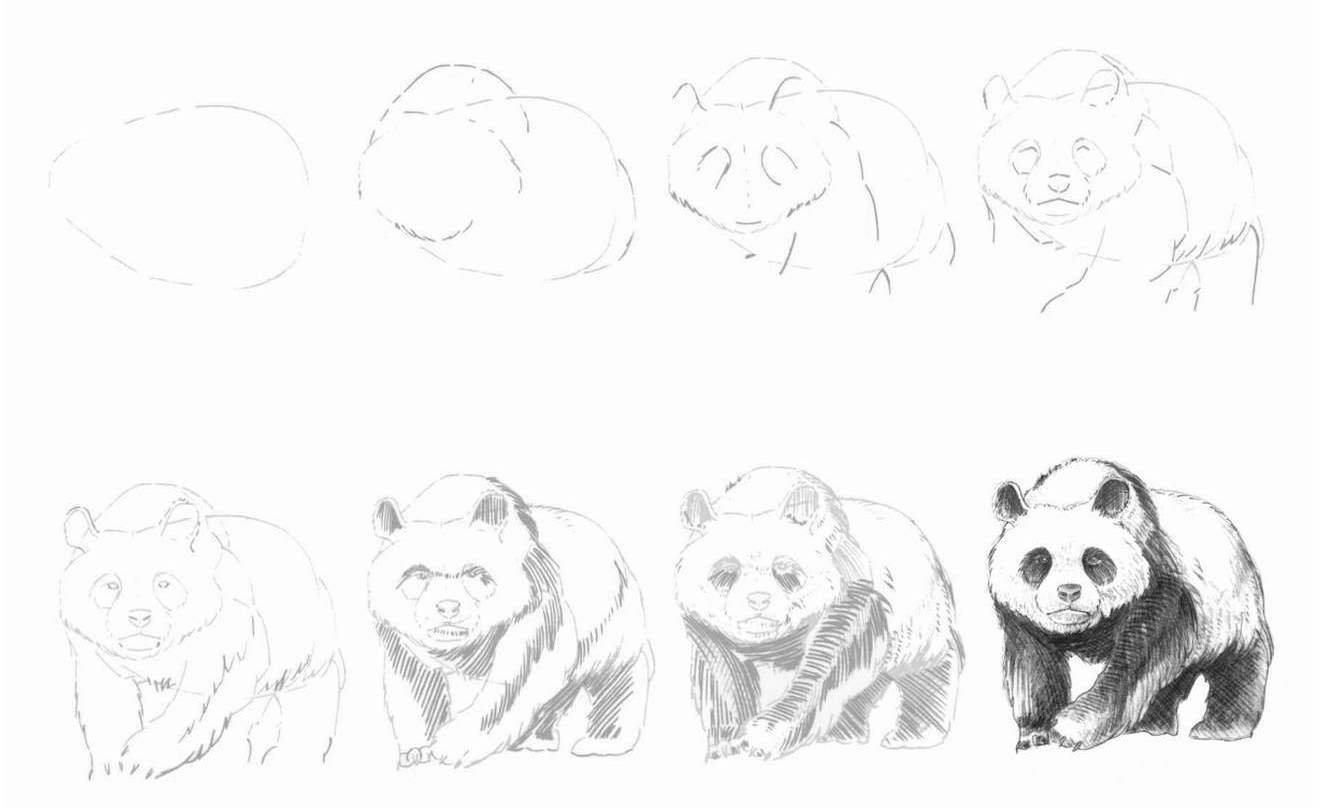
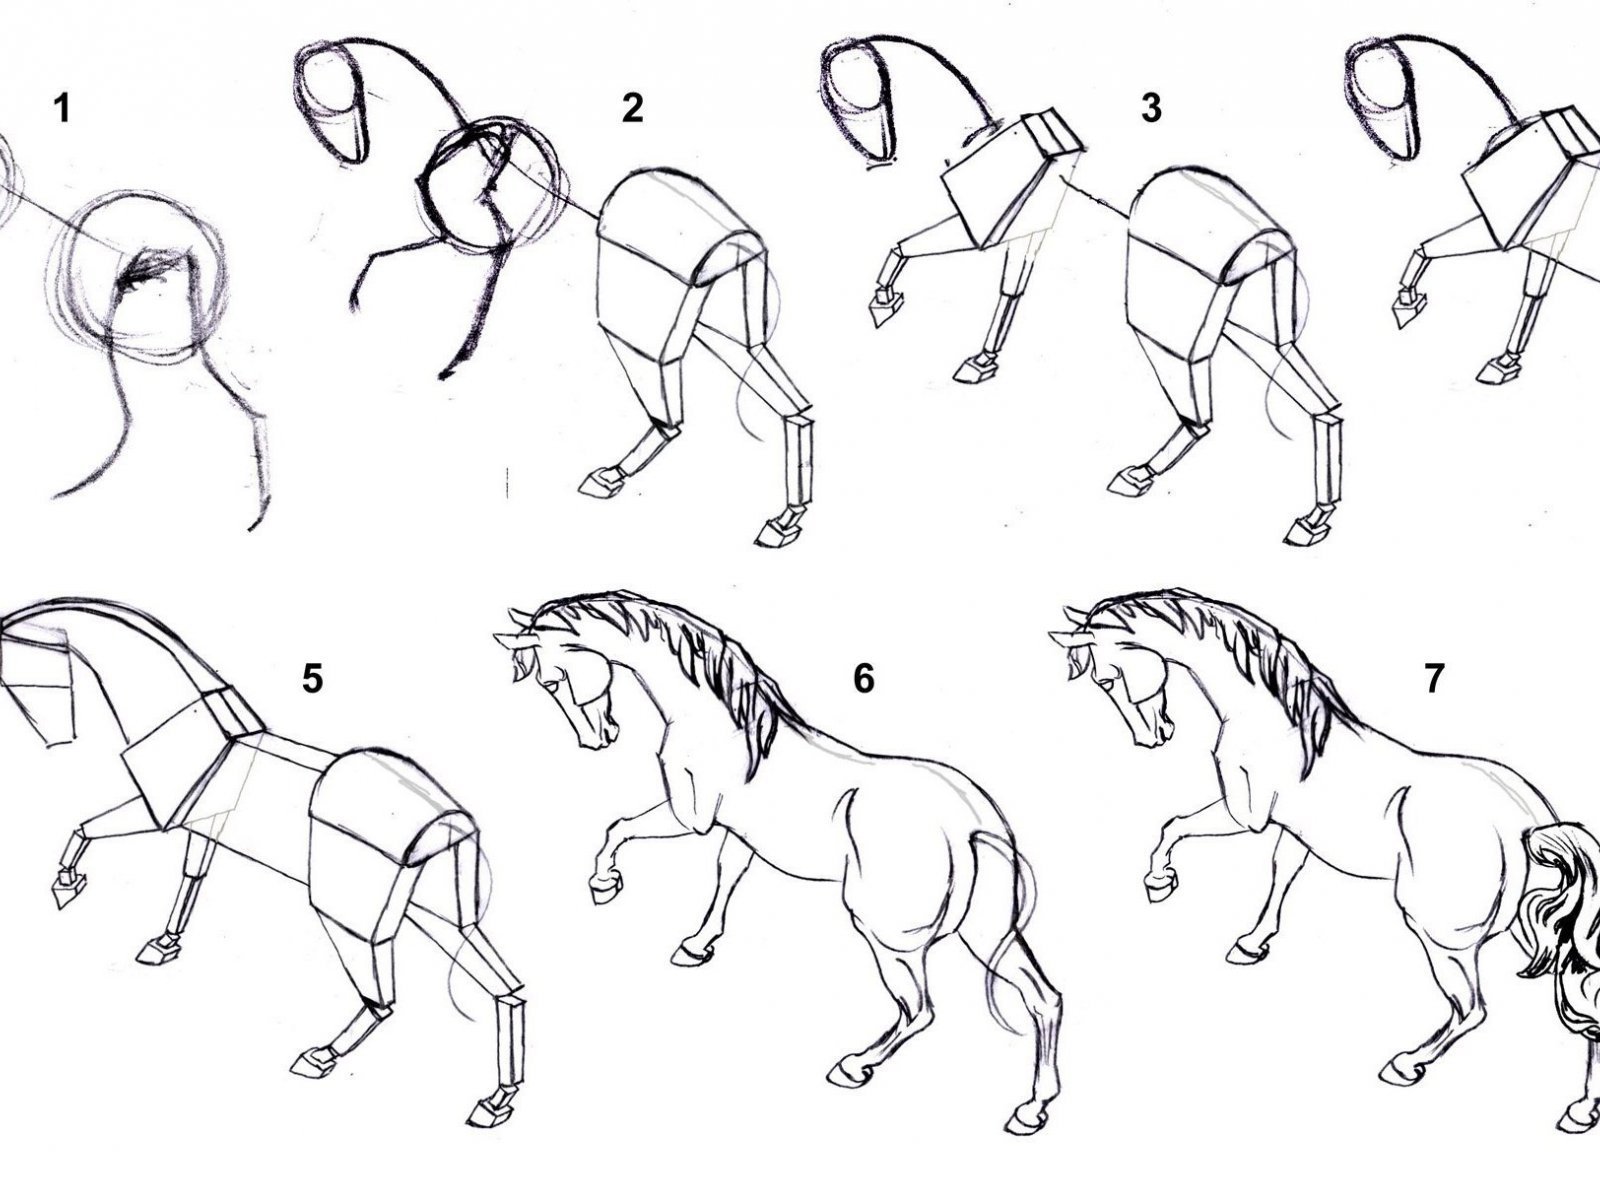
Pictures of animals for sketching in pencil